
Although all of my posts have been Azure related thus far, I did say back at the start that I may blog about other tech aspects that interest me or that I think others might find useful - and that’s what we have today!
Today I’ll be showing you how to automatically tidy up old files on Google Drive using Google Apps Scripts.
You may very well have a Google Drive account lurking somewhere - you may even be using it regularly to store files.
One thing I’ve found is that there is a glaring omission in both the mobile and desktop app/browser interfaces - the ability to automatically perform housekeeping and delete old files.
Background
Why would you want to do that I hear you ask?
Well, in my case, as I mentioned in my post about Azure Function Proxies I use one of my google drive accounts to upload movie clips to that are generated from my home security cameras by the Motion Project software.
I’m using a free account and because of aforementioned failings in the UI, I’m having to manually go in frequently to manually select and delete old files to free up space, which is time-consuming and annoying! As an IT geek, I’d rather automate it and spend time on something else - and as mentioned in the earlier post, I’m building out a replacement in Azure.
In the meantime though, I still want to automate the pain out of the current solution, so I done some googling and stumbled upon Google Apps Script, which is a Javascript-based scripting language for Google G-Suite apps.
In there, amongst other goodies are the Drive Service which as the name suggests is for interacting with Google Drive.
Google Apps Script
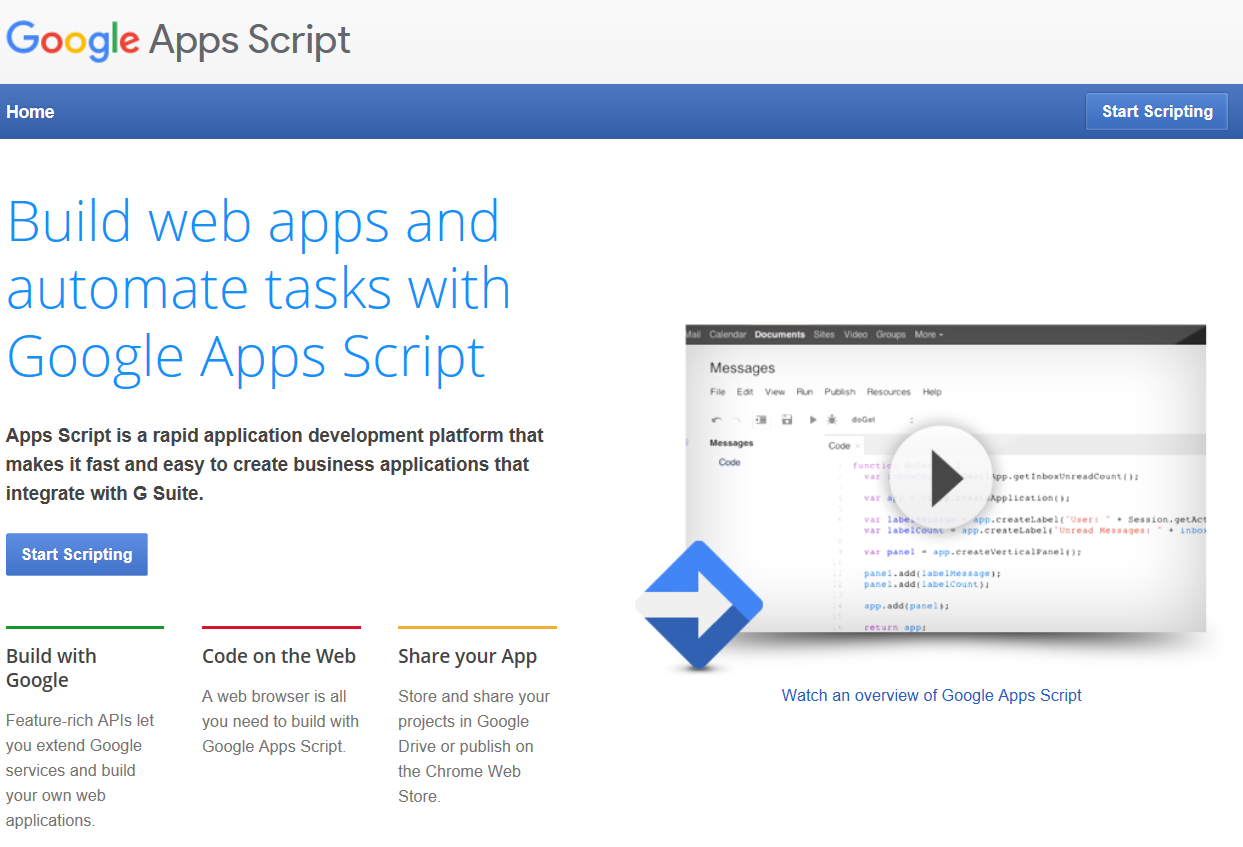
First, go to the Google Apps Script homepage and click on Start Scripting.
When prompted, sign in with the username and password of the account for the google drive you want to work with.
You should now see the G Suite Developer Hub:
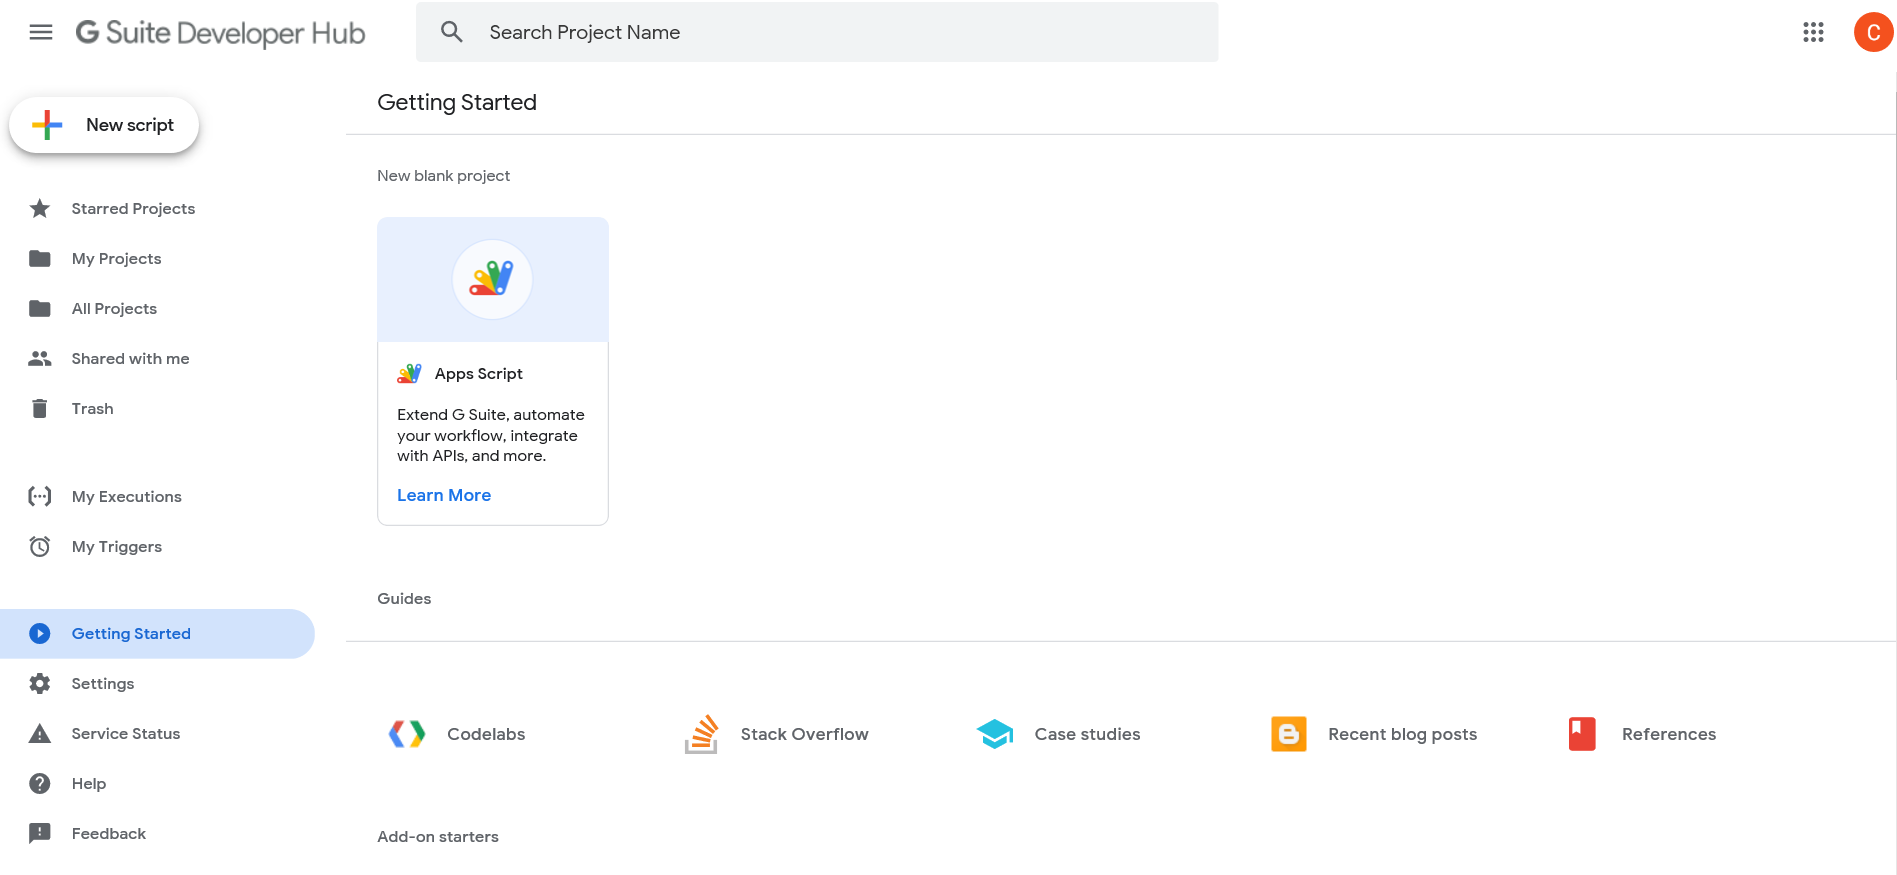
From here, you want to click on New Script up the top left corner.
It will now launch an editor with a skeleton function called myFunction..
In this editor, you can place the code you want to run.
In this case, I’m going to be using the searchFiles method of the DriveApp class and also the Files: delete method of the Advanced Drive Service REST API
The full script is available on my BitBucket repo - direct link here.
Let’s start off with some basic prep before we go searching for files - we only want files older than a given time period - in this case older than 7 days ago:
So, we’ll do the following:
- Define a function called
GetFilesByDate - Calculate the date in
yyyy-MM-ddformat that is the cutoff - only give us files older than that - Call
DriveApp.searchfilesto return an array of file IDs for files older than that date - Interate through and ignore files that don’t have the .mp4 file extension (use Javascript’s
indexOfmethod for that) - For each file, log some info (for debugging)
- Return the filtered array as the result of the function
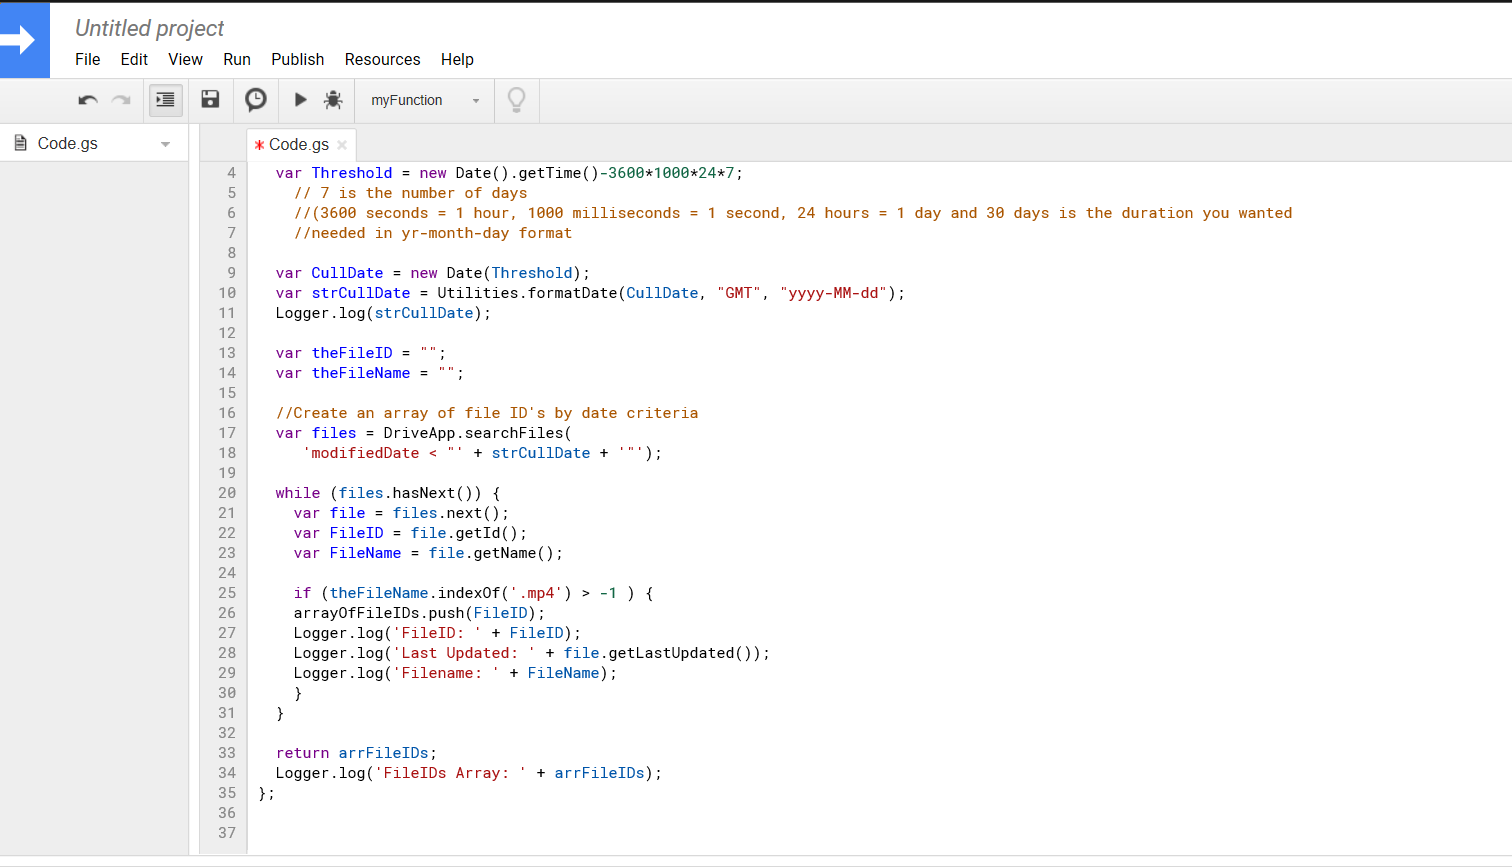
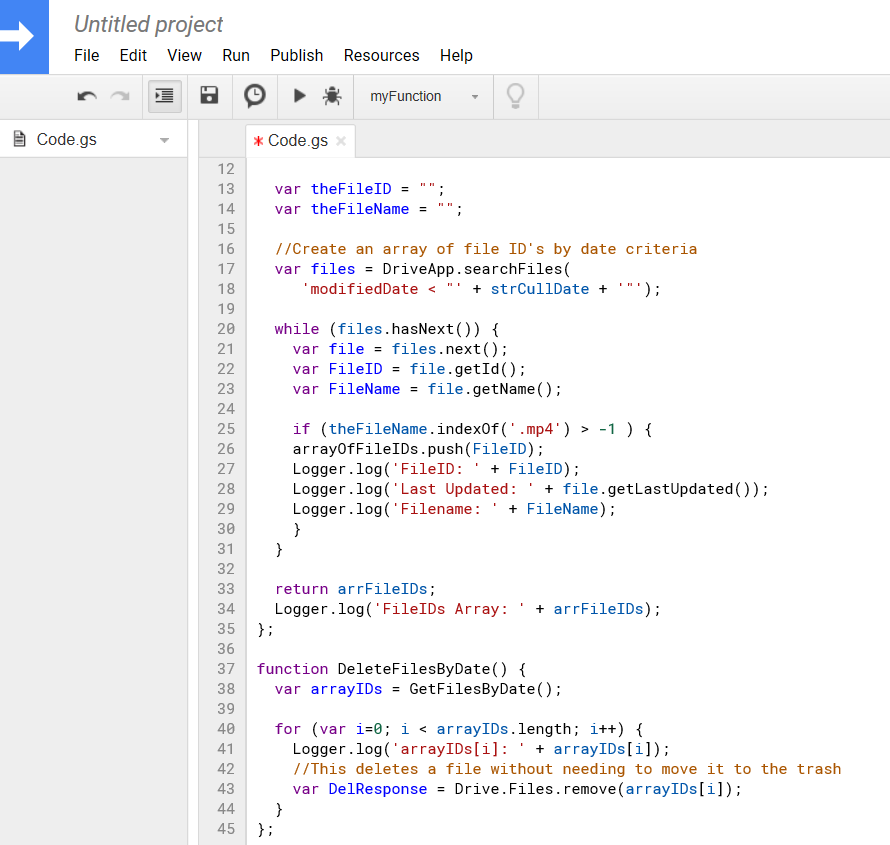
function GetFilesByDate() {
  var arrFileIDs = [];

  var Threshold = new Date().getTime()-3600*1000*24*7;
    // 30 is the number of days
    //(3600 seconds = 1 hour, 1000 milliseconds = 1 second, 24 hours = 1 day and 30 days is the duration you wanted
    //needed in yr-month-day format

  var CullDate = new Date(Threshold);
  var strCullDate = Utilities.formatDate(CullDate, "GMT", "yyyy-MM-dd");
  console.info(strCullDate);

  var FileID = "";
  var FileName = "";

  //Create an array of file ID's by date criteria
  var files = DriveApp.searchFiles(
     'modifiedDate < "' + strCullDate + '"');

  while (files.hasNext()) {
    var file = files.next();
    var FileID = file.getId();
    var FileName = file.getName();

    if (FileName.indexOf('.mp4') > -1 ) {
    arrFileIDs.push(FileID);
    console.info('FileID: ' + FileID);
    console.info('Last Updated: ' + file.getLastUpdated());
    console.info('Filename: ' + FileName);
    }
  }

  return arrFileIDs;
  console.info('FileIDs Array: ' + arrFileIDs);
};
Should now look something like this:
Now, we also need to do something with the array of files returned by that function (and we also need to call it!). So, add the following code, which does the following:
- Define a function called
DeleteFilesByDate - Call
GetFilesByDate - Iterate through each file ID returned and delete it using the
Drive.Files.removemethod
function DeleteFilesByDate() {
  var arrayIDs = GetFilesByDate();

  for (var i=0; i < arrayIDs.length; i++) {
    console.info('arrayIDs[i]: ' + arrayIDs[i]);
    //This deletes a file without needing to move it to the trash
    var DelResponse = Drive.Files.remove(arrayIDs[i]);
  }
};
Should look like this now:
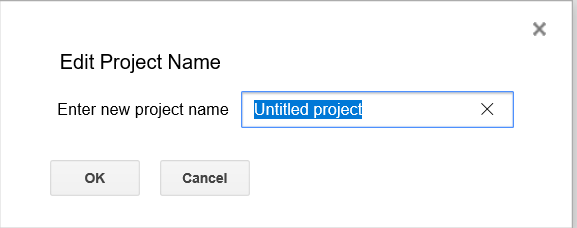
Now we want to save the script - either press Ctrl + s or click on the Save icon (the floppy disk icon for those that remember!)

Give the project a name and click on OK:
Now, you can click on Select Function and choose one to run to test it:

Start off with the GetFilesByType function until you are comfortable that it is returning files you would be happy to be deleted!
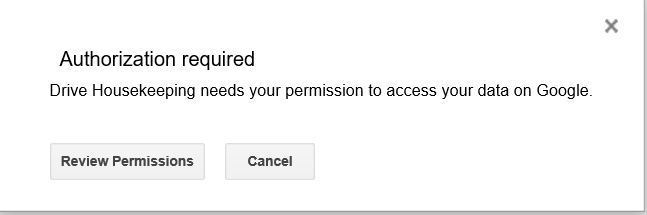
First things first - you need to authorise the app, so click on Review Permissions when prompted:
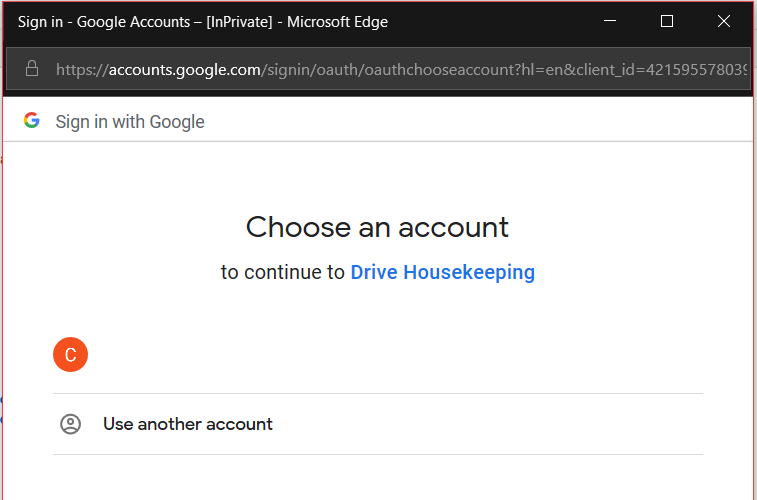
Select the account you logged in with:
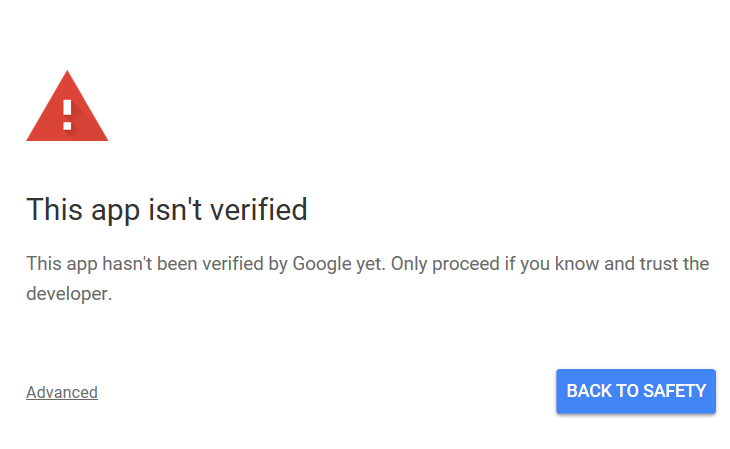
Click on Advanced:
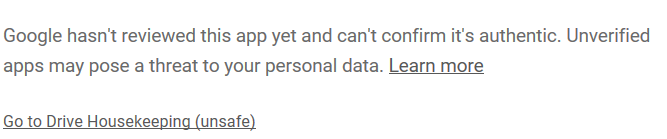
Click on Go to <Project Name> (unsafe) (it’s OK - we’re authorising to allow this to run because we trust the code otherwise we wouldn’t be doing this!):
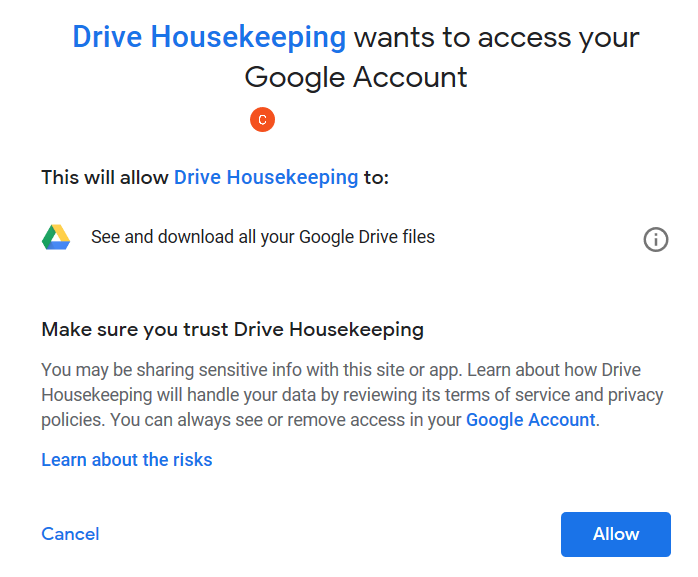
Click on Allow (You’ll see your project name wherever you see Drive Housekeeping on my screenshot):
You will see a popup message at the top of the window as shown below while the function is running - it may disappear quickly depending how many files are on your drive:

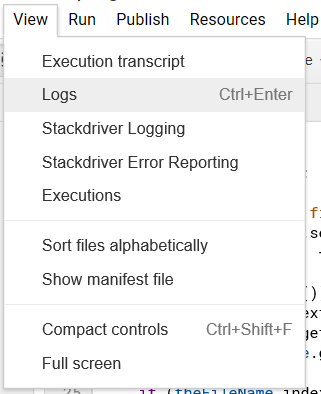
To check the logs, click on View > Logs or you can press Ctrl + Enter together:
To test the full function, run the DeleteFilesByDate function in the same way as we did above.
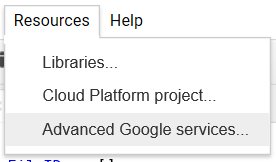
Now, enable the Advanced Drive Service API so we can use it - disabled by default.
Click on Resources > Advanced Google Services
Toggle the Drive API to On:


Click on OK
Save the project again.
Run it again and you’ll be prompted for authorisation again as above - follow the same steps again.
From here, there is one more thing to do - setup a trigger to run this on a frequency of our choosing.
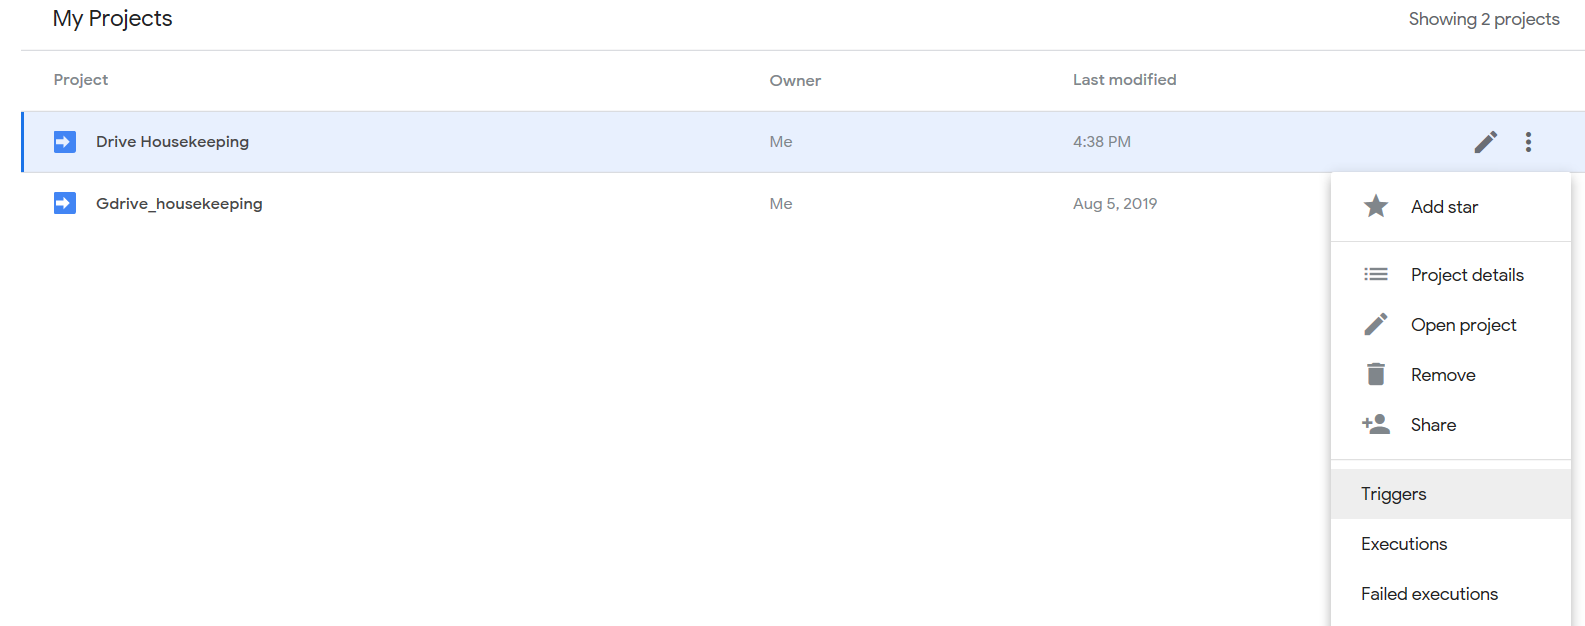
Click on the white arrow top-left to return to the dashboard: 
Click on the 3 vertical dots to the right of your project name and click on Triggers:
Click on Add Trigger: 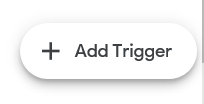
Set it up as follows (to run daily between midnight and 1am) and then scroll down and click on Save:
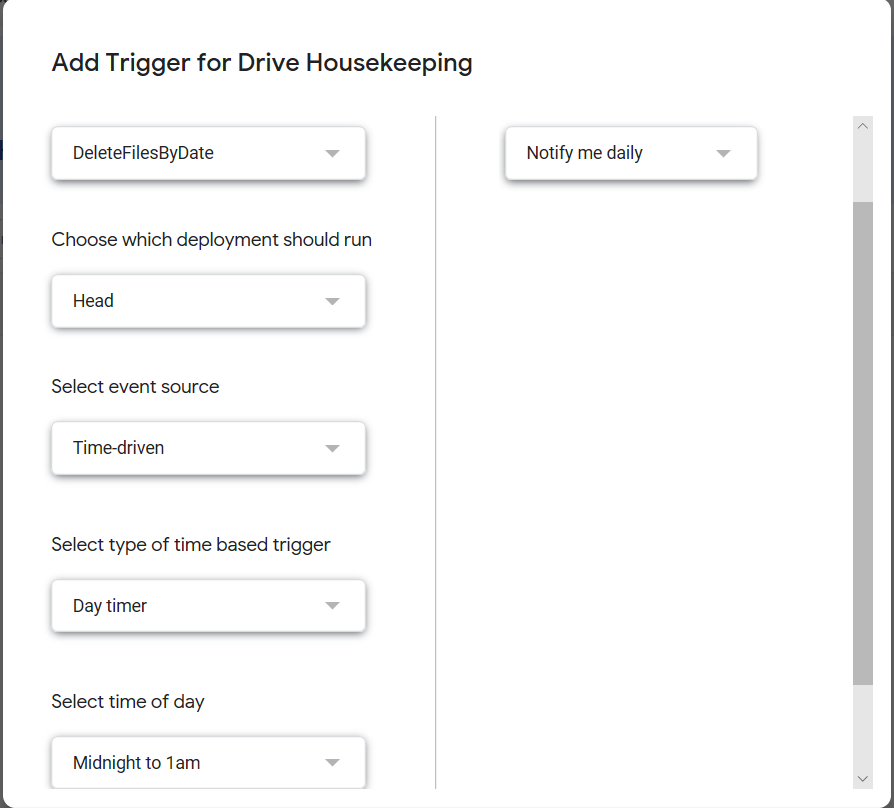
Now, it will run nightly sometime between midnight and 1am (it may vary in that window every night based on available resource in Google Cloud) and any failures will result in an email to the gmail account associated with the drive.
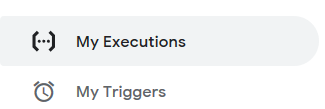
And if you want to check your runs - from the dashboard, click on My Executions on the left-hand pane:
You will see all executions for all projects:

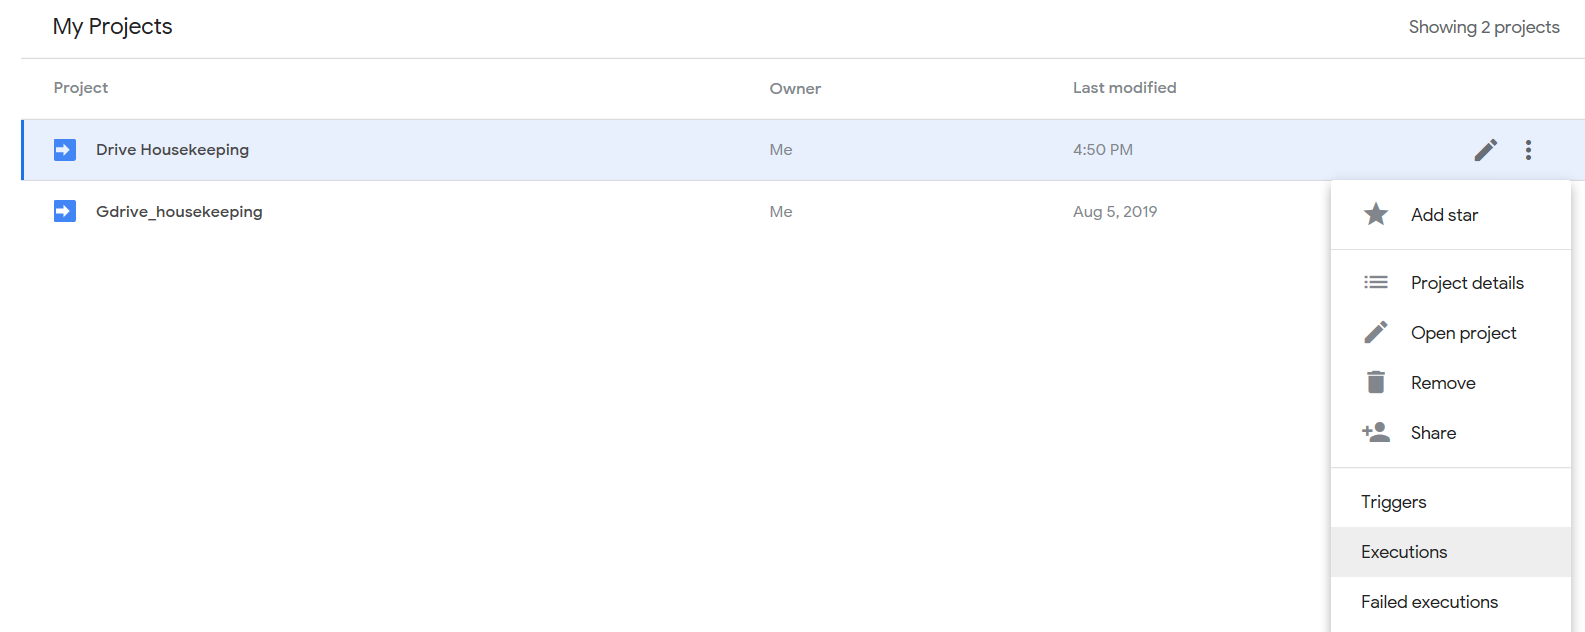
You can also see only the executions for a single project, from the dashboard, as shown below:
I hope you have found this useful - I’ve wanted automated housekeeping of my drive for a long time!
As ever, thanks for reading and feel free to leave comments below.