Image by John Salvino on Unsplash
Enjoying the content? If you value the time, effort, and resources invested in creating it, please consider supporting me on Ko-fi.

In my last post, Grav in Azure part 4 - Adding DNS and Cloudflare to an App Service Web App, I demonstrated how to configure your Azure web app and its DNS to be managed by Cloudflare.
In this post, we’ll go ahead and take a look at and optimise our Cloudflare configuration for performance and security.
What you will need
- A cloudflare free account
- A domain associated with the account and website (in my case a Grav blog hosted in Azure).
Login to your clouflare account and look for the domain you just added/want to configure (in my case, cirriustech.co.uk) and click/tap on it:

Crypto
By default the first thing you will see is an overview of traffic served via Cloudflate for this domain, but go ahead and click on the Crypto heading to view/change cryptography settings:
-
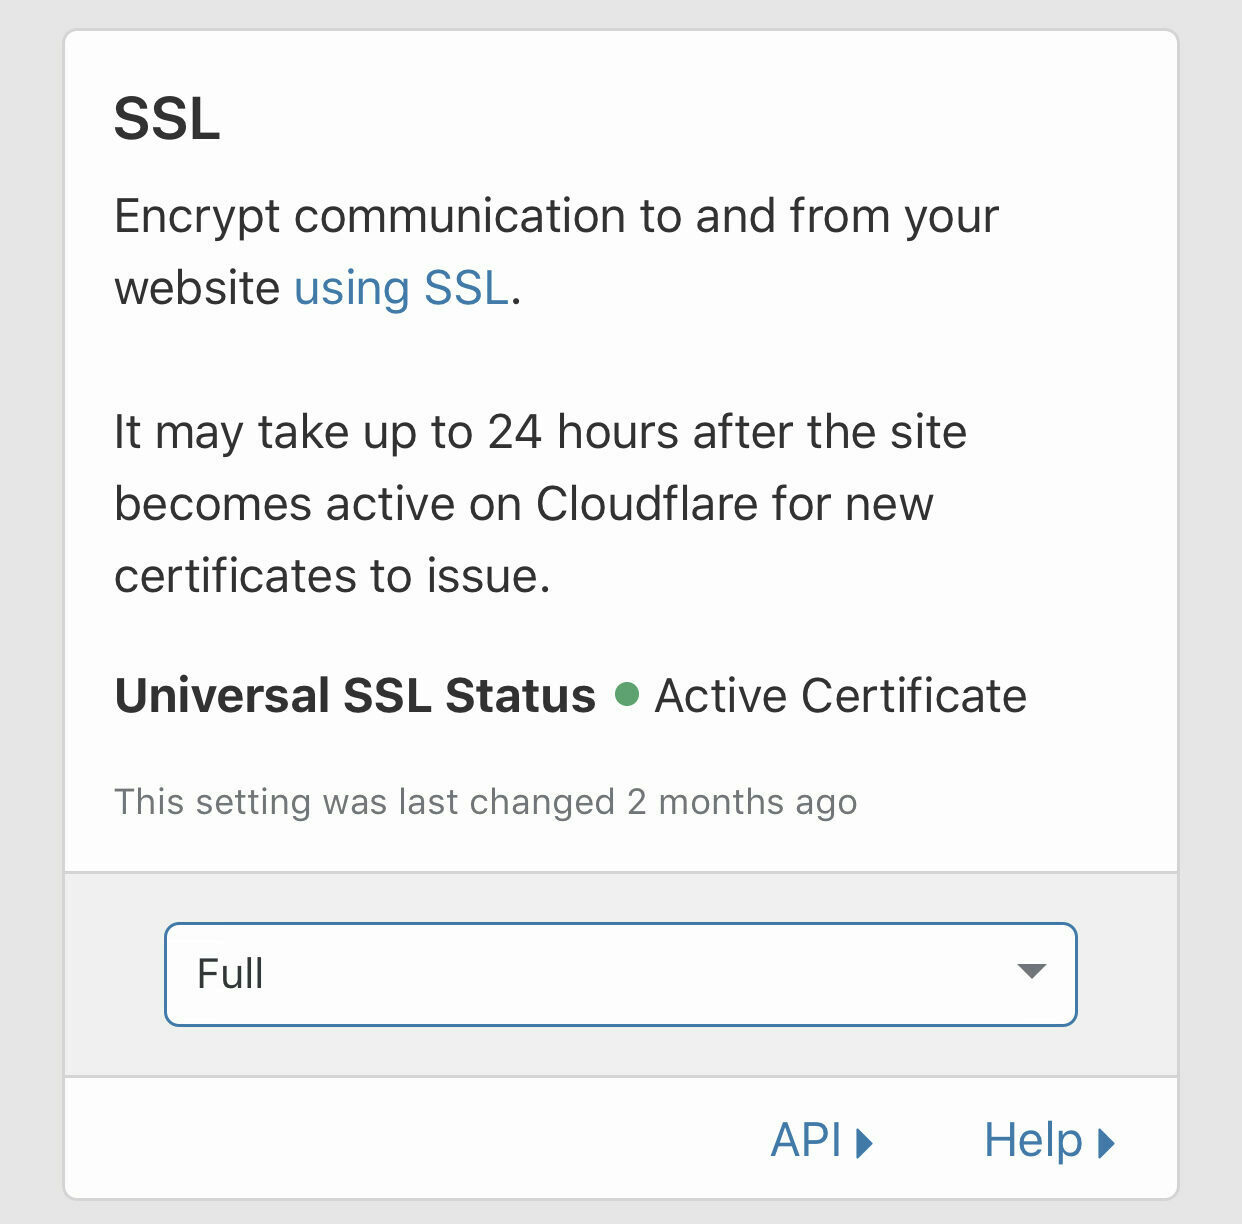
Make sure SSL is set to Full or Full (Strict) for end to end encryption of your traffic
-
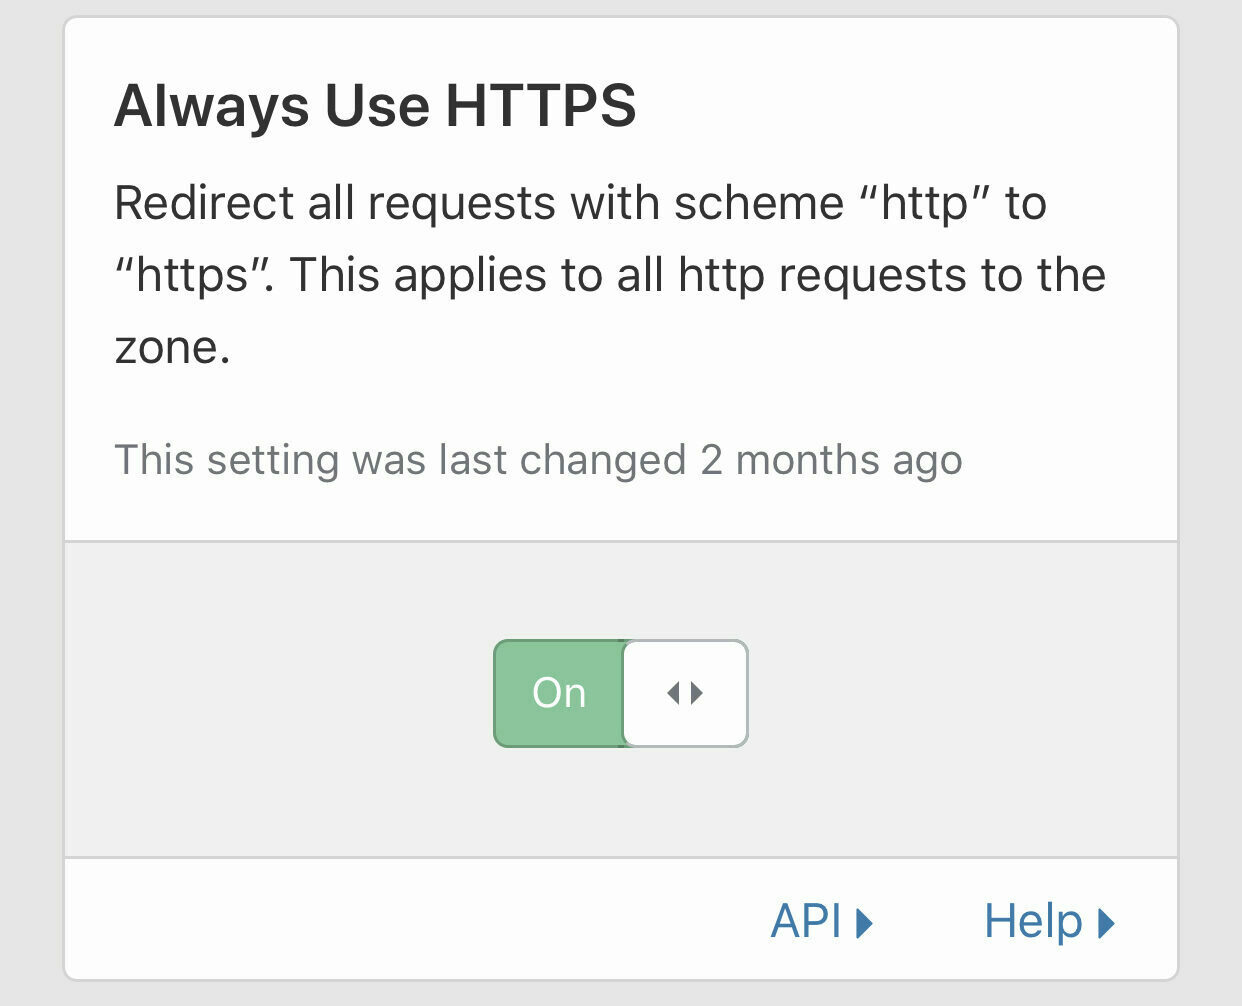
Set Always use HTTPS to On
-
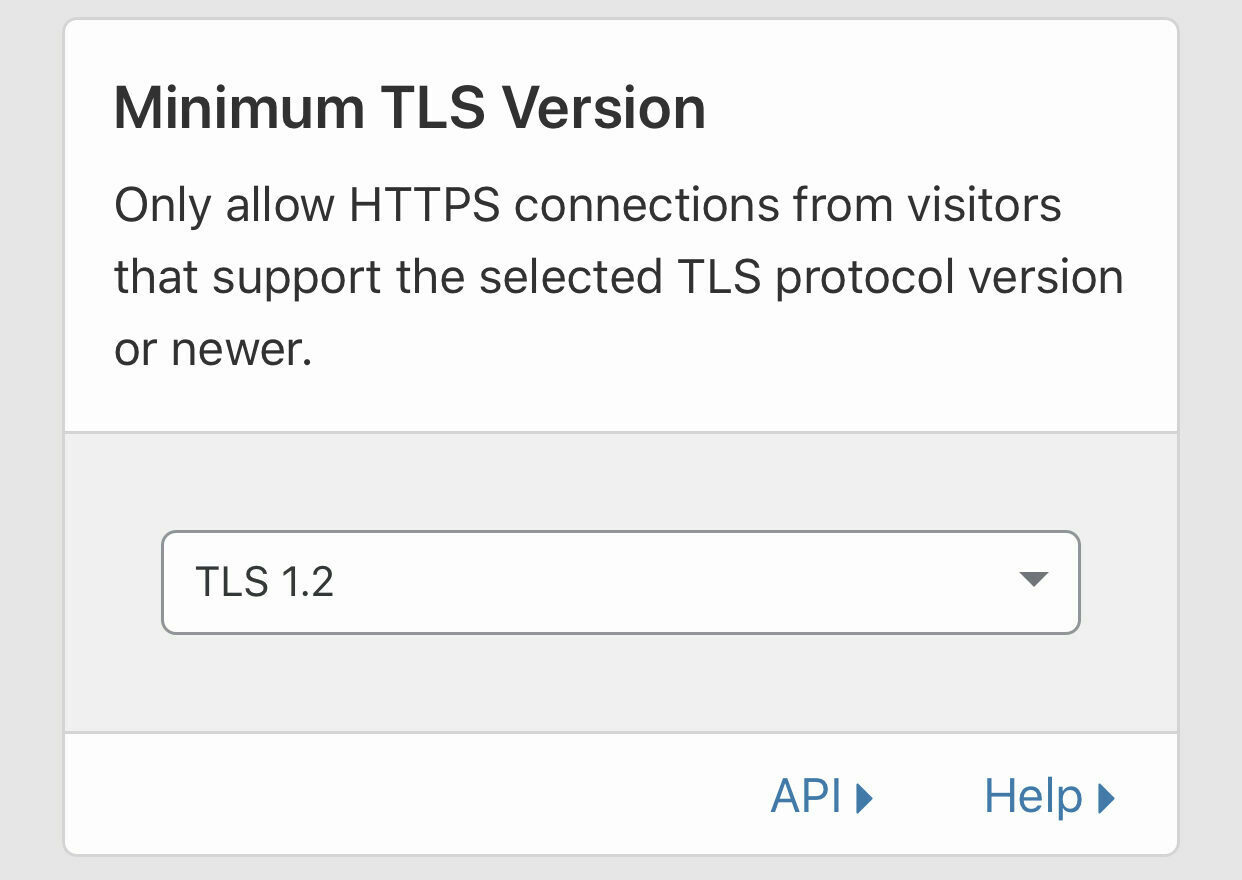
Set Minimum TLS Version to 1.2 unless you have backwards compatibility requirements to support an older encryption standard
-
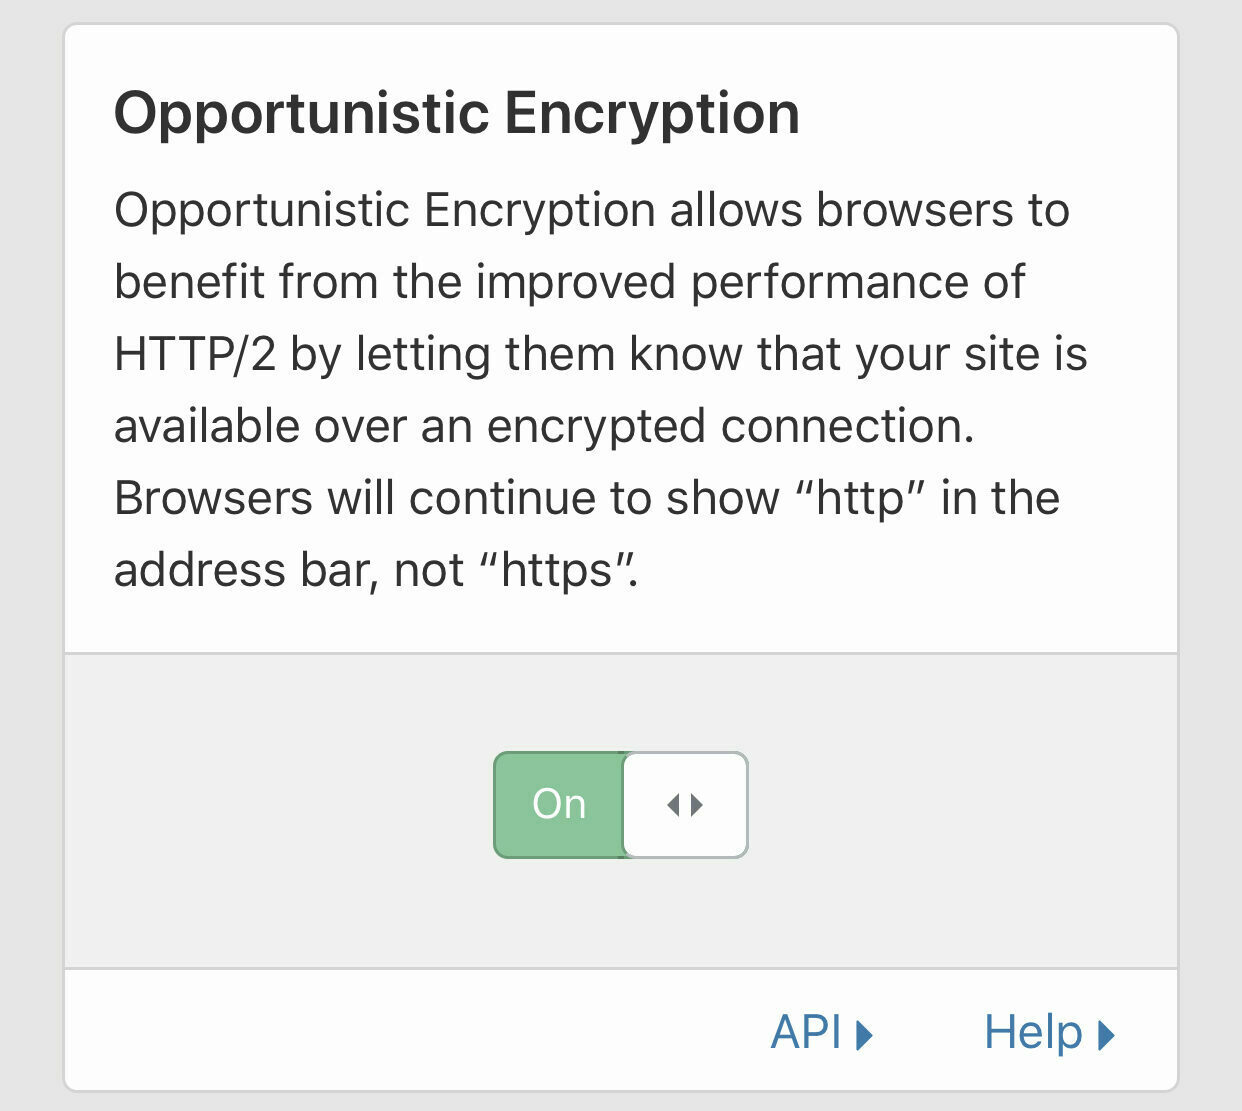
Set Opportunistic Encryption to On
-
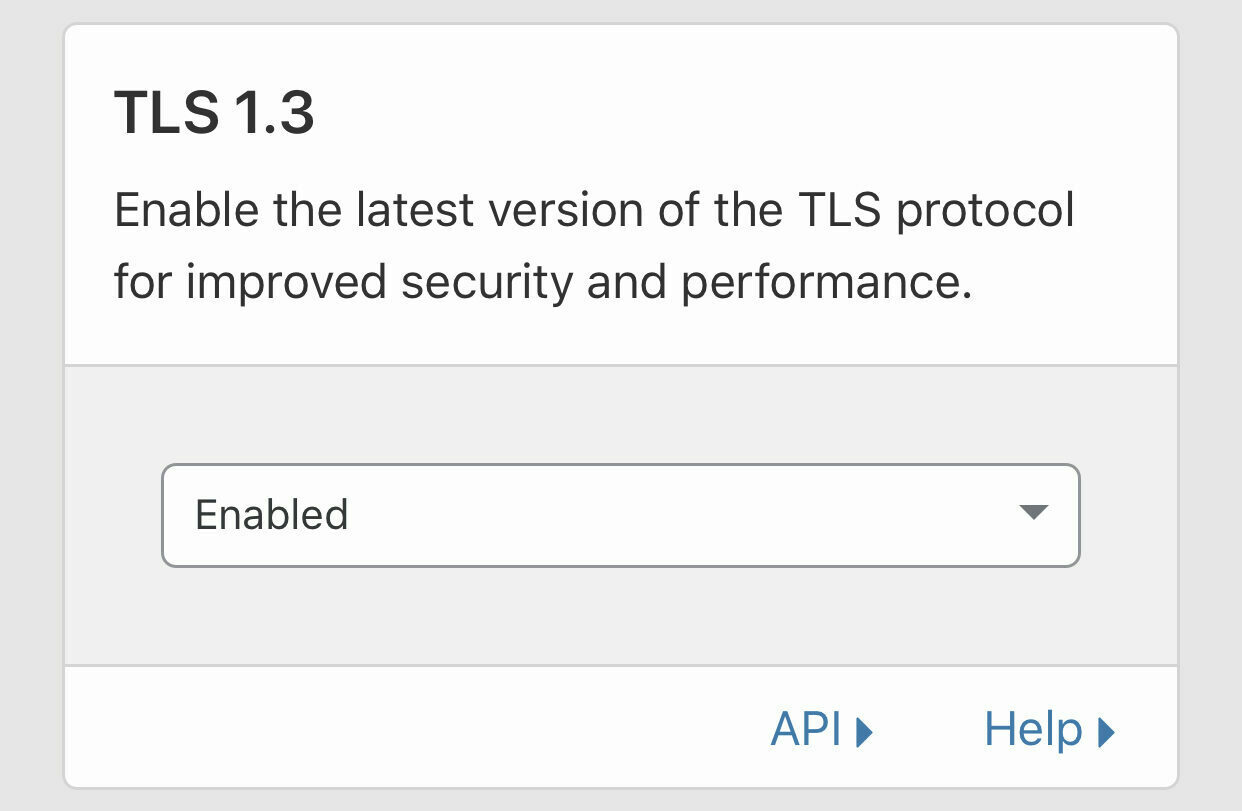
Set TLS 1.3 to Enabled to allow use of the most secure (at time of publishing) TLS protocol.
-
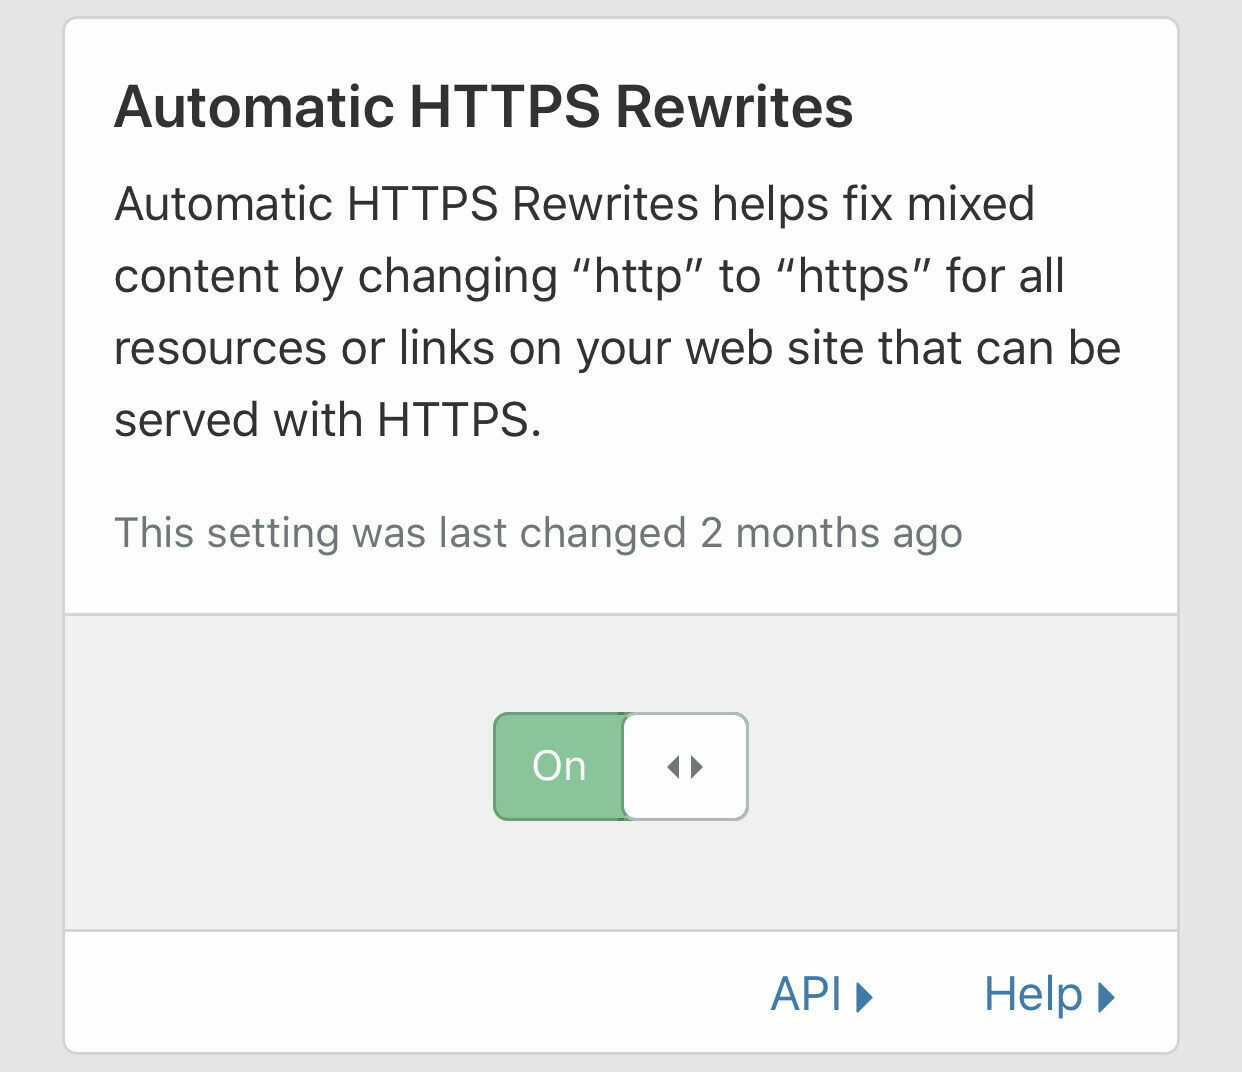
Set Automatic HTTPS Rewrites to On to take advantage of this functionality which will rewrite URLs from HTTP to HTTPS on-the-fly. You always want to be communicating securely!
Firewall
Now click on the Firewall heading.
-
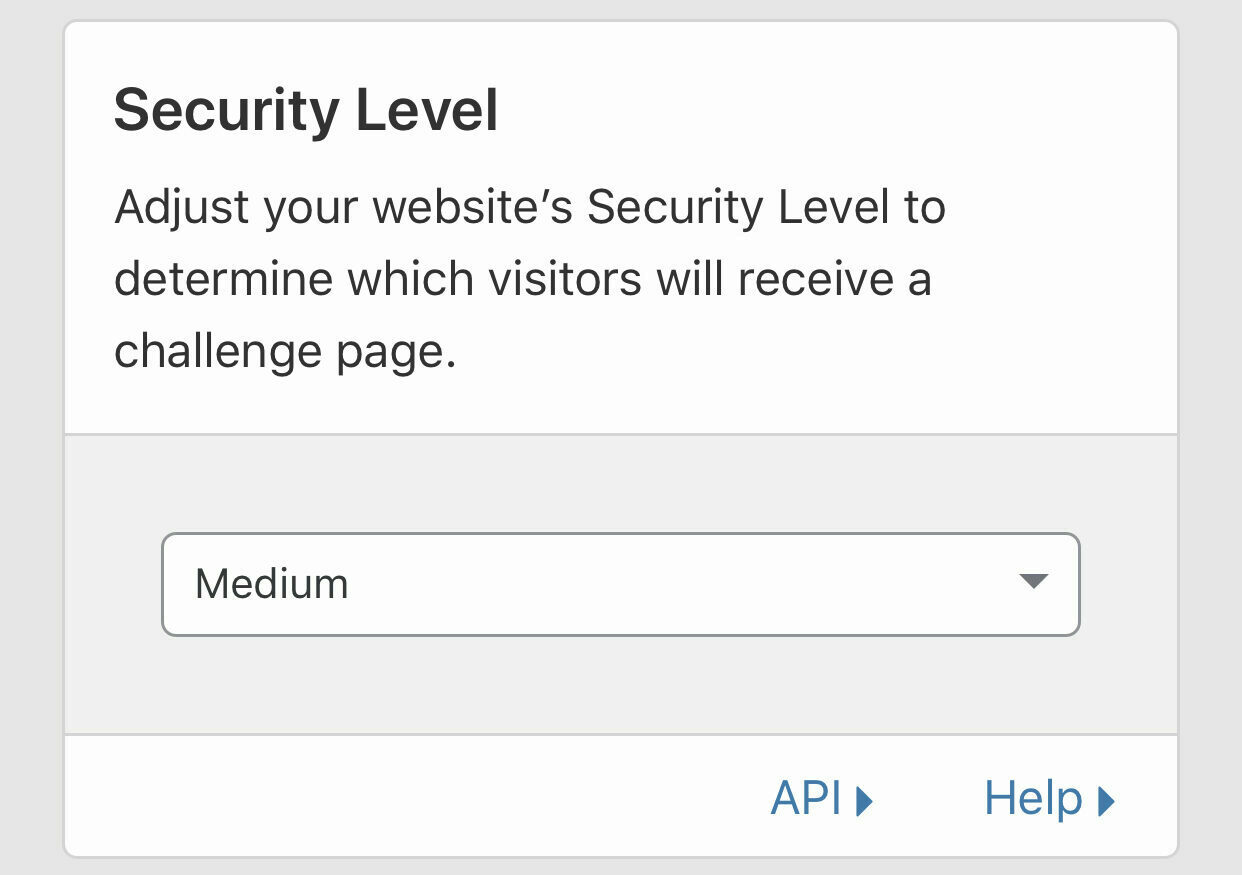
Set Security Level to at least Medium, though other levels are available to suit your needs

-
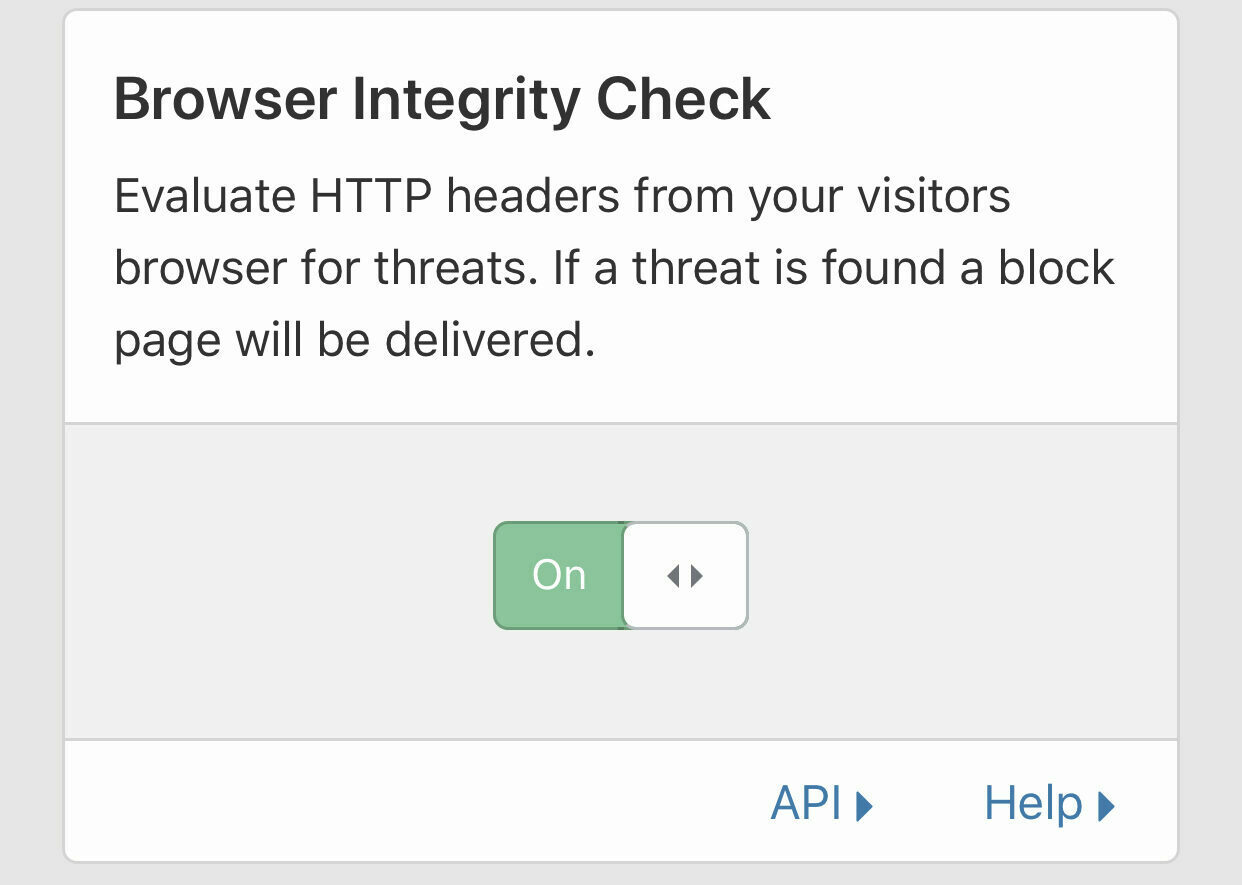
Click on Web Application Firewall then set Browser Integrity Check to On
Speed
Click on the Speed heading.
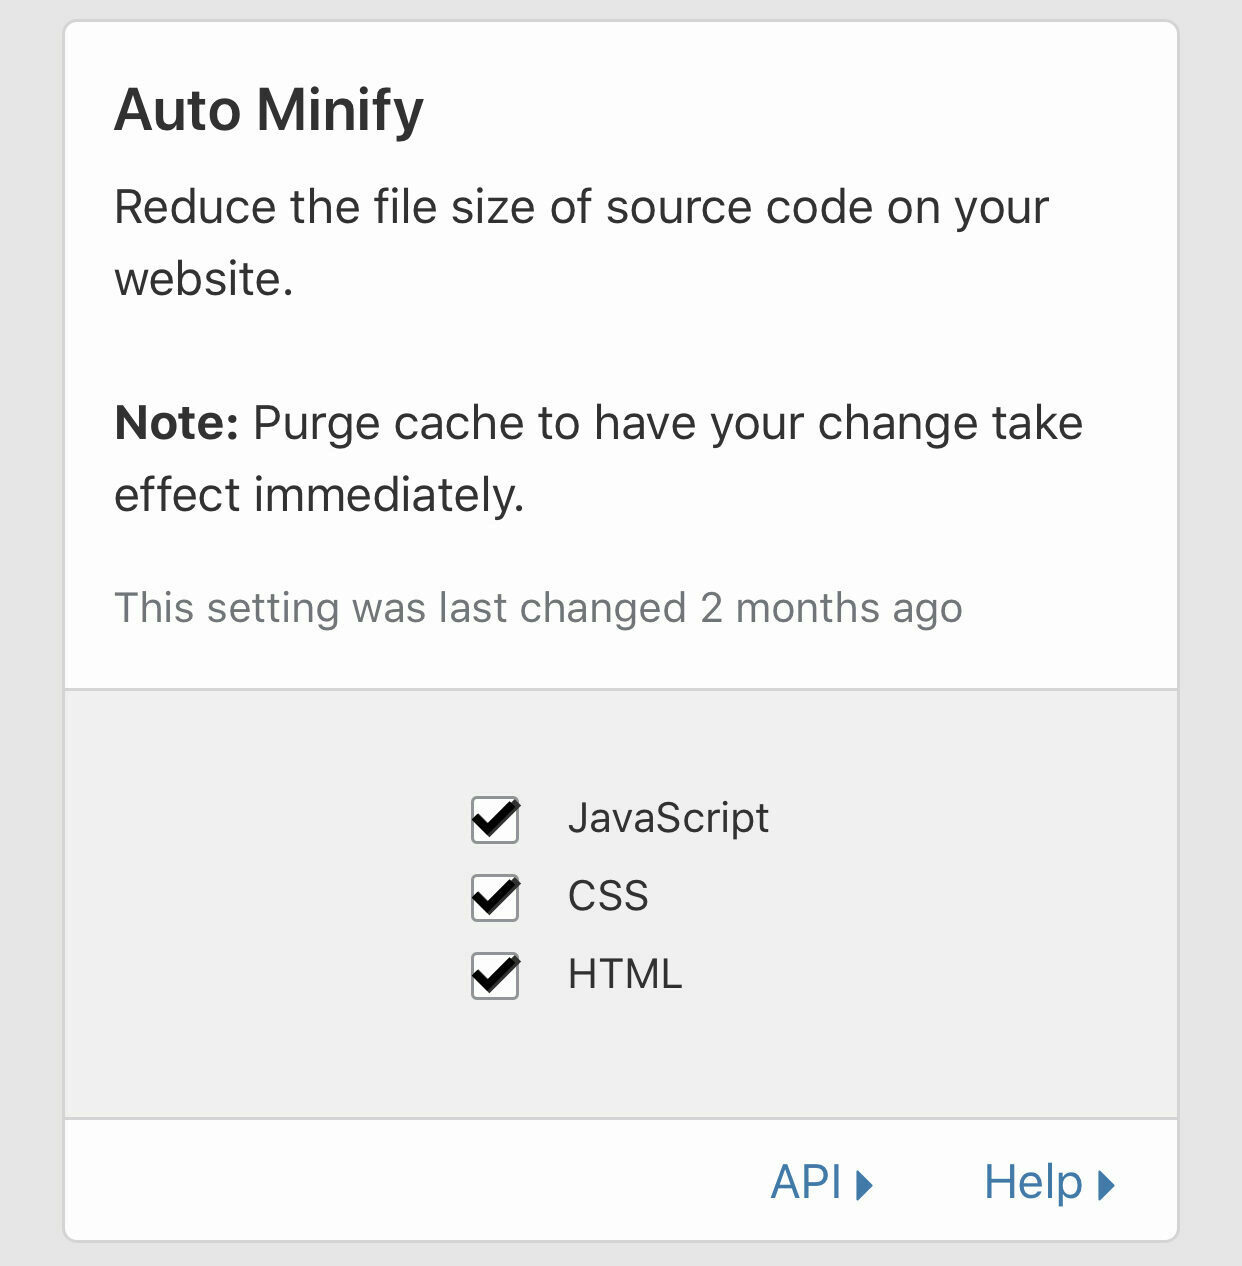
Now, turn on Auto Minify for Javascript, CSS and HTML (this removes whitespace and comments from these types of file/content, reducing their size and their time to download)
-
Set Brotli to On - this improves the compression of your website again to reduce page load time.

-
Set Rocket Loader to On to improve Javascript load times further


Caching
Click on the Caching heading
-
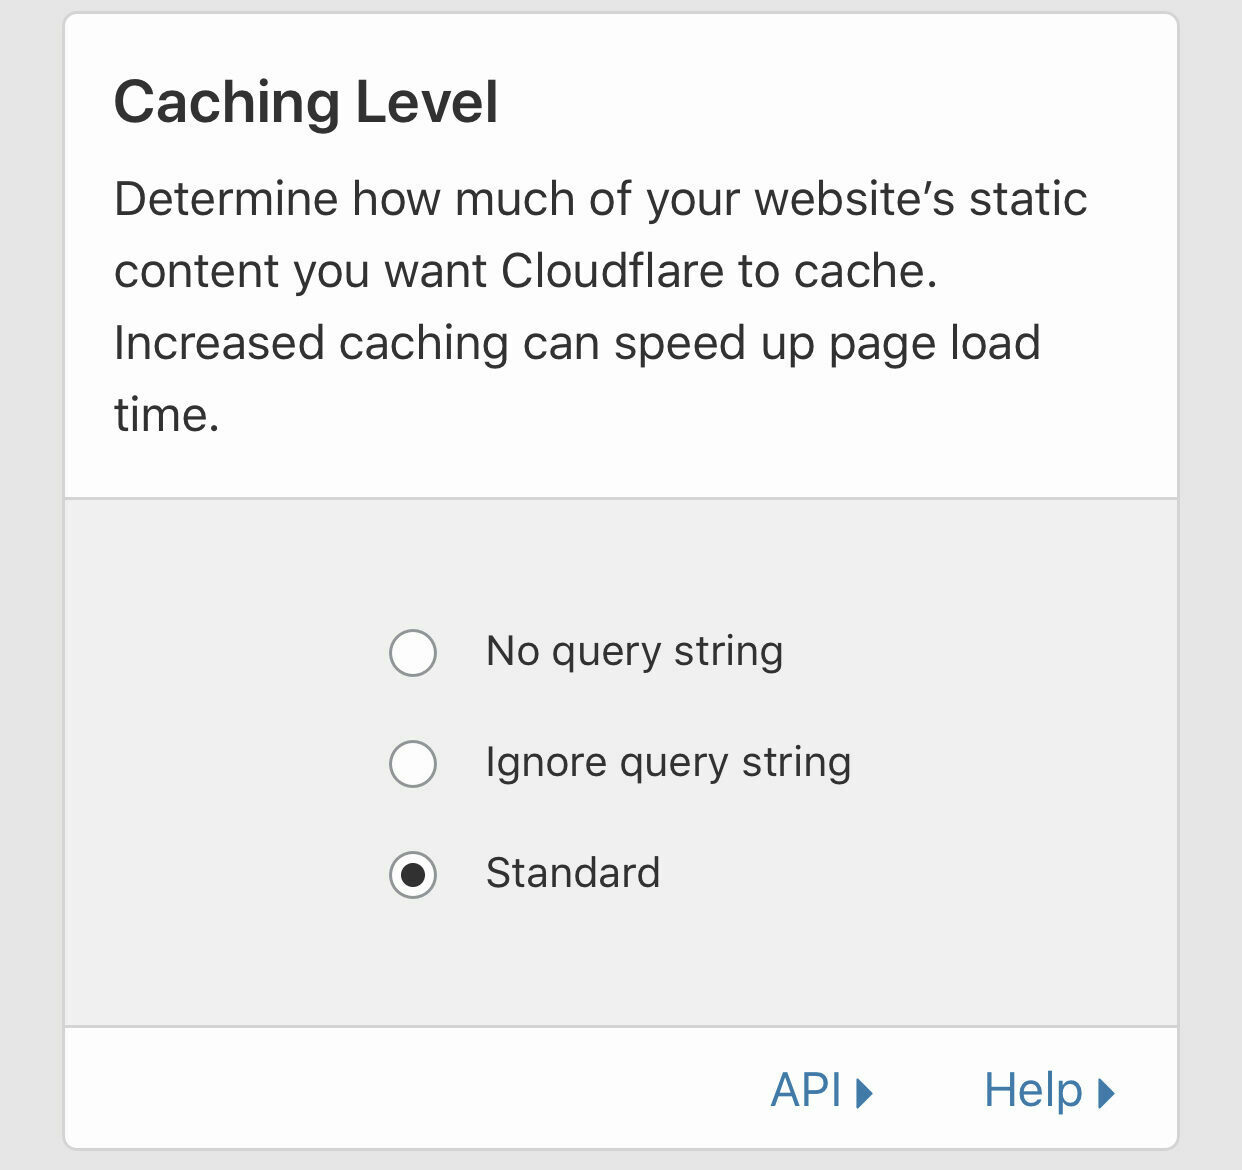
Set the Caching Level to Standard. I’ve found this to be sufficient in conjunction with page rules (coming up shortly).
-
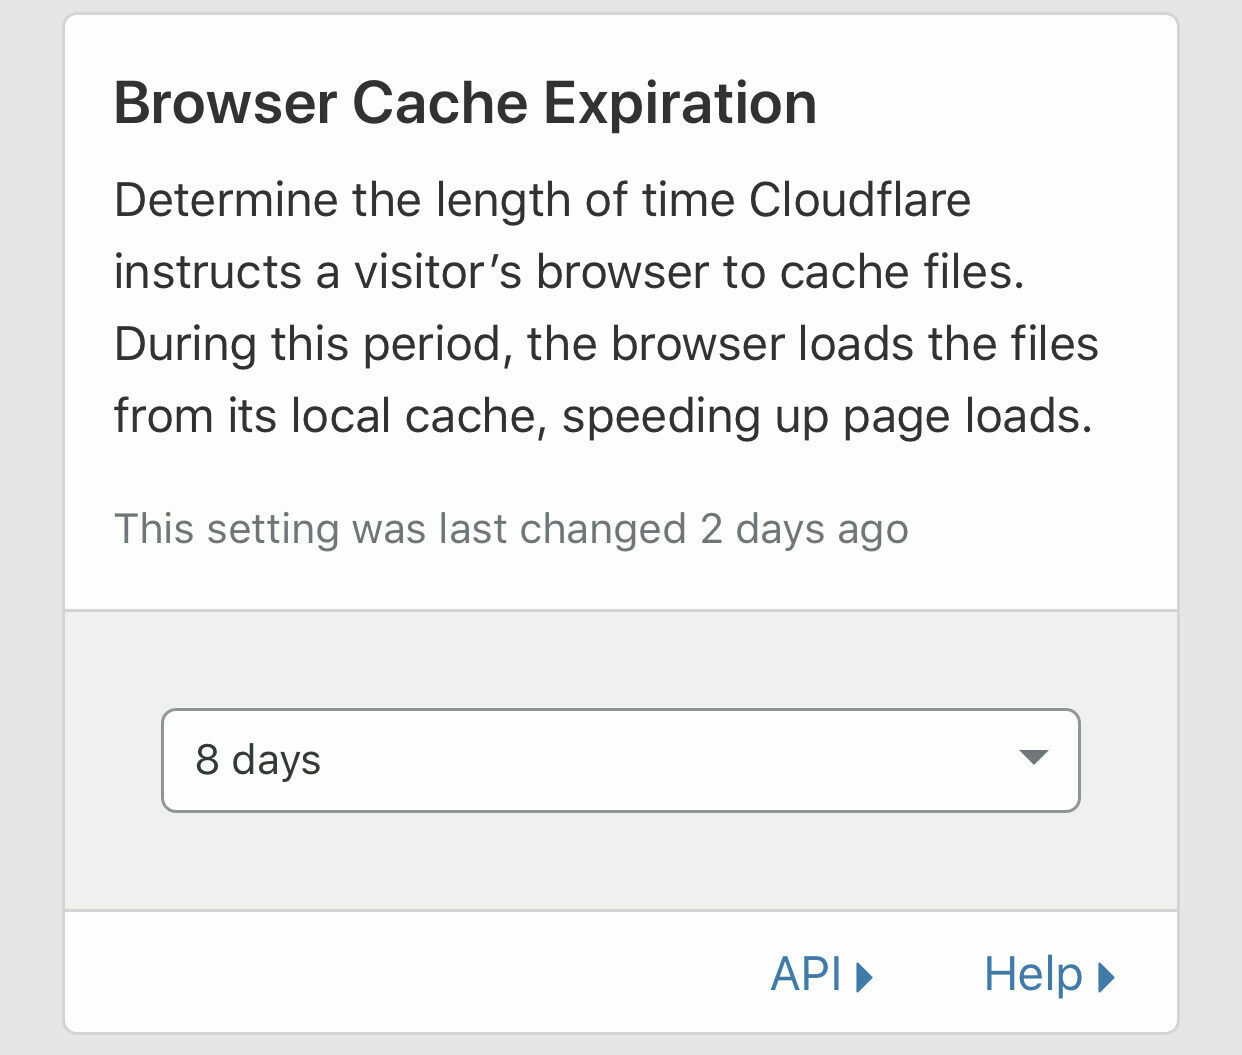
I have set my Browser Cache Expiration to 8 Days. However if your site content changes frequently then you might want to reduce this number, or you’ll have to purge your Cloudflare cache when you add new content. The sweet spot will vary depending on your needs.
Mine were based on getting my rating on webpagetest.org to A for all the main factors it measures.
I’m going to look into tweaking my deployment scripts in Azure to purge the Cloudflare cache (using their API) when I deploy into production - when i work that one out I’ll definitely blog about it!
- Set Always Online to On - this means that if your origin server in Azure is down with HTTP error codes 500, 503 or any 4xx code then cloudflare will serve up a cached version of the entire site. Again you can disable this if it doesnt suit your needs but for a blog I think this is fine.

Page Rules
Now, if you were paying attention earlier you’ll remember I mentioned Page Rules, so click on that heading now.
You get three page rules with your free account - if you need more you’ll need to upgrade your subscription to a paid one.
- Click on Create Page Rule
- Set up a rule as follows (replacing my domain with yours) and then click on Save and Deploy
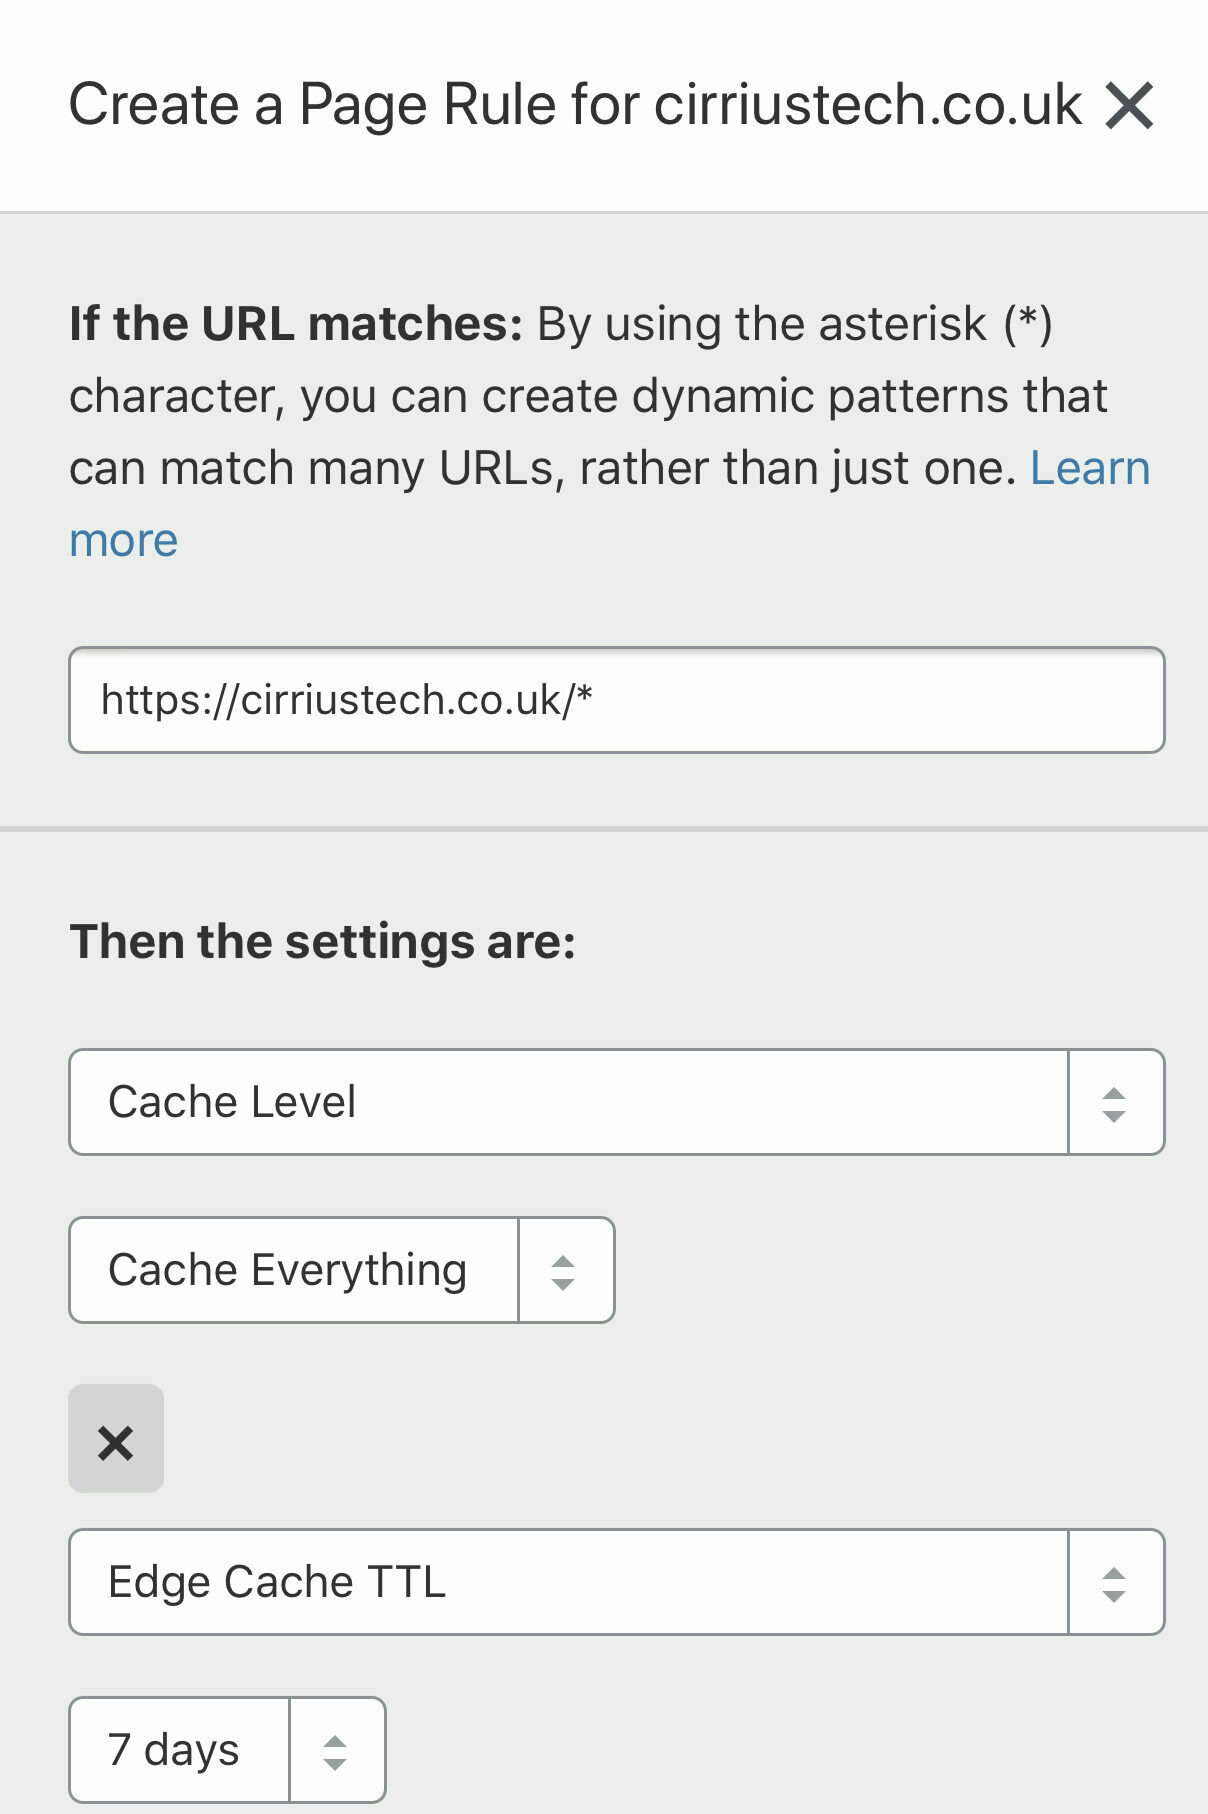
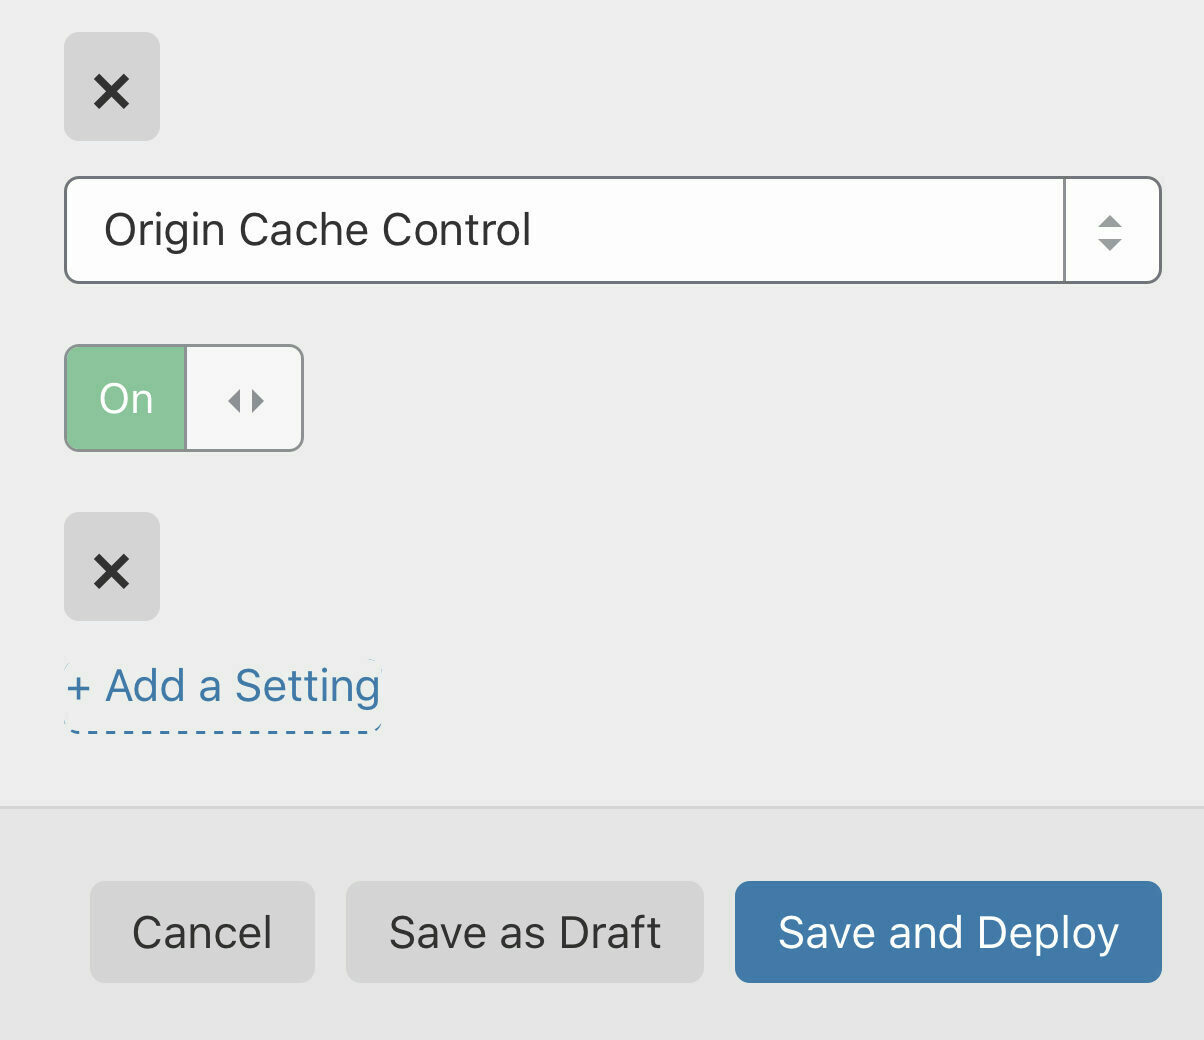
This sets the cache level for the root domain to Cache Everything, sets the Edge Cache TTL (Time To Live) to 7 days e.g. when cache items are older than 7 days they will be served from the origin server and re-cached. It also enables Origin Cache Control. These work for me especially as I may not put up new posts more frequently than once a week to begin with, but feel free to experiment according to your needs.
I found that these settings significantly improved the speed and security of my website.
Stay tuned to the next post in the Grav in Azure series where I look into Performance and Security Optimisation in Grav itself. Between those and the Cloudflare optimisations discussed in this post I achieved A ratings on
webpagetest.org - though other metrics are worth using too for both performance and security - more on these in future posts.