
Image by Sean Patrick Murphy on Unsplash
In my last post, Azure: Trigger a WebJob with Logic Apps and Kudu - Part 1, we built a KeyVault and a WebJob that will retrieve a storage key from KeyVault (using Managed Identity and REST APIs) and then backed up our webapp content and copied it to blob storage using AzCopy.exe.
In this 2nd and final part, we’ll build the Logic App that will call that WebJob using the Kudu REST API on a schedule, again retrieving the necessary credentials from the KeyVault
The main idea of a Logic App is that you don’t need to be able to code - its all done graphically in the Azure portal. However, there are two views - designer and code. That means you could actually put a JSON definition of your logic app straight into the code view.
You can also create using Az Powershell cmdlets, or using the Azure Logic Apps extension in VS Code or in Visual Studio. As I started off in the portal, like every post I’ve done so far, I’ll show you how to do it in the portal. In future posts I’ll explore more automated methods (Infrastructure-as-Code or closer to it).
Without further ado…
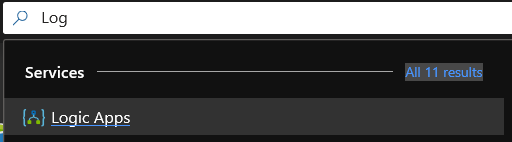
- Using the search bar, search for Logic Apps and click on Logic Apps in the results.
- Click on Add
- Give your app a name, a resource group (BlogLabRG in this example) and a location.
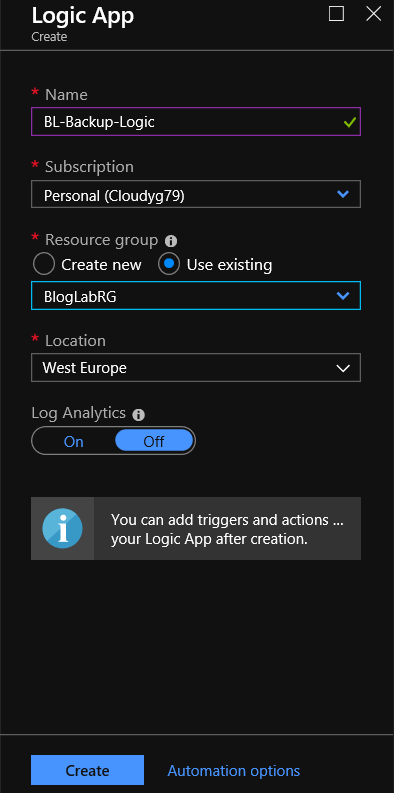
- Click Create

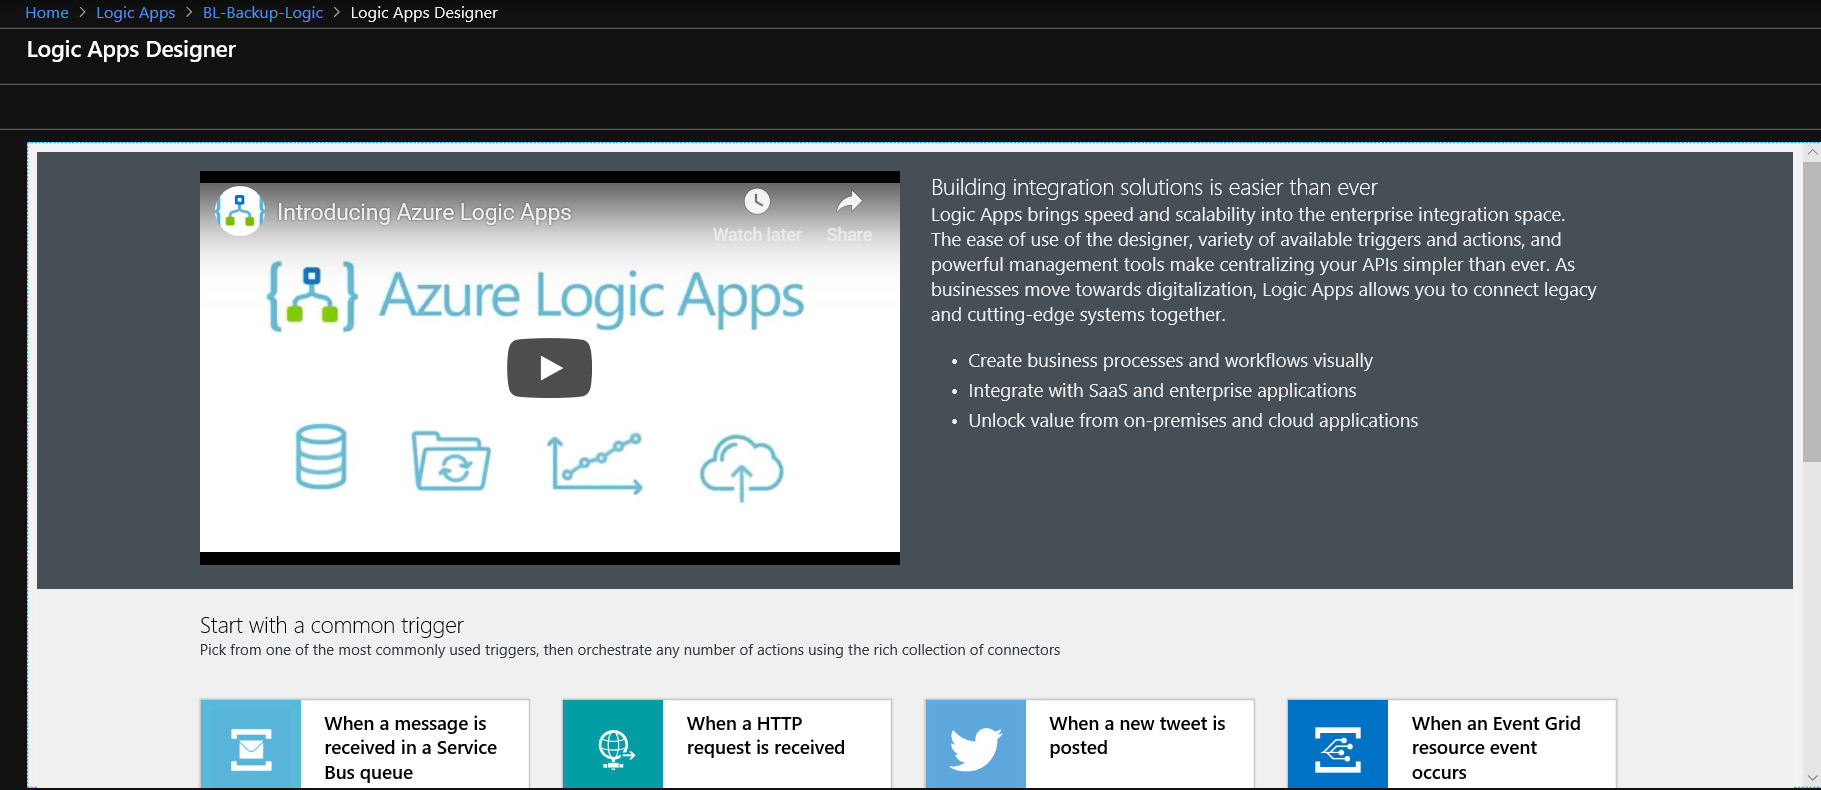
- Within a few seconds, you’ll be notified of completion - click Go to resource on the popup, or click on your app name in the list of Logic Apps (you may have to click on Refresh first).
- You’ll be taken straight into the designer view alongside a video clip and useful quickstart resources.
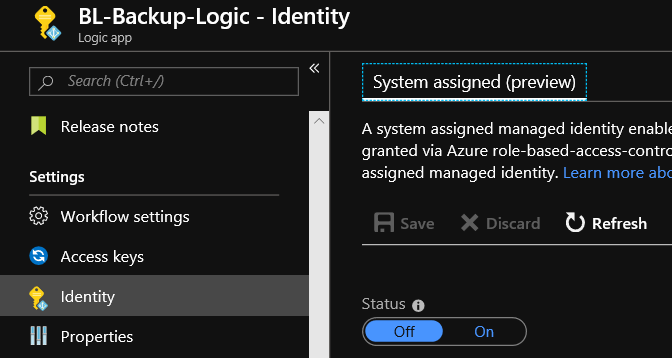
Before we go any further, we need to enable Managed Identity for this app so it can access KeyVault.
-
Click on Identity in the Settings blade then click on On to enable
-
Click on Save

-
Click Yes to confirm

-
Now, navigate to the KeyVault we created in Part 1 of this tutorial
-
Click on Access Policies
-
Click on Add new
-
Click on Select principal
-
In the Select field, enter the start of the logic app name to find it’s Managed Identity, e.g. BL. You’ll see two entries, one for the WebApp and one for the Logic App, in this case we called it BL-Backup-Logic, so click on that.

-
Click on Select at the bottom of the blade
-
Click on Secret permissions and tick List and Get
-
Click on OK
-
Click on Save
-
Now go back to the Logic App we were creating, and select Logic app designer to return to where we left off.
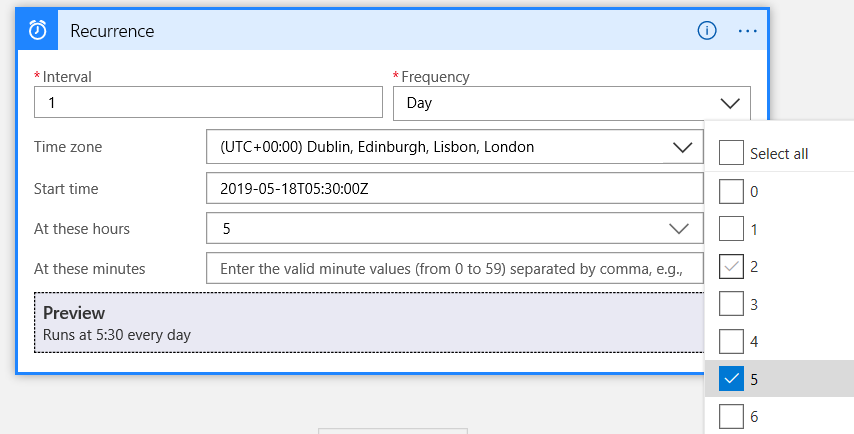
- Scroll down and click on the Recurrence trigger

- Set it up as follows (or change to suit your own preference - click on Add new parameter to access the additional fields):
- Interval :
1 - Frequency :
Day - Time zone :
(UTC + 00:00) Dublin, Edinburgh, Lisbon, London - Start time :
2019-05-18T05:30:00Z - At these hours :
5
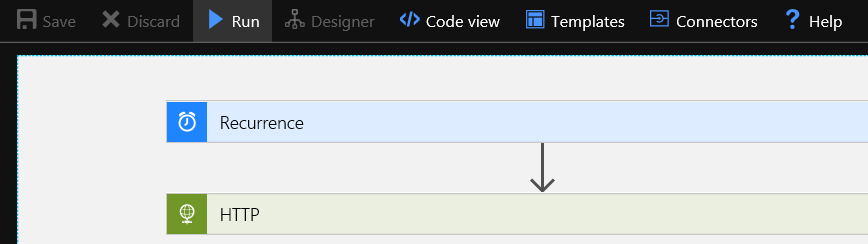
- It should look as follows if you’ve used the values I’ve used
-
Click on New Step
-
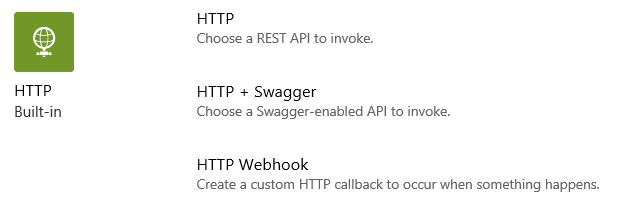
Scroll down through the actions until you see the HTTP Built-in section, then click on HTTP action (as opposed to HTTP + Swagger or HTTP Webhook), it should now look as follows:
-
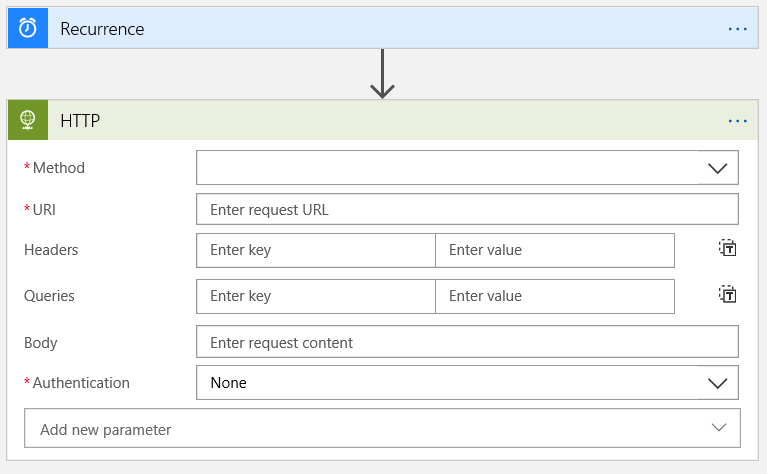
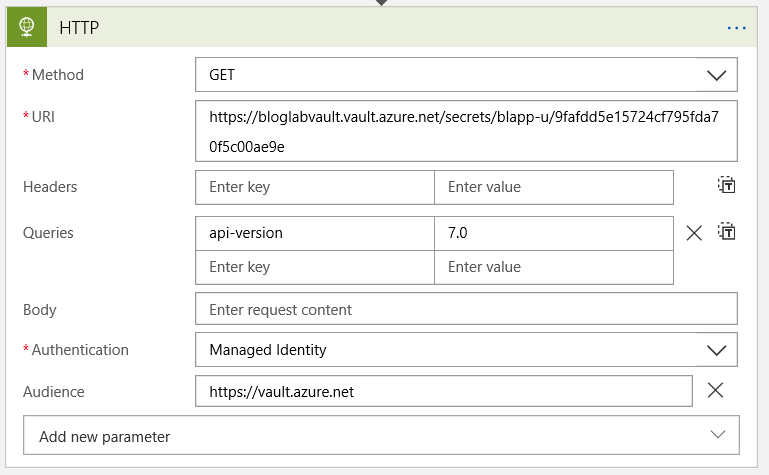
Now, we’re going to lookup the webapp deployment usercode in KeyVault, so we’re going to want to set it up as follows:
- Method :
GET - URI :
hxxps://bloglabvault.vault.azure.net/secrets/blapp-u/9fafdd5e15724cf795fda70f5c00ae9e - Queries :
api-version|7.0 - Authentication :
Managed Identity - Audience :
https://vault.azure.net
- Method :
-
It should look like the following (note that the secret name and secret version may be different - in fact the version be different for you even if you used the same name, as the version ID is generated randomly).
-
Now, we need to parse the JSON response to the REST API call, so we have the secret able to be used later when we call Kudu. Before we do that, we need to know the JSON response schema as we’ll need it for the parser.
-
So, at this point, click on Save at the top of the blade.
-
Click on Run
-
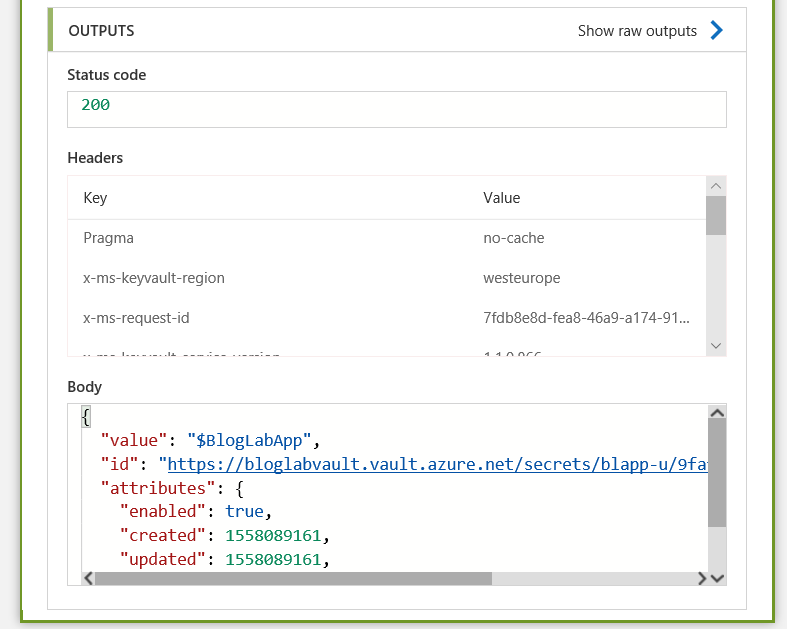
After a few moments, you should see that it has completed

-
Click on the HTTP action for more information about the run
-
Now, select and copy all of the text of the output body - you’ll need it in a second.
-
Click on Designer at the top of the blade to go back to design view.
-
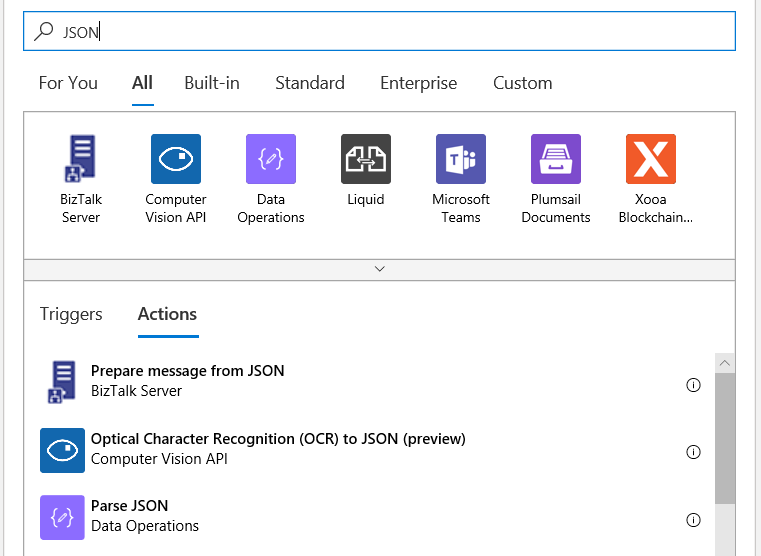
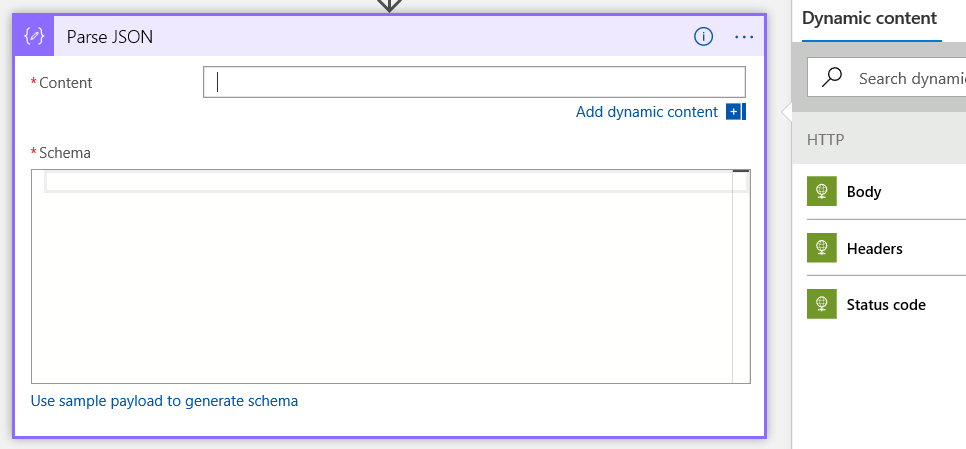
So, next we will add a Parse JSON action, so search for JSON as shown below and you’ll see the Parse JSON action - click on it to add it.
-
Click in the Content field and you’ll see dynamic content appear on the right - click on the Body item so that it becomes the content to be parsed - this is the Body of the response to the previous HTTP AIP call.
-
Now, it needs to know the JSON schema to know how to parse the body. Because we have the output from earlier, we can use that and have the schema built for us from the output.
-
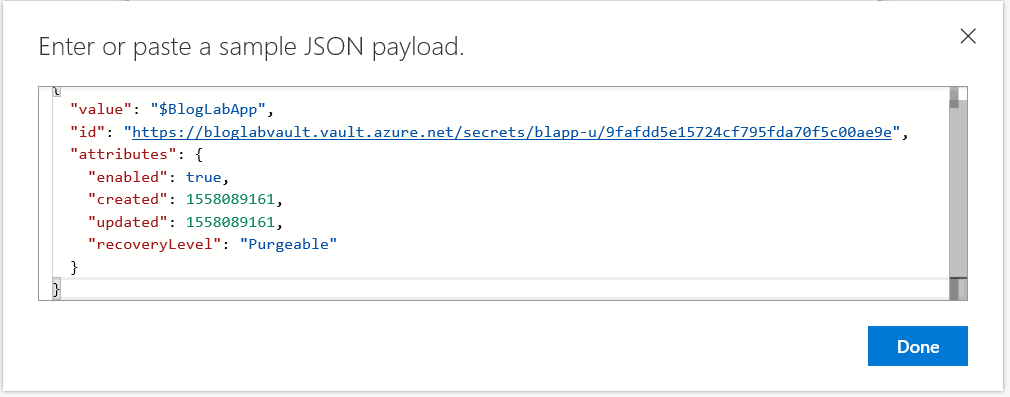
Click on Use sample payload to generate schema
-
Paste the sample payload into the field, click Done
-
You can save your app at any time so long as the actions added are completely/correctly configured - so let’s do that just now - click Save
-
Now, we’re going to add another http action, and the only thing we’ll do differently to the one we already have is that we are going to lookup the secret for the deployment usercode, so you only need to change the URI to
hxxps://bloglabvault.vault.azure.net/secrets/blapp-p/7adcfcd2c203448f84165281daa735ef(again, your URI won’t be exactly the same even if you used the same name, as the version ID generated will be different - you can get the full URI by viewing the secret in your keyvault). -
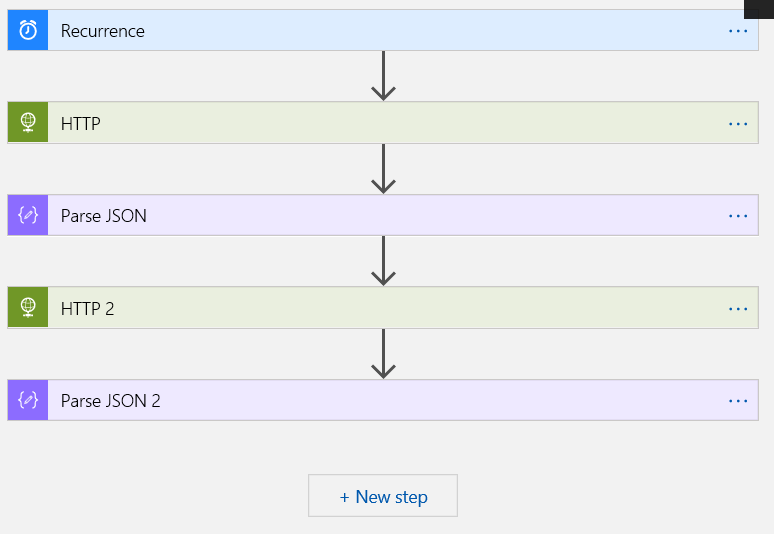
Now we add another Parse JSON action, exactly the same as before (you can even use the same sample payload data as before to generate the scheme - or just copy the schema from the action we added earlier).
-
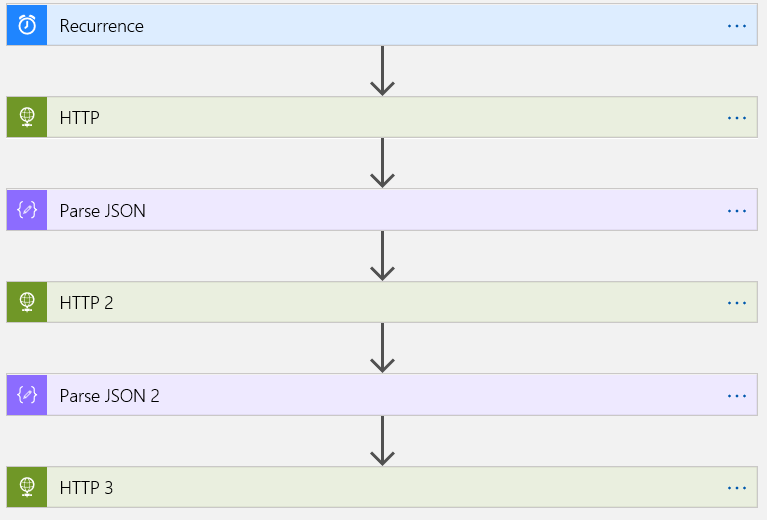
At this point, you should have something resembling the following:
-
So now we have one final action to add - an HTTP call to the Kudu REST API to trigger the WebJob. Before we do that however, we ne the webhook url for the WebJob to use in the HTTP action.
-
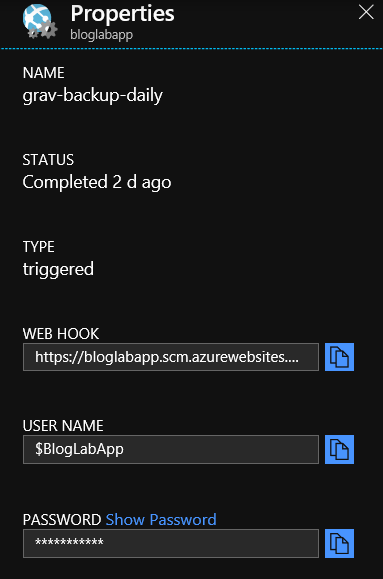
Go to the web app in the portal and click on WebJobs in the Settings blade.
-
Click on Properties
-
Copy the url from the WEBHOOK field, you’ll need it soon.
-
Now, navigate back to your new logic app, and back into the Logic app designer
-
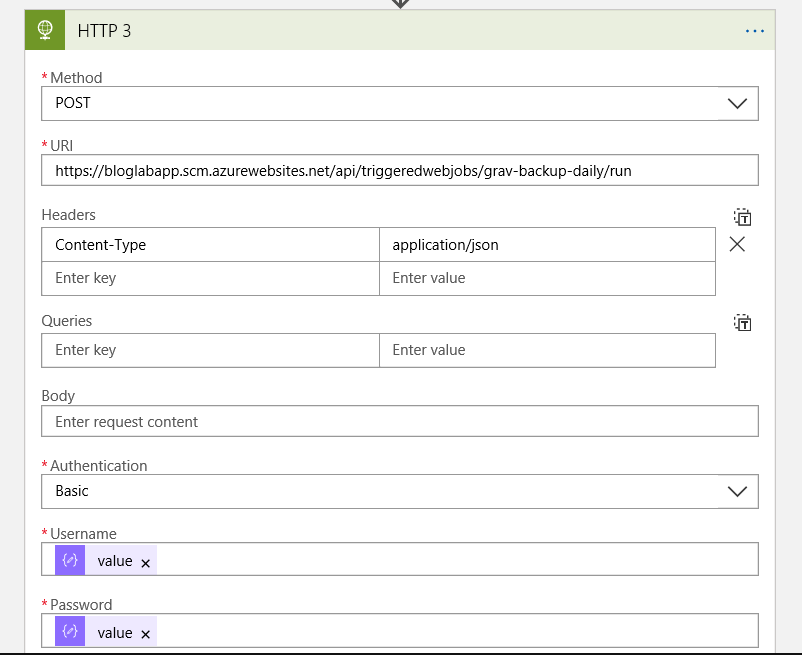
Add an HTTP action and fill it out as follows:
- Method :
POST - URI :
hxxps://bloglabapp.scm.azurewebsites.net/api/triggeredwebjobs/grav-backup-daily/run - Headers :
Content-Type|application/json - Authentication :
Basic - Username :
the “value” field from Parse JSON - Password :
the “value” field from Parse JSON 2
- Method :
-
It should look like below (remember to Save)
-
Now - you’ll notice that it was easy to perhaps mix up the values from each of the various actions, with their default naming. You can change their label though to make it more meaningful.
So, instead of the following:
The following is better for someone else to read/follow later and is easier when building the logic app if you relablelthem as you go (once an action has another action dependent upon it’s output, you can’t rename it in the designer, though you can in the code view):
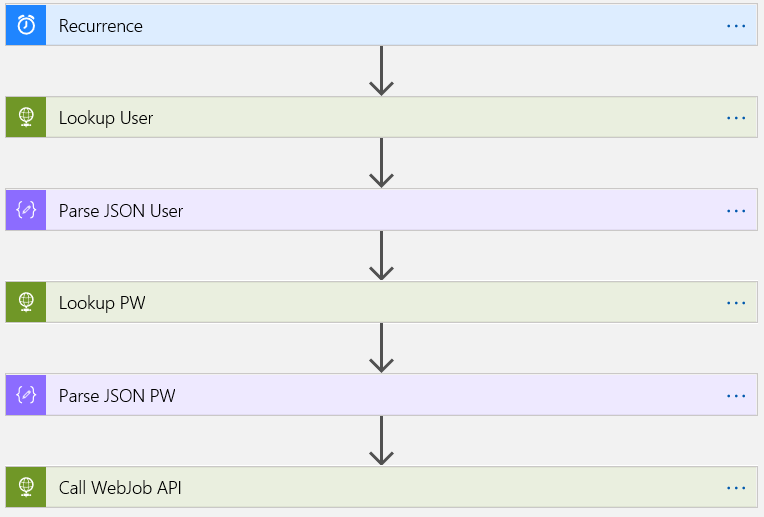
To relabel an action or trigger, click on the … at the right of the action and choose Rename then enter the new name and press Enter.
32. Now, to test it, after you have saved the app, click on Run
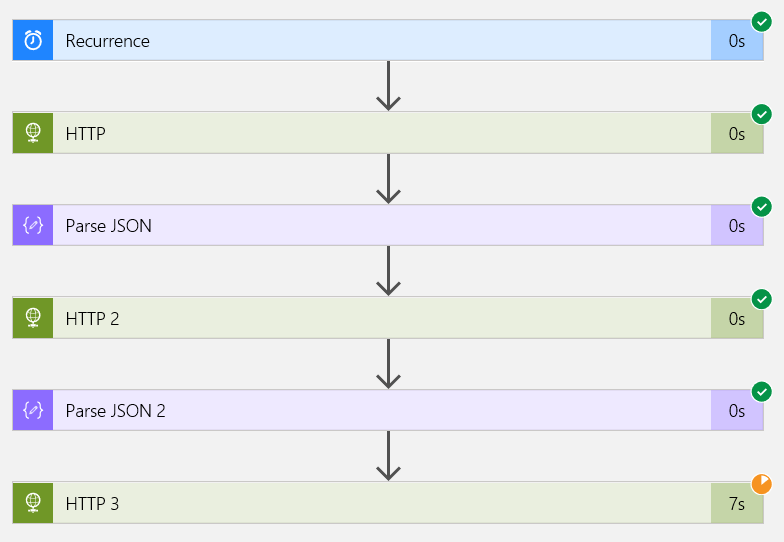
- While it’s running, you will see how an orange clock icon on the currently running action, and green tick on those that are complete. All of them will show you how long they took/have taken so far.
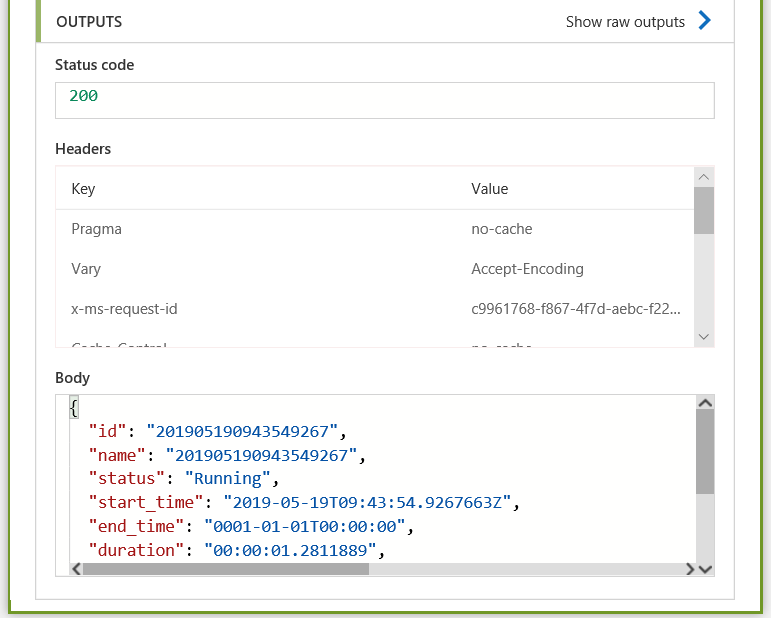
- Click on the final action (or indeed any action) to see the result of it/output.
- You’ll also see that in the output of the Kudu call, you get information about the job, how long it ran, links to the log of the job run etc.
So there you have it - simple automation without any code (for the Logic App at least!) and between Kudu, Logic Apps and WebJobs, you can automate a lot of manual actions around the management and deployment of your webapp and without using Azure Batch or Azure Automation.
As ever, thanks for reading and feel free to leave comments below.