
Image by Sean Patrick Murphy on Unsplash
In my last post, Grav in Azure part 8 - Wrapping it Up, I mentioned a solution I came up with for my Grav project.
I wanted a WebJob for my blog which would invoke Grav’s own backup command to take a backup of the entire site, and then move the backup offsite as it were, to more resilient storage (the plan was to move it to Azure blob storage and remove backup file from the site itself).
I developed a Powershell script that would do exactly that:
- Use Managed Service Identity (MSI) to access secrets from Azure KeyVault (storage account key)
- Invoke Grav backup command to backup site to a zip file
- Invoke AzCopy to copy the zip file to Blob storage
- Remove the zip file from the backup directory of the webapp content
My problem was how to schedule the running of said script, on a Free or Dev/Test webapp which doesn’t allow anything except a manual trigger for WebJobs.
After some research into Kudu, I opted for the following :
- Create an Azure Logic App with a scheduled trigger - 05:30am daily
- Performs a lookup of the kudu deployment credentials from Azure KeyVault using HTTP API calls.
- Parses the credentials from the JSON responses
- Calls the Kudu WebJobs API to run the webjob for the website backup
So let’s go build it!
What you’ll need
- An Azure Subscription
- An Azure WebApp (windows for the purposes of this tutorial as I’m using powershell) (If you need some help with that, I’ve got you covered!)
- An Azure Storage Account
- An Azure KeyVault Vault
First things first - enable Managed Identity on the WebApp
- Login to portal.azure.com
- Search for App Services and then click on it in the results:

- Click on your web app
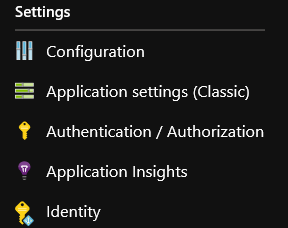
- Navigate to Settings and click on Identity:
- Click on On:
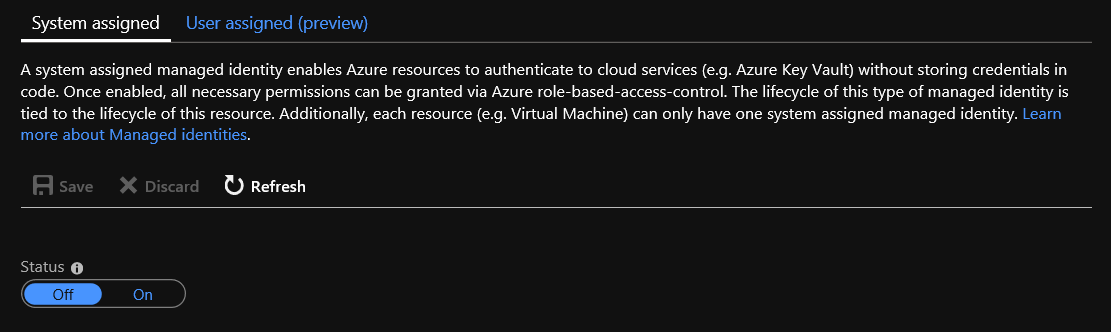
- Click on Save to make the change:

- Click on Yes to confirm the change:

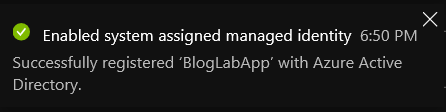
- After a few seconds, confirmation it has been enabled:
Now let’s grant the web app’s managed identity access to the KeyVault
- Search for KeyVault and then click on it in the results
- Click on your Key Vault.
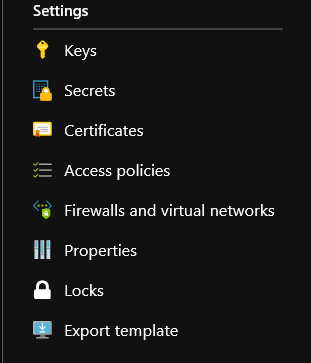
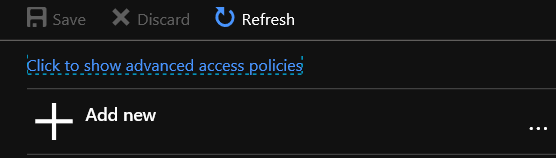
- Navigate to Settings and click on Access Policies:
- Click on Add:
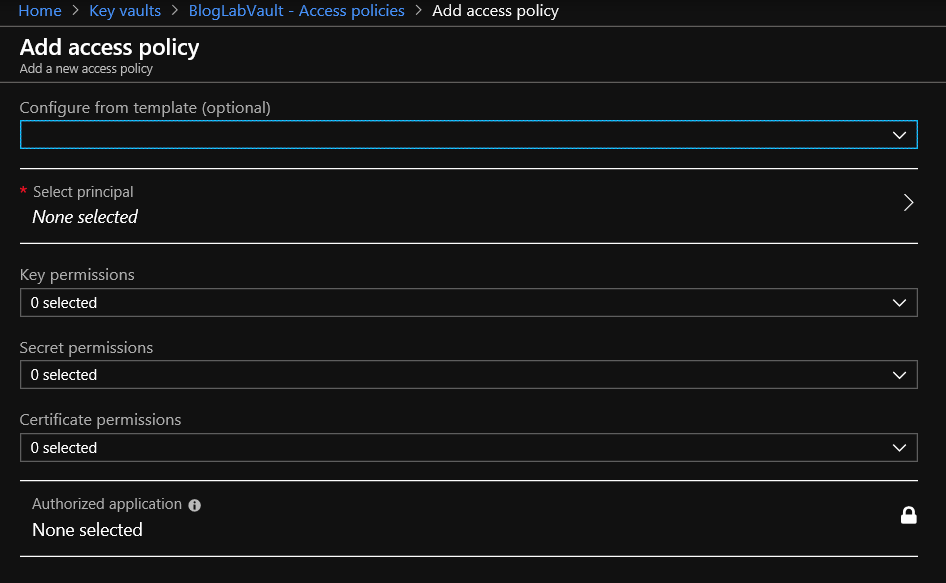
- Click on Select principal:
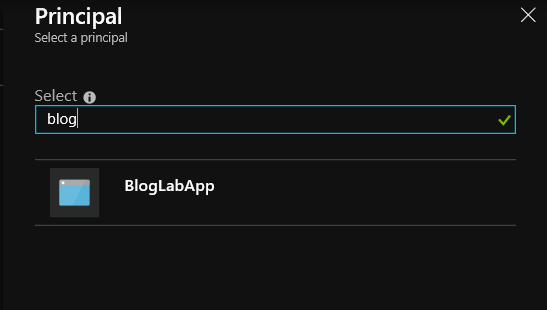
- Start typing the name of your webapp and once it is in the results, click on it:
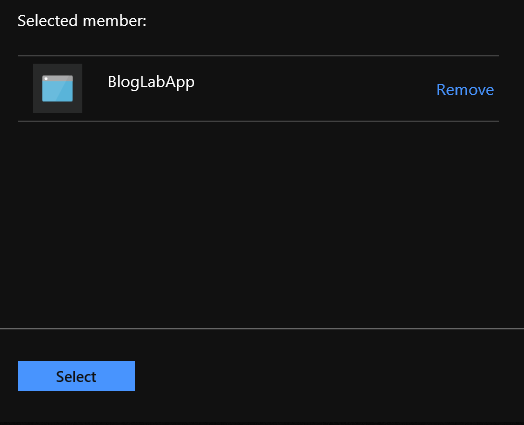
- Once selected, click on Select:
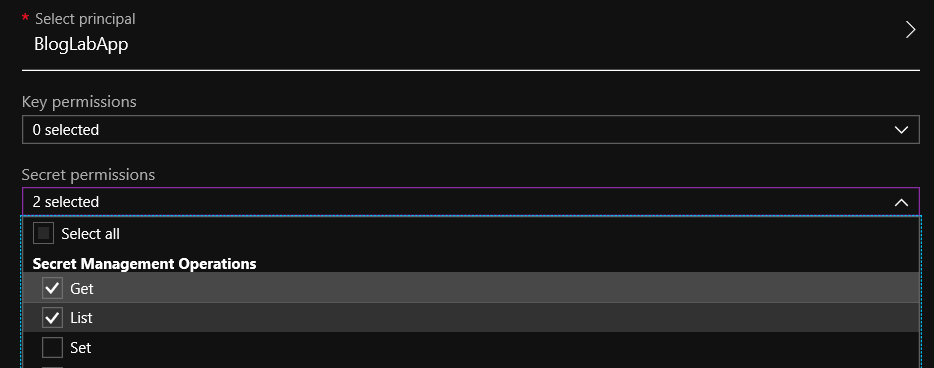
- Click in the Secret permissions field and then select Get and List from the Secret Management Operations section, then click outside of the list:
- Click on OK
- Click on Save to make the change:
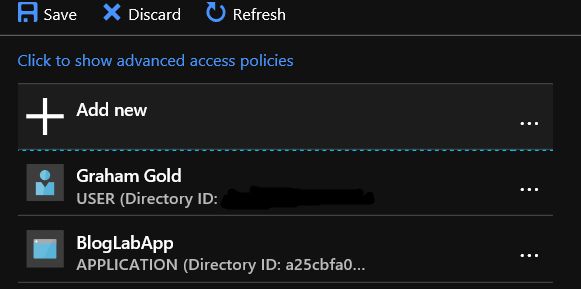
- After a few seconds, confirmation it has been enabled:

Store a storage key in the Vault
So, if you haven’t already, store one of the storage keys for the storage account as a Secret in your ** KeyVault**.
- To find the keys, navigate to your storage account (yep, the search box at the top of the portal is your friend here. - Then find and click on Access keys under the Settings heading and you will see you storage keys listed:
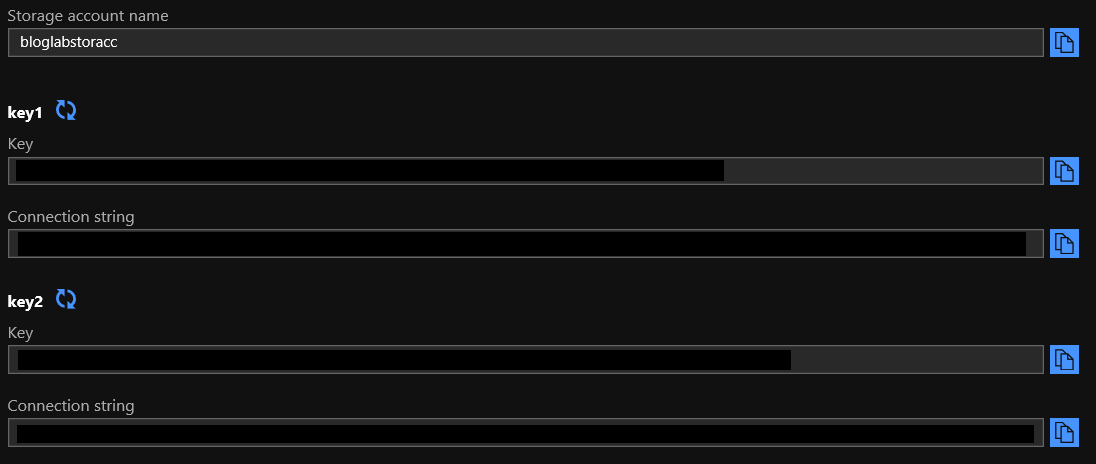
- Copy or make a note of either of the storage keys.
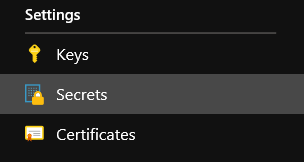
- Now, go back to your KeyVault and click on Secrets under the Settings heading:
- Click on Generate/Import:

- Give your secret a Name and paste the storage key into the Value field and click on Create when done:
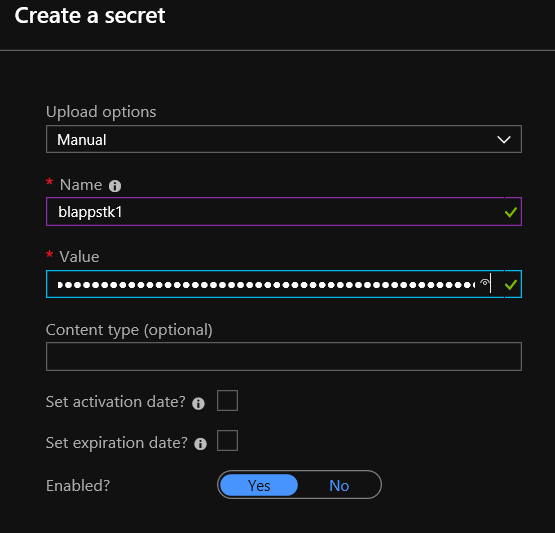
- Et voila!
Now to add the deployment credentials for Kudu
Using the same process above, we want to add in the username and password for Kudu for this webapp, so we can actually run the wenjob remotely - the API call requires authention, as you would hope would be the case.
To find those details, navigate to the webapp and you’ll find them by:
- Clicking on Get publish profile from the Overview tab, which will start a download of a file called
<appname>.PublishSettingswhich contains, amongst other information the deployment usercode and deployment password.
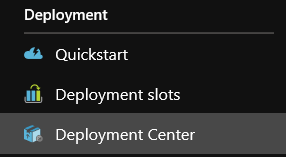
- Click on Deployment Center in the settings blade:
- Click on Deployment Credentials:
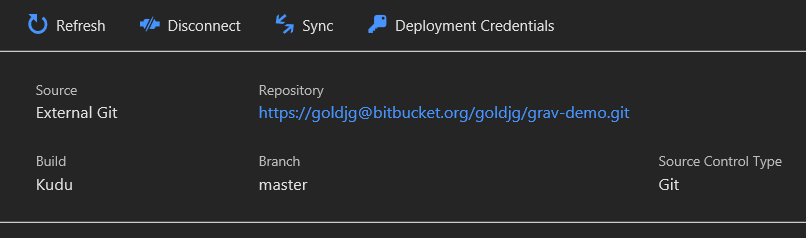
- You’ll now see the below and handy buttons to copy each field to your clipboard. You could also create your own User Credentials rather than the app ones if you wanted to and use/store those.

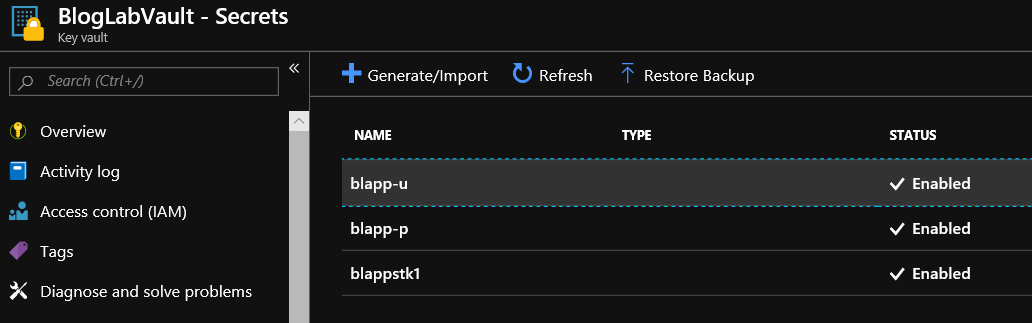
Now, using the same process as for the storage keys above, add them as secrets into your vault - remembering to only store the last part of the username after the backslash - in this example store $BlogLabApp and not BlogLabApp\$BlogLabApp.
You should now have something like the following in your vault:
Now let’s create a WebJob for our webapp
You’ll find a skeleton script for this on my Cirrius Tech Code Snippets bitbucket repository.
Things you will need to change for this to work in your webapp:
$KeyVaultName = "<vault name>"
$KeyVaultSecretName = "<secret name / version >"
- Replace
<vault name>with your vault name e.g. BlogLabVault in this example. - Replace
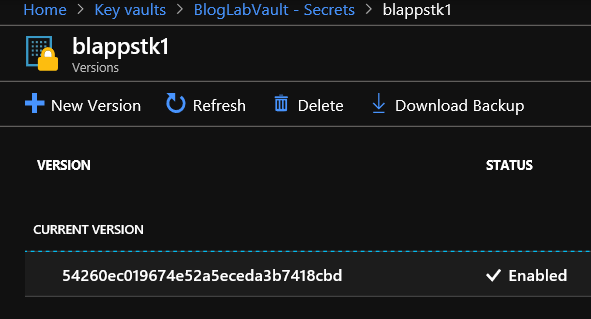
<secret name / version>with the secret name and version for your storage key that you stored earlier, again for this tutorial, that would be blappstk1/54260ec019674e52a5eceda3b7418cbd - you can find it by clicking on the secret in your vault, then:
- Clicking on the Current version number (as shown below)
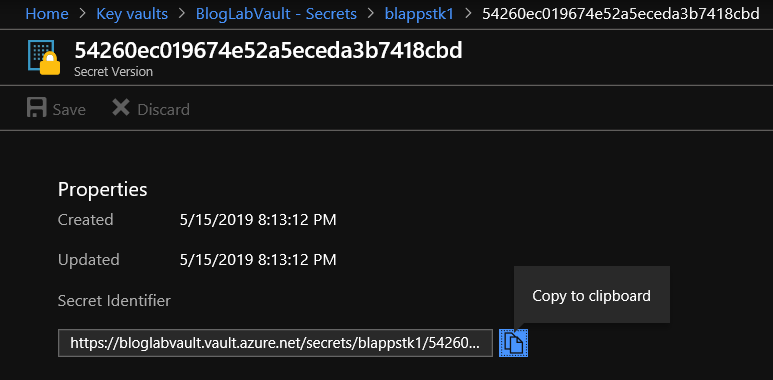
- You’ll see a screen like the following - the last 2 nodes of the Secret Identifier URL are what you are interested in here.
- Replace
storageacctwith the name of your storage account in the line below (in this example, use bloglabstoracc):.\AzCopy.exe /Source:D:\home\site\wwwroot\backup\ /Dest:hxxps://storageacct.blob.core.windows.net/container/ /Pattern:*.zip /DestKey:$Secret /XO /XN - Also in that line, replace
containerwith your container name for the backup files (blobs) to be stored in - in this example, I’ve used the rather unimaginative grav-backups
There’s nothing else that you need to change here for it to work - you can change the following line if you would rather that files are kept in the backup directory of your webapp for a different amount of days than 7 by changing the number:
$BackupAgeLimit = (Get-Date).AddDays(-7);
So, now you have a script ready to run, so let’s set it up as a WebJob:
- Create a zip file with the powershell script (.ps1 file) inside it - on windows that’s as simple as right-clicking on the script file and selecting Send to > Compressed (zipped) folder.
- Navigate to your webapp in the Azure portal
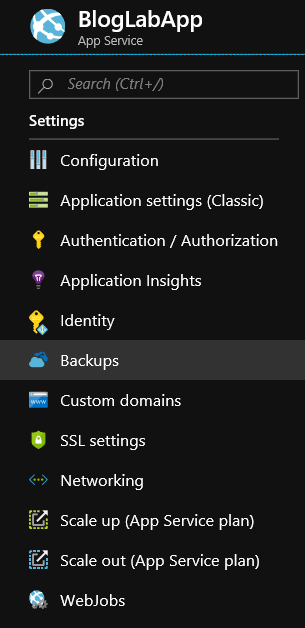
- Click on WebJobs under Settings in the settings blade
- Click on Add
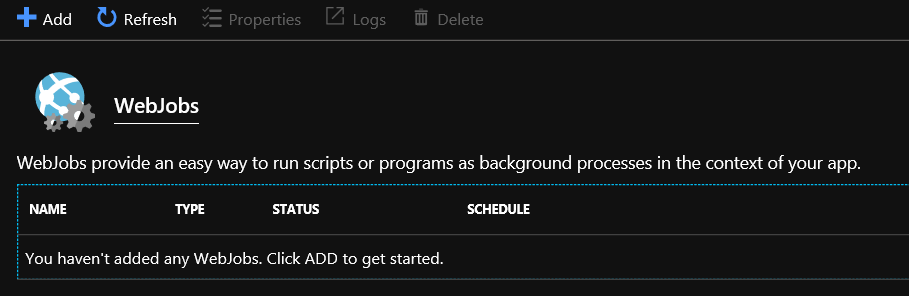
- Give it a name, click on the folder icon to navigate to the zip file you just created, change the Triggers to Manual - should look like below:
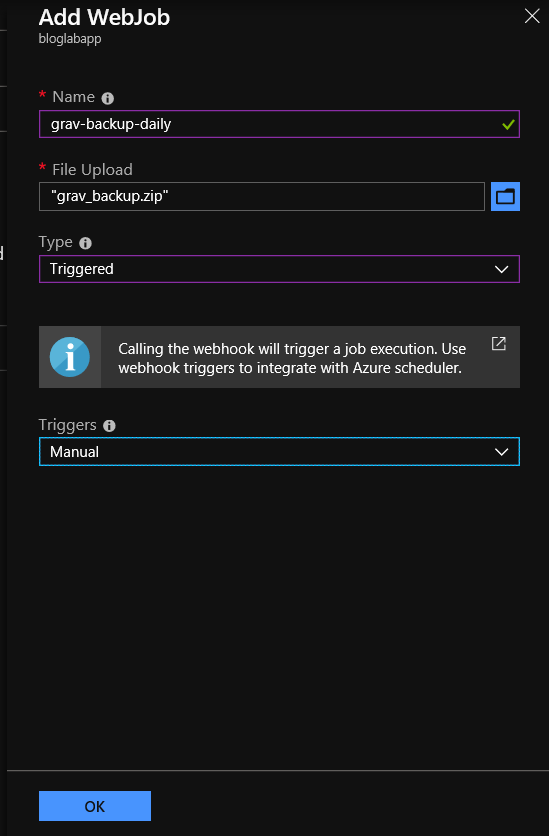
- Click on OK
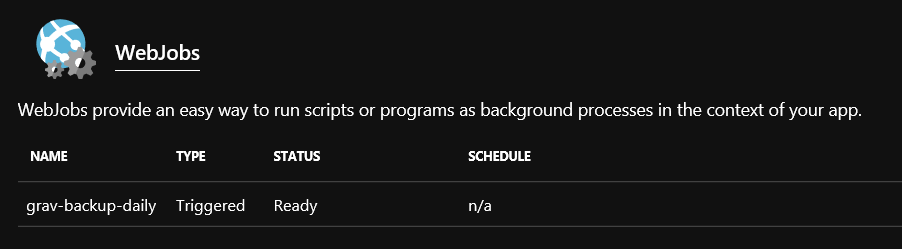
- After a few seconds, the view will update to show the WebJob listed as below (if it doesn’t, click on Refresh):
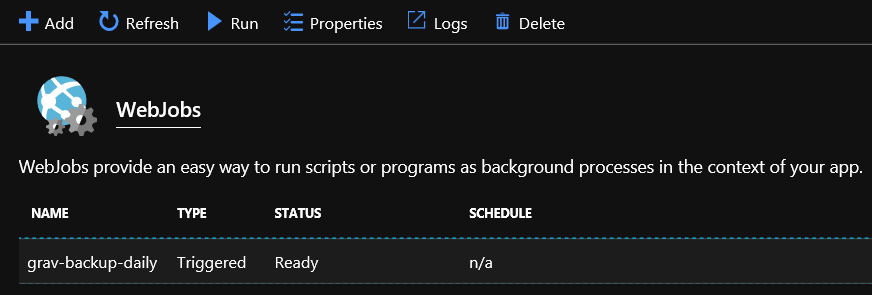
- Before we setup the scheduled Logic app to fire this on a schedule - let’s test it out and make sure there’s no issues with it. Click on the WebJob in the list, then click on Run at the top of the blade:
- When prompted - click Yes to confirm the job is to be run.
- Will now show as running:

- Click on Logs to view the logs (in realtime if still running) in the Kudu console (opens in a new tab)
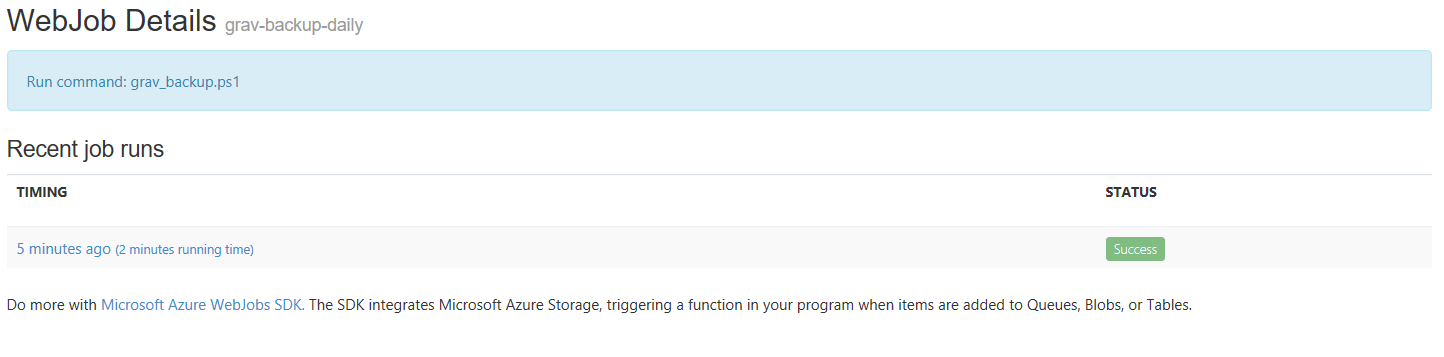
- It has finished successfully (like you had any doubts!). Click on the job name to see more information.

- This will list every run since the webjob was added - in this case there is only one run - so click on the run that just completed to see it’s logs.
- As you can see below from the start of the log, the script successfully retrieved the Managed Identity access token for the webapp, and using that, retrieved the storage key from the KeyVault, then initiated the backup command in grav:

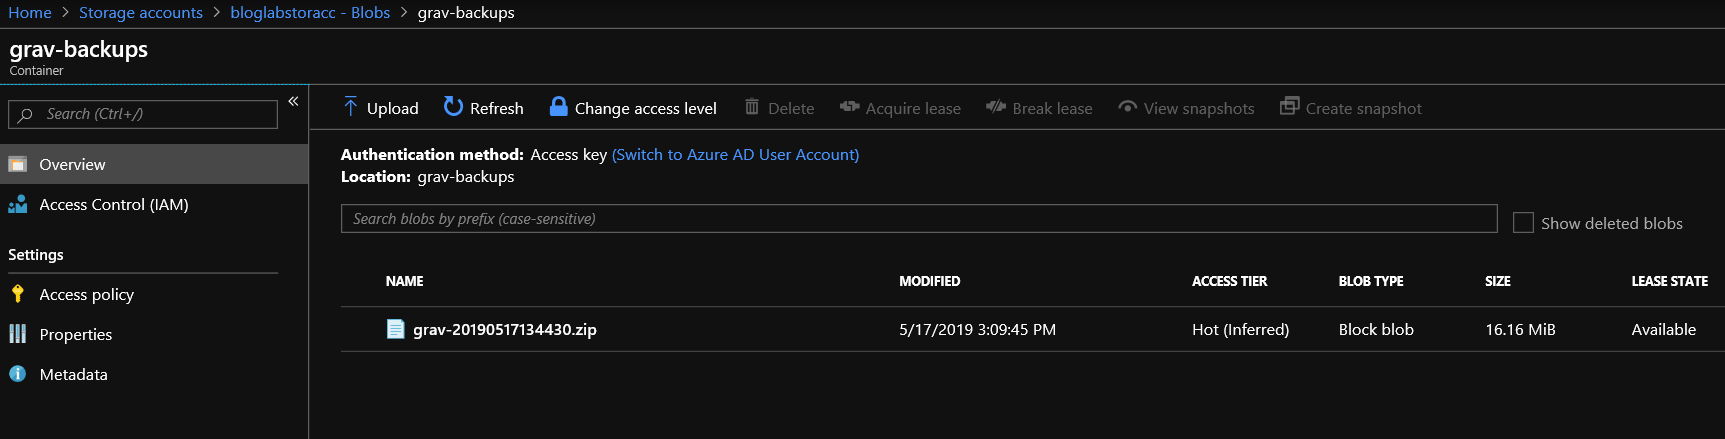
- And then copied the backup file as a a blob to our blob storage container, using the AzCopy utility installed in all WebApps (windows) instances, and the storage key retrieved from KeyVault.

- And we can verify that by viewing our storage accounts blobs from the Azure portal, which shows as below:
In my next post, we’ll build the Logic App that will run this WebJob on a schedule.
As ever, thanks for reading and feel free to leave comments below.