
Image by Max Bender on Unsplash
Intro
As you may or may not be aware, Gregor Suttie and Richard Hooper (Pixel Robots) came up with the awesome idea for Azure Advent Calendar which you can follow via the #azureadventcalendar on Twitter and via the YouTube channel.
The premise is that the Azure community submit a video and blog post on an Azure related topic, with 3 being posted per day through Advent - a total of 75 videos and an absolute bonanza of Azure learning courtesy of the Azure community.
Why a static website
I had already been planning a post covering Azure DevOps, and Azure Storage Static Websites - and so I felt this would be a good topic for Azure afficionados and newbies alike - how to run a website in azure for pennies!
Previous posts of mine on this topic will cover the background as to why you would choose to use Static Websites vs Azure App Service Web Apps - both have their pros and cons and for mission critical apps and websites, Azure Web Apps provides the availability and scalability that you need.
But if you want a website that doesn’t cost much to run, but you still worry about performance, Static Websites in Azure Storage Accounts may be exactly what you need (and it frees up money to spend on other Azure Resources!)
What you will need
To follow along you’ll need:
- An Azure account
- VS Code (or a git client)
- A web browser
For the purposes of this post and the video/demo, we’re going to simply use my repo for the website source, so you won’t need to install lots of software on your machine. In fact, the beauty of this solution is you could actually manage your website from any browser!
You can of course download and install the Hugo software to your local machine for local development - this is how I started to learn how to use Hugo. But once you have things setup with the solution I’m going to show you, you won’t need a local development environment.
In the main, I’ll show you how to do this in the portal, even though it’s quicker to do some of this through the Azure CLI, Az Powershell module etc - the only exception is DevOps where I will create the pipeline using YAML files.
Azure Static Websites
So, what is an Azure Static Website? In short, it’s functionality built-in to Azure Blob Storage which allows you to serve up a special blob container called $web as a website. So what’s the static part then? In short, it means that there are no scripts running on the server side (in Azure Storage in this case) that do anything dynamic, like running server-side software/libraries to amend content on the fly - what is stored in the container is what is served, and all the work to render the pages is done by the browser, client-side.
Create a storage account
To get started, create a resource group called Azure-Advent-RG and a StorageV2 storage account called azureadventstor - both in the location of your choice (I’m using UK West as it’s closest to me). For step-by-step instructions for doing this in the portal click here to download a PDF guide
Create a static website
-
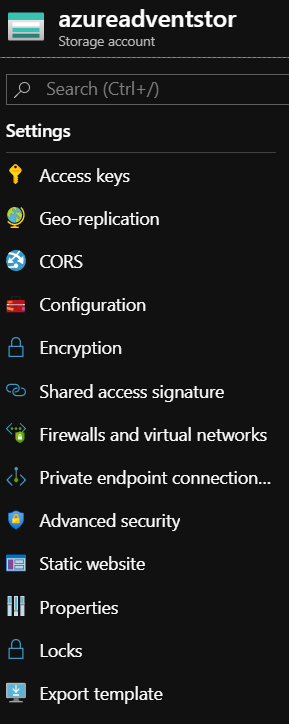
Once you have your storage account created, under Settings on the left-hand menu, select Static website
-
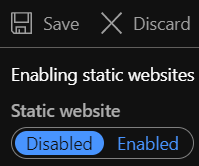
Click on Enabled
-
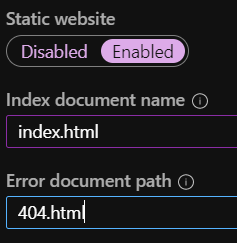
Fill out the Index and Error document paths as shown below:
-
Click on Save
-
You now have an endpoint/URL (in the format
https://<accountname>.znn.web.core.windows.net) to access the static website content, and as advised, a $web container has been added to the blob storage for this account, where all web content should be place. Make a note of this for later.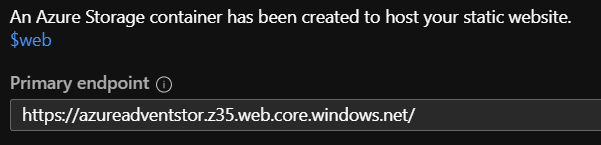
For now - there’s no content, but make a note of the URL as you’ll need it later.
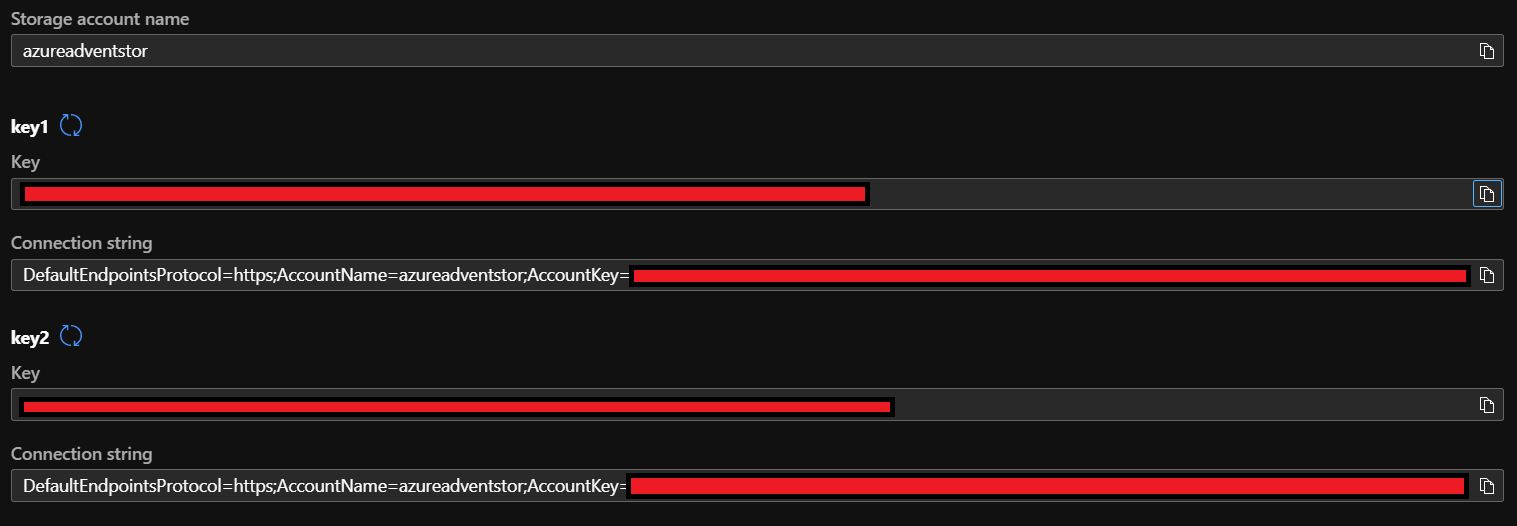
Also, make a note of one of the Storage Keys for this account as you’ll need it later:
-
Click on Access keys under the Settings section of the left-hand menu
-
Copy one of the keys and keep it safe - you’ll need it later
Now, at this stage, I could copy in any static content, but to do so I either need to use the portal, Azure Storage Explorer, or the REST API…or do I?
This is where Azure DevOps comes in - but first, let’s create a Key Vault with the secrets we’ll need to use later.
Azure KeyVault
If you haven’t heard of Azure Key Vault, it’s a brilliant piece of functionality that allows you to securely store (and retrieve/access) secrets (passwords, configuration information etc), keys and certificates within Azure.
When we setup our DevOps project later, we’ll need to access the storage account in order to deploy website code to the static website, and so we’ll need one of the storage account keys in order to do so. Obviously, these should never be hard-coded or stored in plaintext - luckily Azure DevOps integrates nicely with Key Vault, so let’s go ahead and set one up for this project (normally you may have one KeyVault for all your secrets/keys rather than have lots of vaults to manage).
-
From the azure portal, in the search box at the top of the page, enter
Key v(handy tip - pressingG+/at the the same time on your keyboard will automatically put your cursor in the search box ready to type your search query)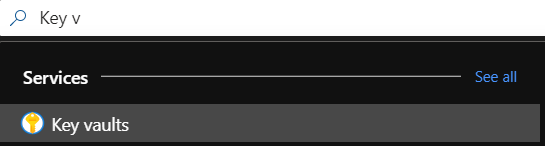
-
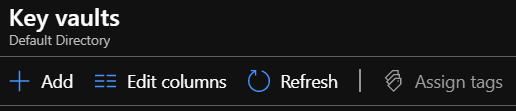
Click on Key vaults - any you already have will be shown here. Click on Add
-
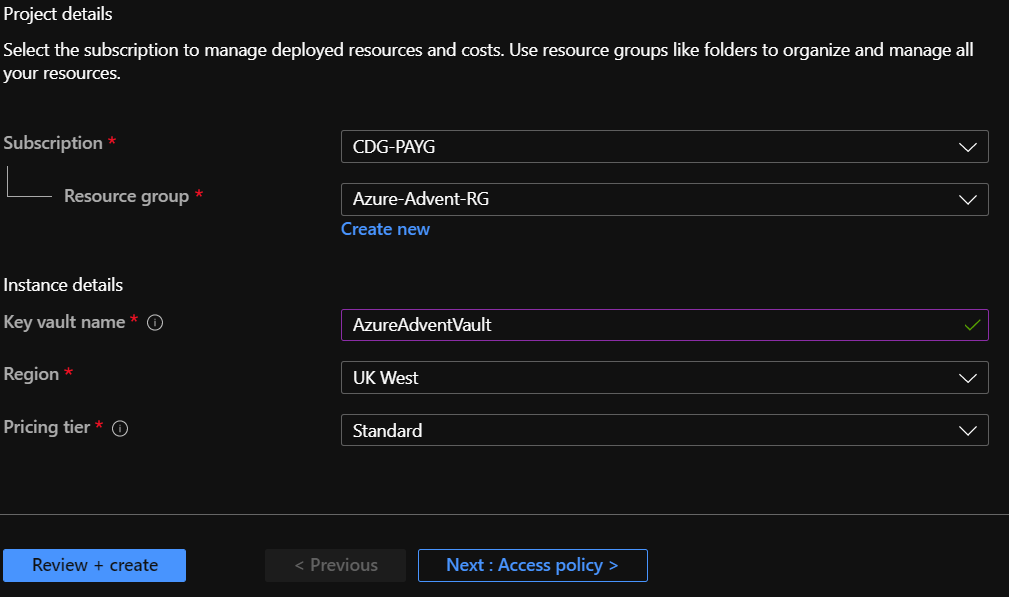
Fill out the blade as shown below:
-
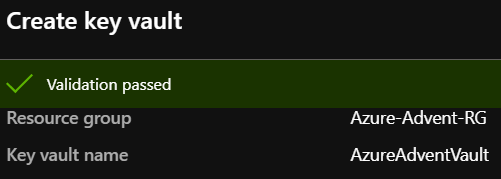
Click on Review + create
-
Click on Create
-
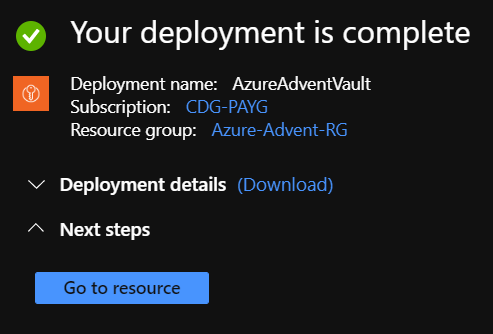
After at most 30 seconds, you’ll see the message below:
-
Click on Go to resource
-
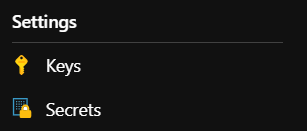
Click on Secrets under the Settings section of the menu

-
Click on Generate/Import then fill out the form as shown below
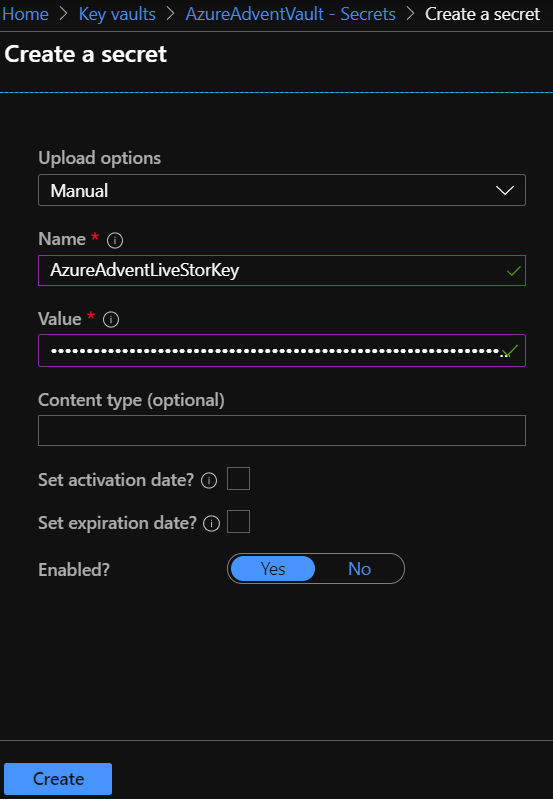
-
Click on Create - you should see a screen as below

-
Now, repeat steps 9 and 10 above to create keys as follows:
-
AzureAdventLiveStorAcct:azureadventstor -
AzureAdventLiveUrl:https://<accountname>.znn.web.core.windows.netThis should be the url that your visitors will primarily access, so if front-ending your static site with a Function Proxy, use that URL - if you are going to add your own domain name, use that. This matters because Hugo will use this in the build and some links will use the baseUrl we pass into the DevOps pipeline, which will take it’s value from here as a parameter. If you haven’t spotted it - there’s a little wrinkle here in that we are creating the secret before we necessarily create the front-end URL - but it’s easy to change/update the secret value later when you know what it really should be.
- You should now have secrets as follows:

Azure DevOps
Why use Azure Devops? There are a myriad of reasons why you would or should use it - for this use case the advantages are clear:
- In-built Azure Repos functionality and integration with GitHub means you can maintain your codebase in a git repo that you can access anywhere you can either run VS Code, a Git Client - or even just a web browser
- You can create a pipeline to automate manual steps such as pulling in changed code from the repo, running a Hugo build, running a Hugo deploy and copying the built code to the Azure blob for the static website
- You can also automate other tasks such as image compression, running tests
- You can adopt a CI/CD approach - you can trigger your pipeline to run on a schedule, or when there is a push to a particular branch, or both
Project Setup
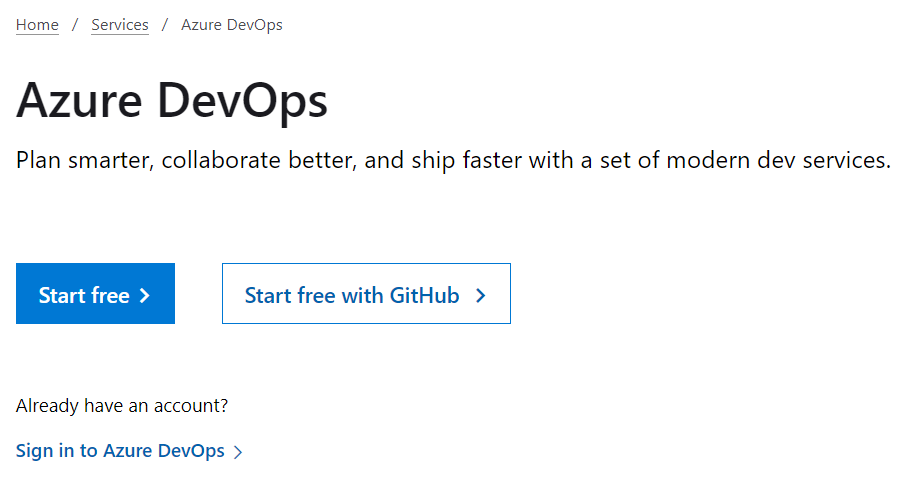
To get started with Azure DevOps, in your browser, navigate to https://dev.azure.com.
You can use Azure DevOps for free on a PAYG subscription (pricing information is here). There are some limitations compared to paid plans, but it’s more than adequate for getting started.
If you don’t have an account, choose the Start Free option, otherwise login with your existing account.
Once logged in at your home page, click on + New Project

Fill out the Create new project form as follows:
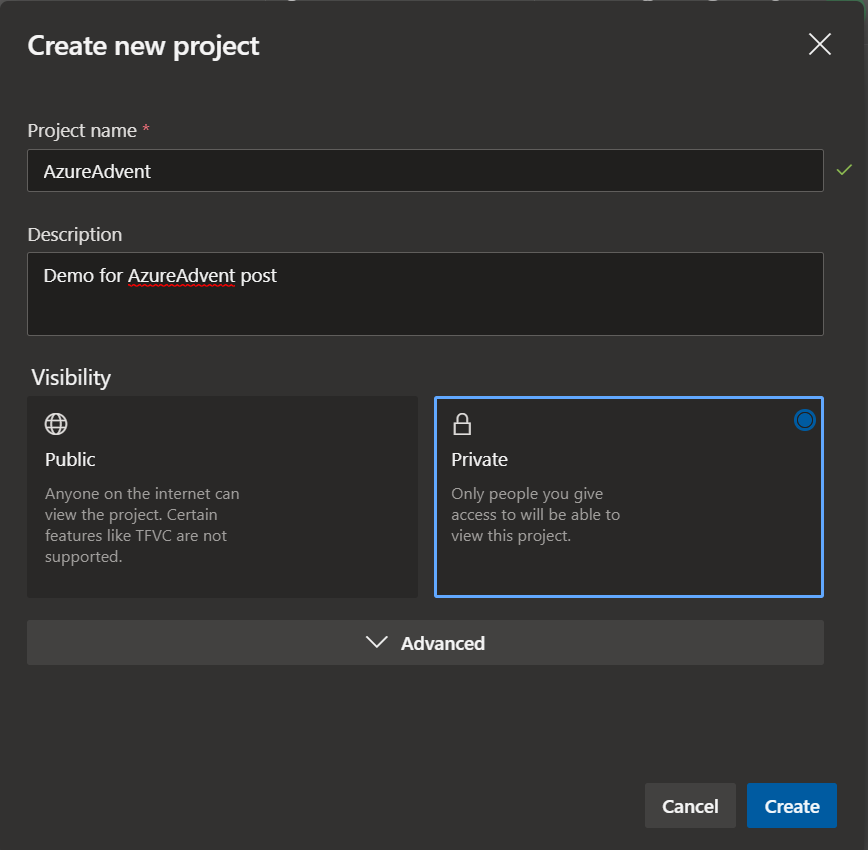
You now have an Azure Devops Project, let’s go ahead and make it useful!
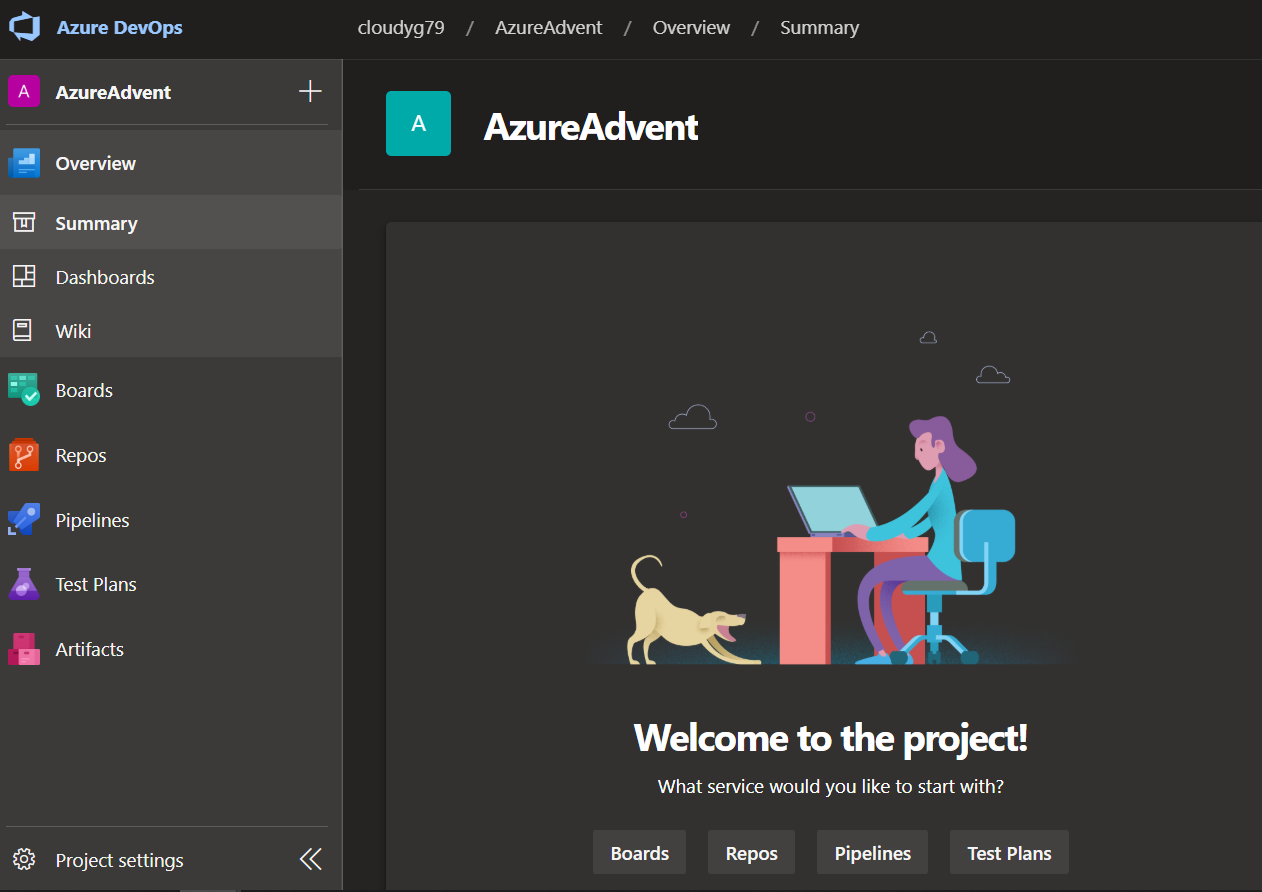
Repo creation
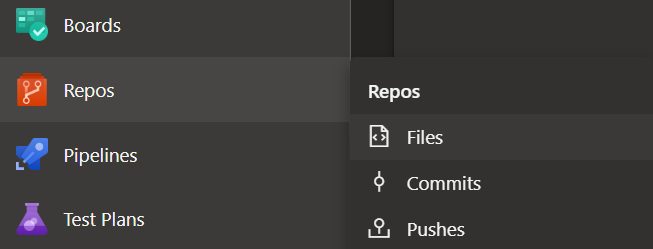
Click on Repos then click on Files:
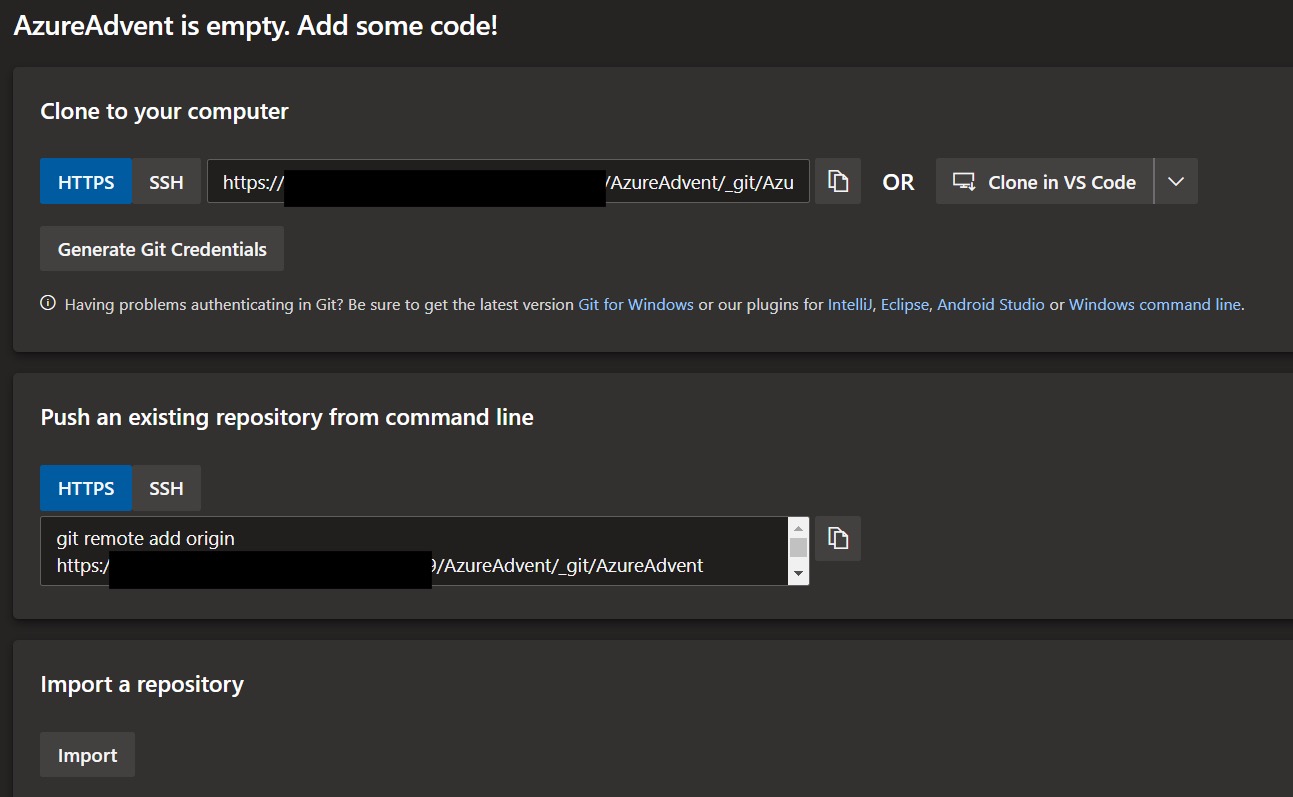
You have a number of options, from cloning a new Azure Repo using your git client, VS code, pushing an existing repository or importing a repository - for the purposes of the demo, click on Clone in VS Code (you can use any git client, and could just as easily upload the files in the Azure DevOps portal).
Accept any prompts to open VS Code and sign in with your Azure Devops credentials:
When prompted, choose Open in new window

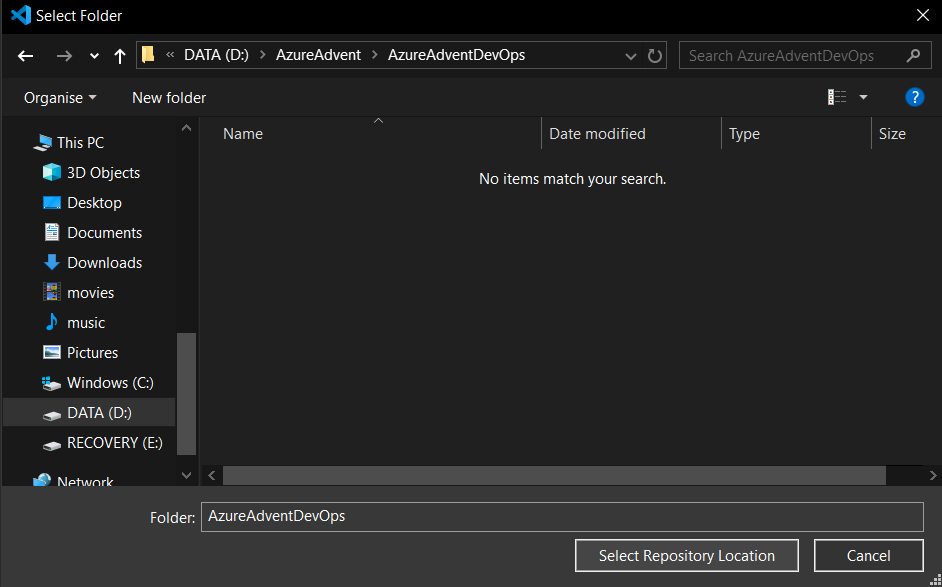
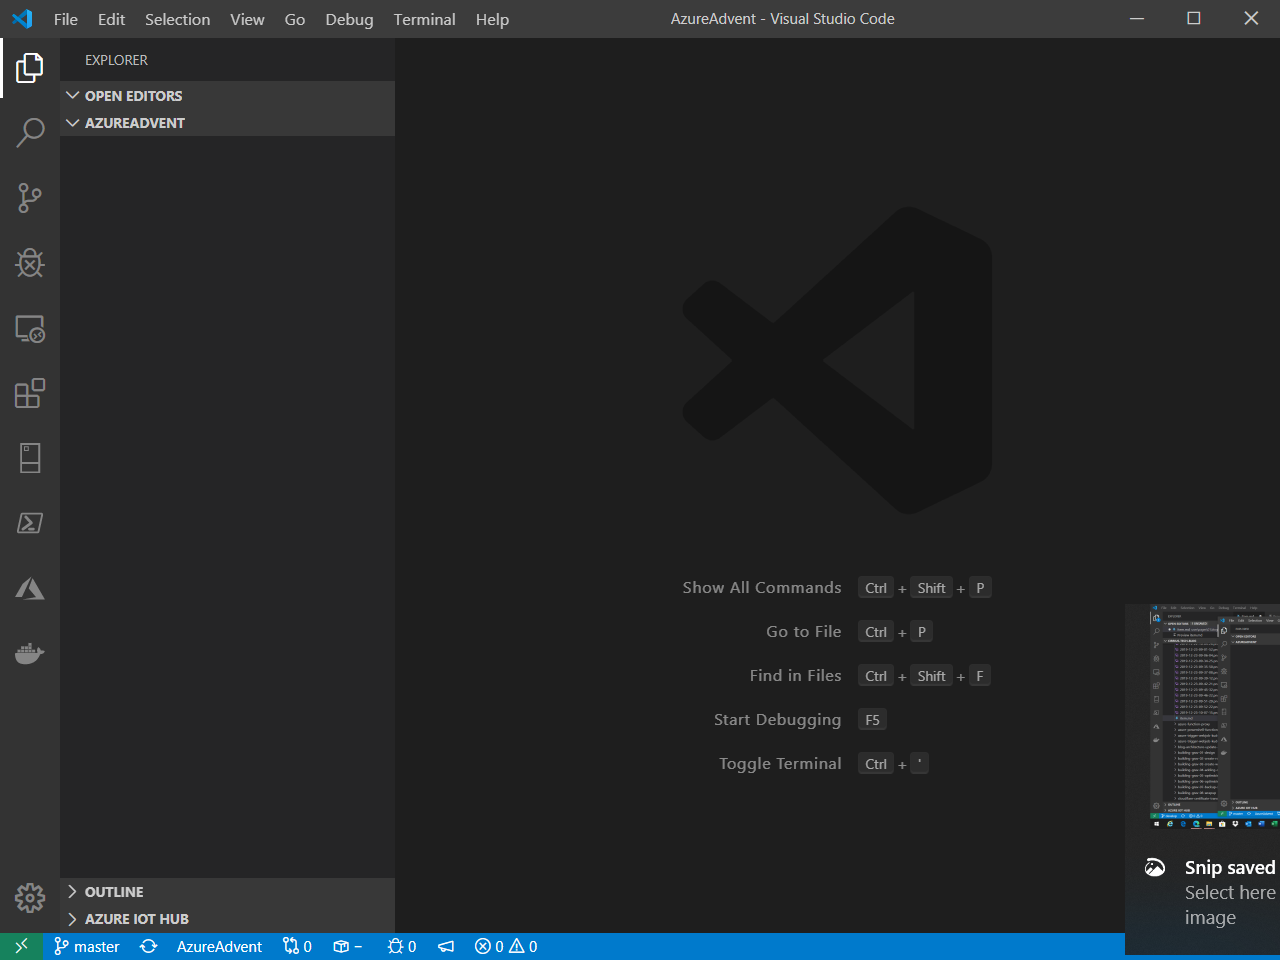
You’ll now have an empty repo open in VS Code as below
I’m going to copy in the code here - you can find it in my github here
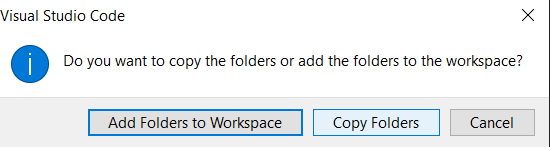
When prompted, choose to Copy folders
Now let’s add, commit and push that code:
- Open the terminal in VS code by pressing
ctrl+' - Enter
git add . - Enter
git commit -m "Initial Commit" - Enter
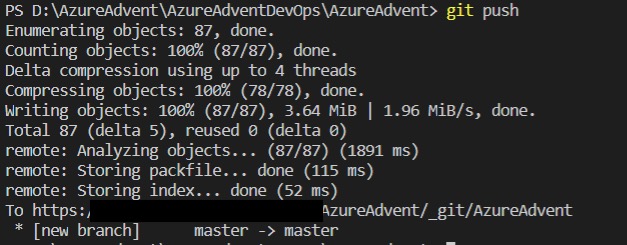
git push
You should see similar to:
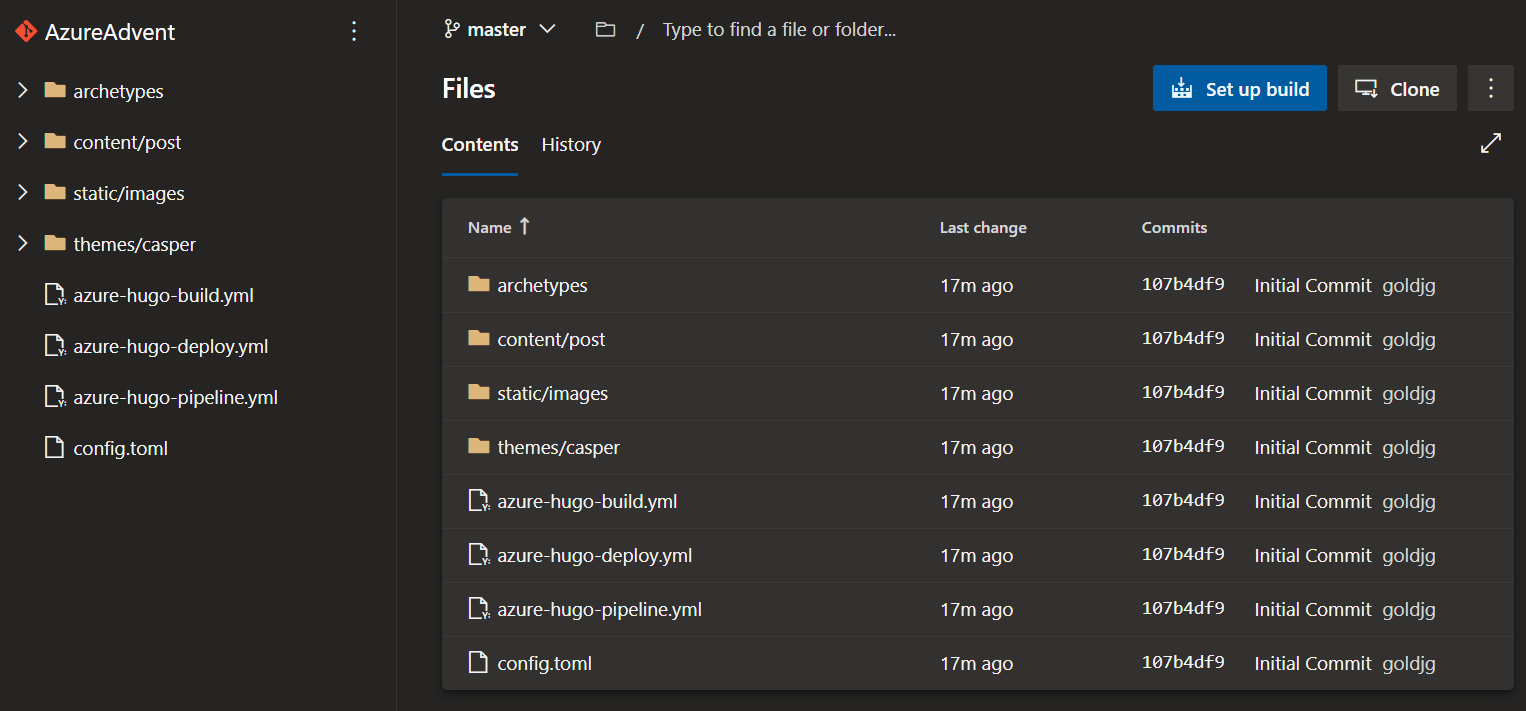
Now, if we go back to Azure Devops, click on Repos then Files and you should see your content:
However, nothing happened, no code was pushed to the storage account. For that we need to setup a few items.
Hugo Deploy config
First of all, make sure that the following is placed at the end of the `config.toml’ file:
[deployment]
# By default, files are uploaded in an arbitrary order.
# Files that match the regular expressions in the "Order" list
# will be uploaded first, in the listed order.
order = [".jpg$", ".gif$"]


[[deployment.targets]]
# An arbitrary name for this target.
# Azure Blob Storage; see https://gocloud.dev/howto/blob/#azure
NAME = "azure advent"
URL = "azblob://$web"
This instructs Hugo where to deploy the site to - the NAME field can be anything you want, but the URL should be exactly as above - this ensures that hugo deploys to the $web container of the storage account matching the account name and key provided in the pipeline.
Azure DevOps Variable Groups
Variable groups are, as the name suggests, a place to group together variables needed by your project (rather than hard-code the values in your pipeline). A particular benefit here is the integration with Azure Key Vault - if you’ve put all your variables/secrets in there then the next step is pretty straightforward.
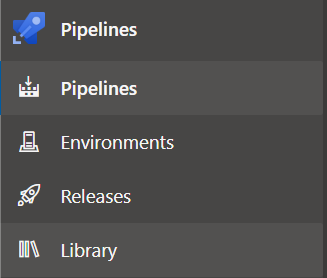
Click on Pipelines then Library
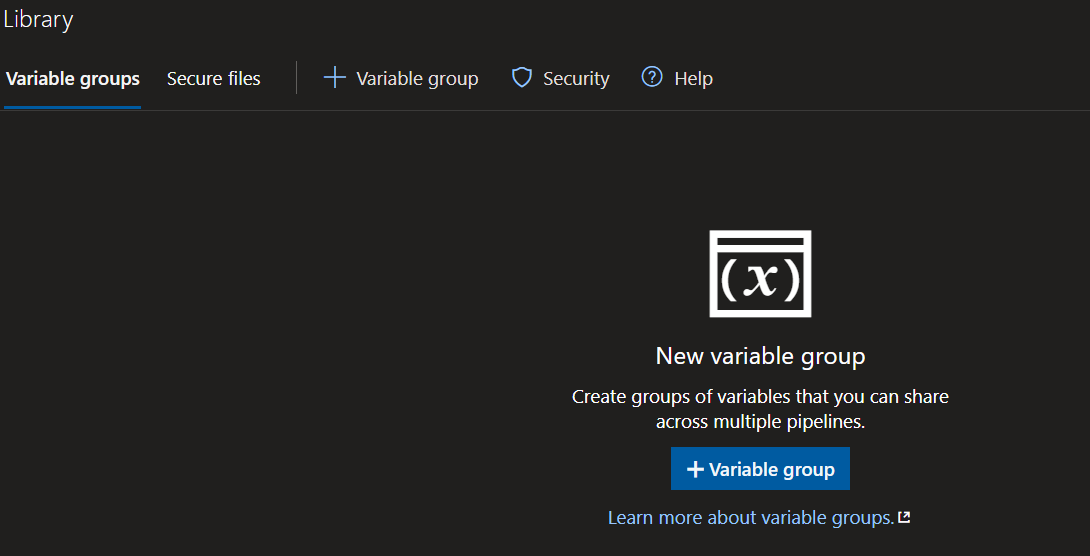
Click on + Variable group
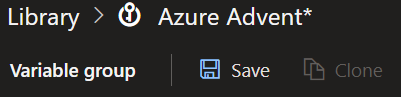
Make sure the name given matches the name in the pipeline yaml (if you’ve downloaded from my repo, make sure it’s Azure Advent)
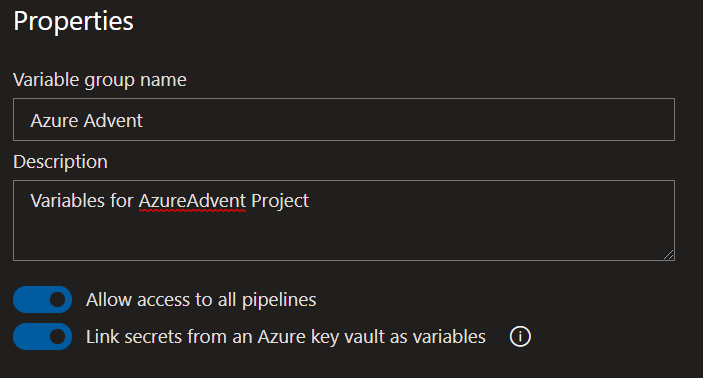
Ensure you select Link secrets from an Azure key vault as variables
Fill out the fields below by selecting your subscription and vault from the dropdown lists:
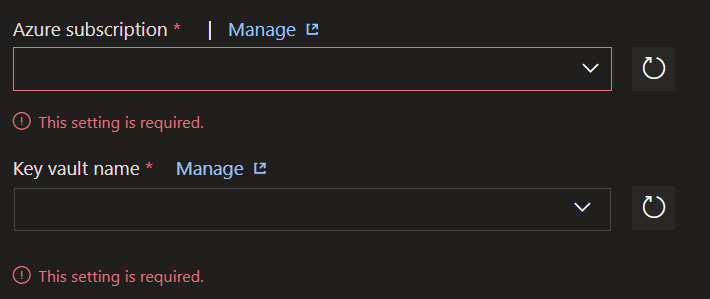
You’ll have to first select the subscription, then click on Authorize
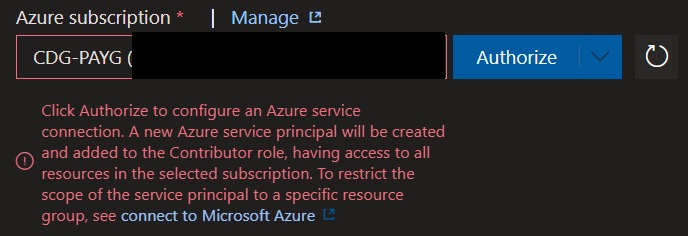
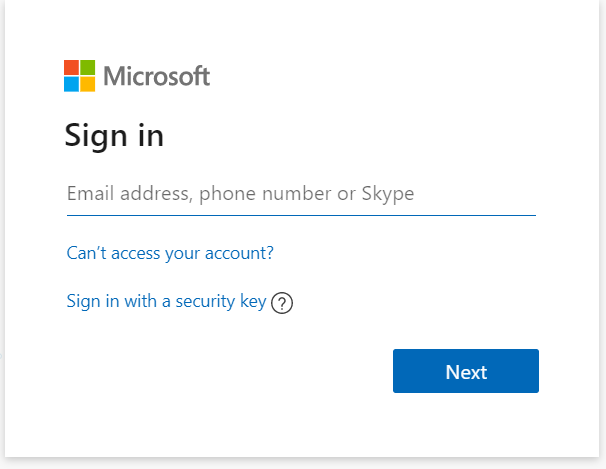
You’ll be prompted to signin with valid credentials for your Azure subscription
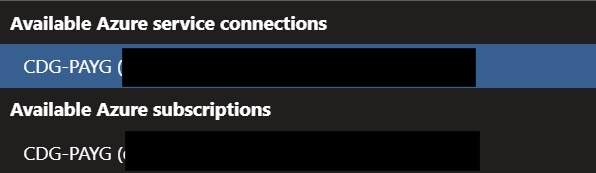
You may receive an error about being scoped to the wrong tenant - in that case re-select the subscription from the Available Azure service connections section of the dropdown list rather than the Available Azure subscriptions section and Authorize again.
Select the AzureAdventVault from the **Key vault name(()) dropdown

Now, click Authorize
You’ll be prompted to login again with the same Azure credentials as below.
Now, click on Add
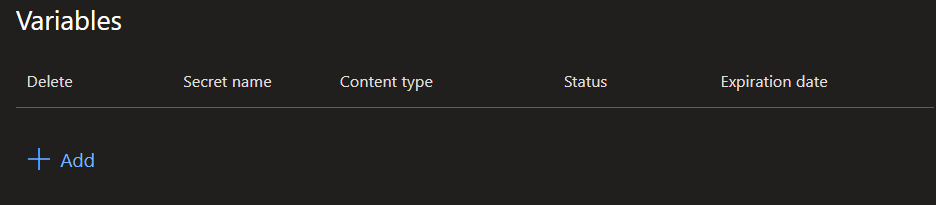
You can now choose the secrets that you want to use as variables - in this case select all of them then click on Ok:
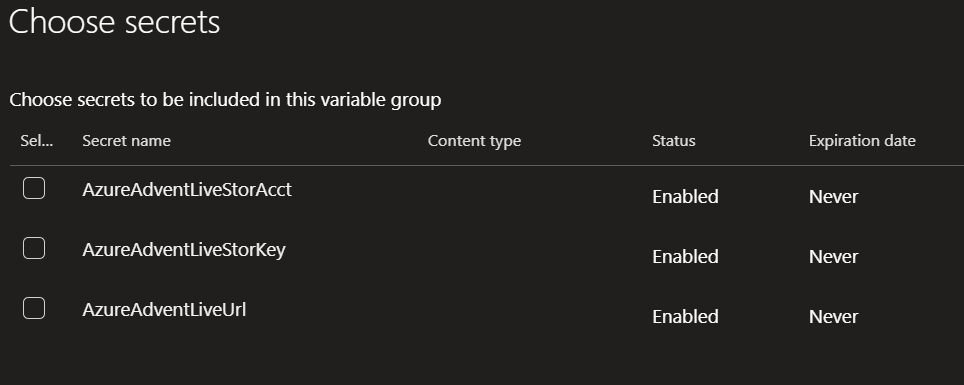
Click on Save
Pipeline Setup
Now that we have the pre-requisites in place, lets go ahead and setup the Continuous Integration (CI) pipeline. You can build one up graphically in the portal, but as I’ve already created it in the repo, we’ll use that instead.
Click on Pipelines on the left:

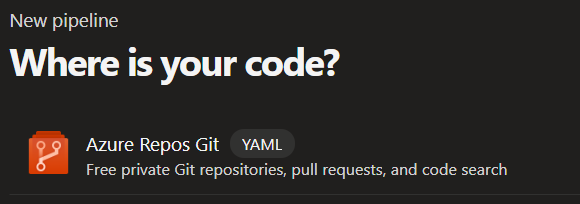
Click on Create Pipeline

Click on Azure Repos Git (since that’s where our code is):
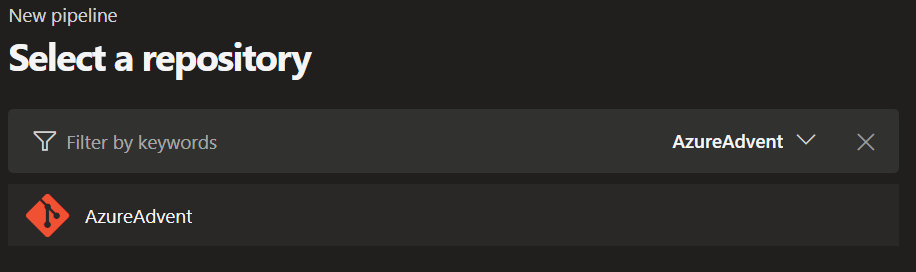
Select the AzureAdvent repo we created earlier:
Select Existing Azure Pipelines YAML file

Select the /azure-hugo-pipeline.yml file from the dropdown
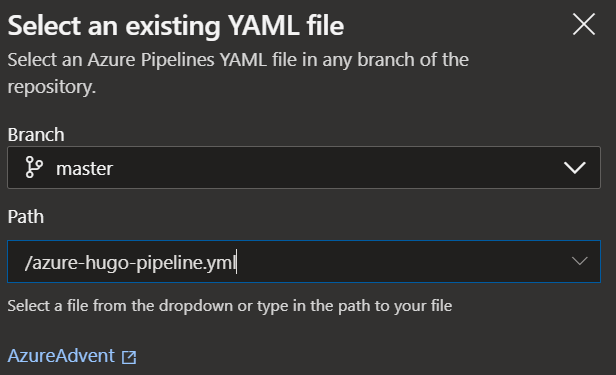
Click on Continue

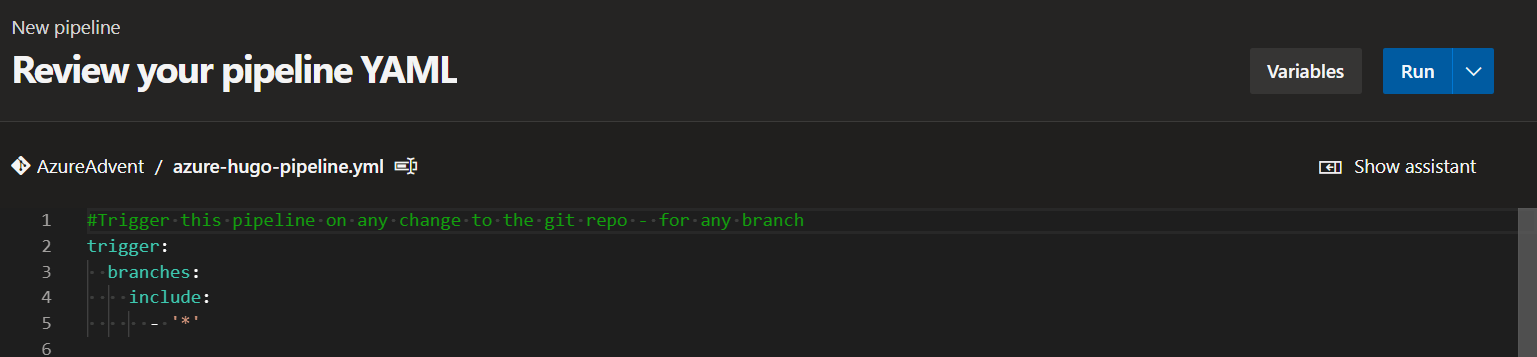
Now you’re ready to run the pipeline - but before we do, we will walk through the main sections of the pipeline.
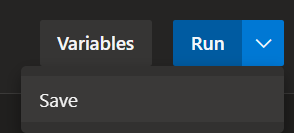
Let’s Save first:
Pipeline YAML
The pipeline YAML file defines the pipeline - when it should run, what it should do when it runs and so on. It will define triggers, stages, templates for those pipelines (what the stage should do, what parameters it should accept).
So, let’s start with the pipeline:
#Trigger this pipeline on any change to the git repo - for any branch
trigger:
  branches:
    include:
      - '*'
This tells the pipeline to trigger on any change to the git repo the pipeline is in - you could also trigger based on a cron schedule for a Continuous Delivery (CD) pipeline. You may wonder why I don’t limit this to only fire on pushes to the master branch - you can also control that in your stages.
Next up, define your variables or in this case, variable group, as defined earlier.
#Use the 'azure advent' variable group setup in the DevOps portal (Pipelines > Library > Variable Groups)
variables:
  - group: Azure Advent
stages:
Now, define a build stage to build the website content from sourcecode using Hugo:
# Build Live site ready for deployment (only trigger on 'master' branch)
- stage: Build_Live_Site
  jobs:
    - template: azure-hugo-build.yml
      parameters:
        name: build_live_site
        displayName: Build the Live site
        condition: and(succeeded(), eq(variables['Build.SourceBranch'], 'refs/heads/master'))
        hugo_version: 0.59.1
        hugo_baseUrl: $(AzureAdventLiveUrl)
        hugo_params: '--minify'
        storage_account: $(AzureAdventLiveStorAcct)
        storage_key: $(AzureAdventLiveStorKey)
        build_tag: hugo-live
As you can see - we use a template file for the build - we’ll go into that later.
In here, we will define the parameters that we pass to the template, including a condition - in this case, we will only run this stage if the git activity that triggered this was a push to the master branch.
You can see how you could have stages for builds based on pushing to other branches (develop, test etc) and push the content out to other storage accounts for non production websites where you can test/preview your changes before they hit your live site.
Note that the values for hugo_baseUrl, storage_account and storage_key match the names of the variables in the variable group (which, in turn, match the names of the secrets in the vault).
And now a deploy stage, which is very similar, except that we don’t need all the hugo parameters - because we download Hugo in the build stage to build the site and publish the site and the Hugo executable as artifacts to use in the Deploy stage, we don’t need to download it again.
# Deploy live site artifacts to azure storage account (only trigger on 'master' branch)
- stage: Deploy_Live_Site
  dependsOn: Build_Live_Site
  jobs:
    - template: azure-hugo-deploy.yml
      parameters:
        name: deploy_live_site
        displayName: Deploy the Live site
        condition: and(succeeded(), eq(variables['Build.SourceBranch'], 'refs/heads/master'))
        storage_account: $(AzureAdventLiveStorAcct)
        storage_key: $(AzureAdventLiveStorKey)
        build_tag: hugo-live
First up, we need to define the parameters we expect to be passed to the build template:
parameters:
  name: ''
  displayName: ''
  condition: {}
  hugo_version: ''
  hugo_baseUrl: ''
  hugo_params: ''
  storage_account: ''
  storage_key: ''
  build_tag: ''
Next, we need to define the build job, choose a VM pool (your tasks run in VMs behind the scenes) and which OS the VM will use - in my case I’m using the latest build of Ubuntu linux.
jobs:
- job: ${{ parameters.name }}
  displayName: ${{ parameters.displayName }}
  pool:
    vmImage: ubuntu-latest
  condition: ${{ parameters.condition }}
Next up, the steps we want the build job to carry out for us:
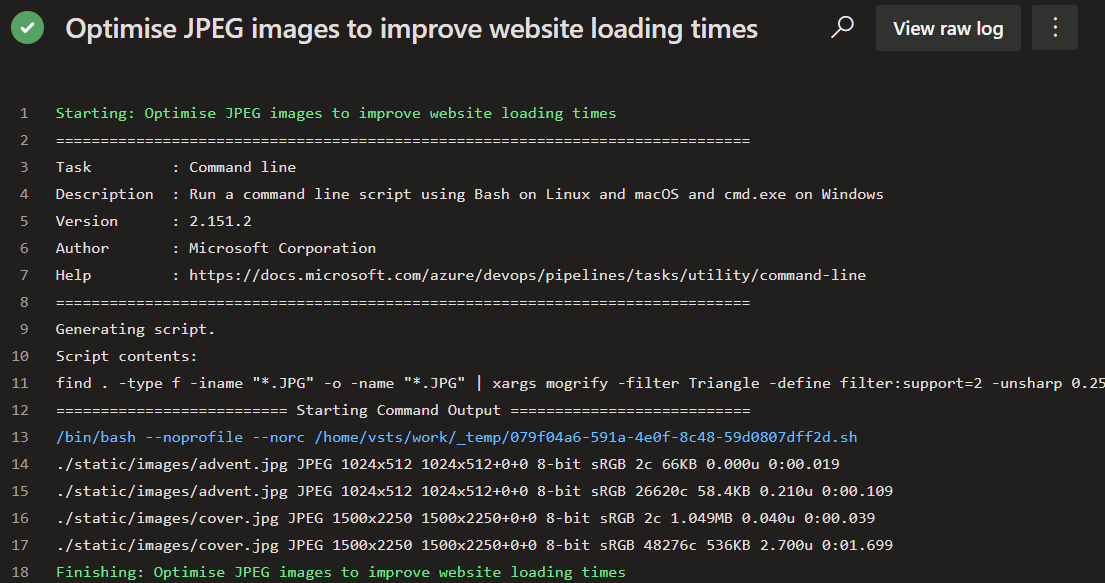
- Optimise the JPG images in the repo to make them smaller using the
mogrifytool which is part ofImageMagicksuite. To find out what the installed tools are in each Microsoft-Hosted VM, click here - Download and install the hugo version defined in the pipeline to the VM and run Hugo to build the website (steps 2-4)
- Copy the generated content to a staging folder that is part of your pipelines workspace.
- Zip those files up and publish the zip file and hugo executable as artifacts
  steps:
    # 1. Optimise .JPG images using Mogrify
    #    (part of ImageMagick - installed by default in Ubuntu build for AzDevOps)
    - script: find . -type f -iname "*.JPG" -o -name "*.JPG" | xargs mogrify -filter Triangle -define filter:support=2 -unsharp 0.25x0.25+8+0.065 -dither None -posterize 136 -quality 82 -define jpeg:fancy-upsampling=off -interlace none -colorspace sRGB -strip -verbose
      displayName: Optimise JPEG images to improve website loading times

      # 2. Download Hugo executable
    - script: wget https://github.com/gohugoio/hugo/releases/download/v${{ parameters.hugo_version }}/hugo_${{ parameters.hugo_version }}_Linux-64bit.deb -O '$(Pipeline.Workspace)/hugo_${{ parameters.hugo_version }}_Linux-64bit.deb'
      displayName: Download Hugo v${{ parameters.hugo_version }} Linux x64

    # 3. Install Hugo
    - script: sudo dpkg -i $(Pipeline.Workspace)/hugo*.deb
      displayName: Install Hugo

    # 4. Run Hugo to build the website
    - script: hugo --baseUrl '${{ parameters.hugo_baseUrl }}' ${{ parameters.hugo_params }}
      displayName: Build site with Hugo

    # 5. Copy the content to a staging folder so we can archive it
    - task: CopyFiles@2
      displayName: Copy site content to staging folder 'deploy'
      inputs:
        Contents: |
          config.toml
          public/**
          resources/**
          static/**
          themes/**
        TargetFolder: deploy

    # 6. Archive the built website into a ZIP archive
    - task: ArchiveFiles@2
      displayName: Archive the build output
      inputs:
        rootFolderOrFile: ./deploy
        includeRootFolder: false
        archiveType: zip
        archiveFile: $(Pipeline.Workspace)/hugo-build.zip
        replaceExistingArchive: true

    # 7. Publish Hugo installer for use in deploy stage
    - publish: $(Pipeline.Workspace)/hugo_${{ parameters.hugo_version }}_Linux-64bit.deb
      artifact: hugo-installer

    # 8. Publish archive for use in deploy stage
    - publish: $(Pipeline.Workspace)/hugo-build.zip
      artifact: build-${{ parameters.build_tag }}
Finally, we need our deploy template, to deploy the website we’ve built to our storage account. Again, we start with parameters and jobs. Just like when we call the deploy template in the pipeline, in the deploy template, we skip the hugo parameters as we don’t need them in this stage.
So, looking at the deploy steps:
- Download the artifacts we published during build
- Install Hugo
- Extract the website contents from the zip artifact
- Run Hugo with the deploy command to deploy the website content to the storage account.
  steps:

  # 1. Download Hugo from artifacts
  - download: current
    artifact: hugo-installer

  # 2. Download built site from artifacts
  - download: current
    artifact: build-${{ parameters.build_tag }}

  # 3. Install Hugo
  - script: 'sudo dpkg -i hugo*.deb'
    workingDirectory: '$(Pipeline.Workspace)/hugo-installer'
    displayName: 'Installing Hugo'

  # 4. Extracts the zipped site
  - task: ExtractFiles@1
    displayName: 'Extracting site content'
    inputs:
      archiveFilePatterns: '$(Pipeline.Workspace)/build-${{ parameters.build_tag }}/hugo-build.zip'
      destinationFolder: '$(Pipeline.Workspace)/build-${{ parameters.build_tag }}/deploy'
      cleanDestinationFolder: false

  # 5. Run Hugo `deploy` command to publish to Azure Storage blob (make sure to add deployment settings in Hugo website config)
  - script: 'hugo deploy --maxDeletes -1'
    workingDirectory: '$(Pipeline.Workspace)/build-${{ parameters.build_tag }}/deploy'
    displayName: 'Deploying build to Azure Storage account'
    env:
      AZURE_STORAGE_ACCOUNT: ${{ parameters.storage_account }}
      AZURE_STORAGE_KEY: ${{ parameters.storage_key }}
Running The Pipeline
This pipeline will run when there is a push to master on our repo - but we can also run it in the portal as follows:
-
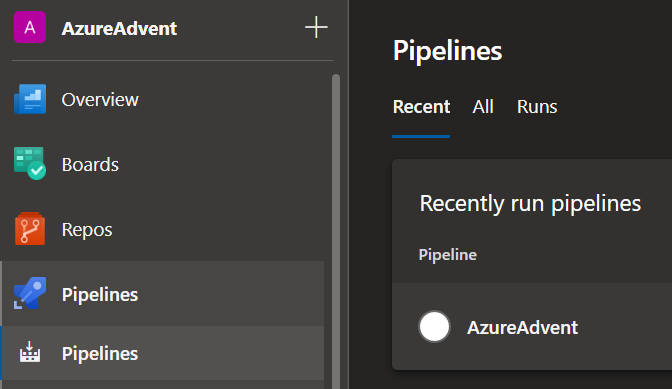
Click on Pipelines
-
Click on your project name (
AzureAdvent) -
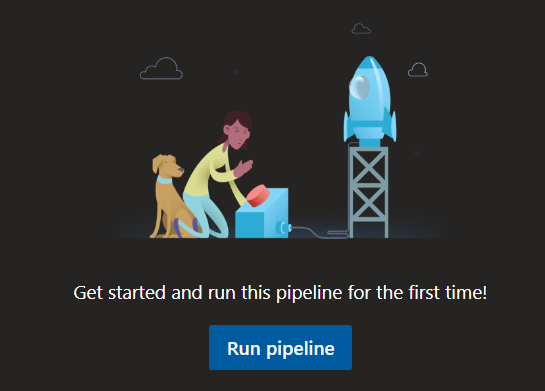
Click on Run pipeline
-
Should default to the
masterbranch, which is fine for this demo, so click on Run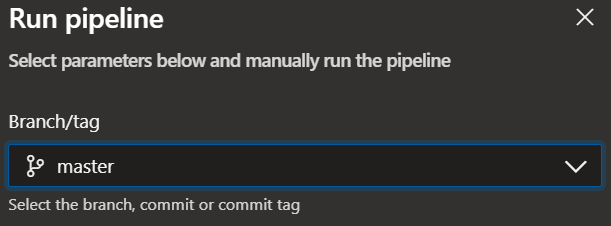
-
Click on the
Build_Live_Sitestage for progress info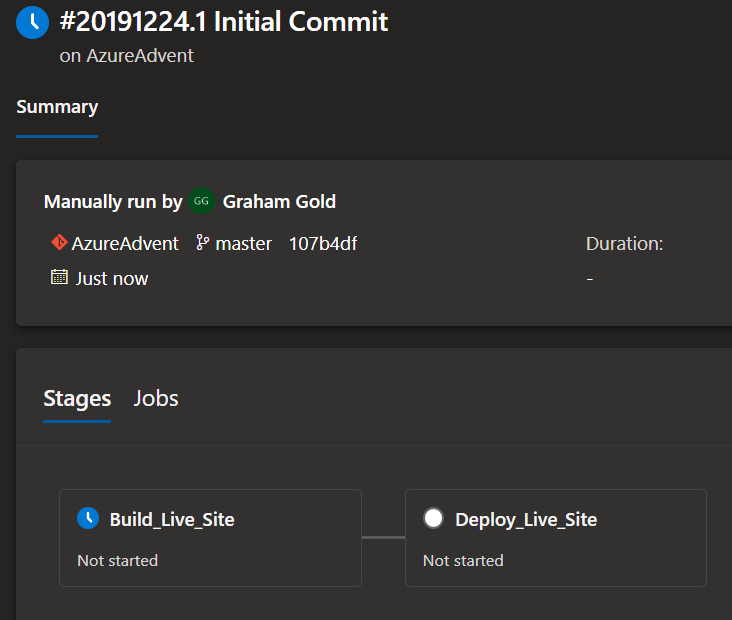
-
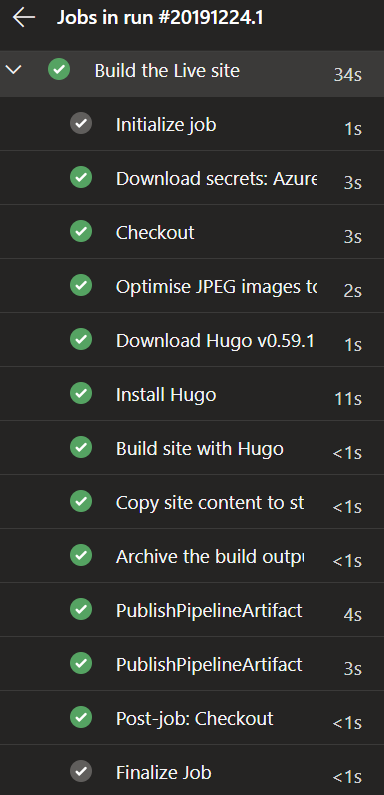
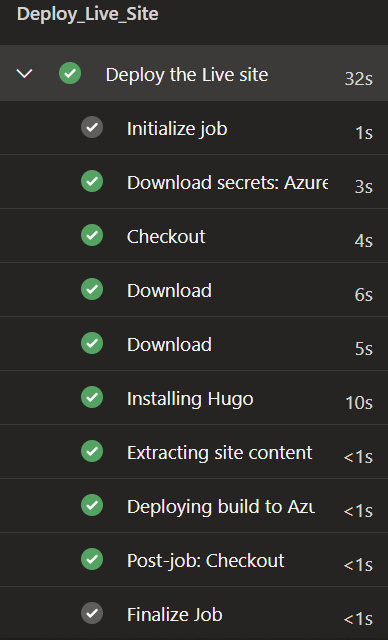
You’ll see each step of the job listed with status information (Blue=Running, Red=Failed, Green=Completed, Grey=Not Started)
-
Each step can be clicked on for more information:
-
Scroll down to see further stages, and click on them to expand and see more detail
So, let’s go view our website at the static website URL:

Costs
A static website costs very little to run - let’s look first at the actual blob storage pricing:
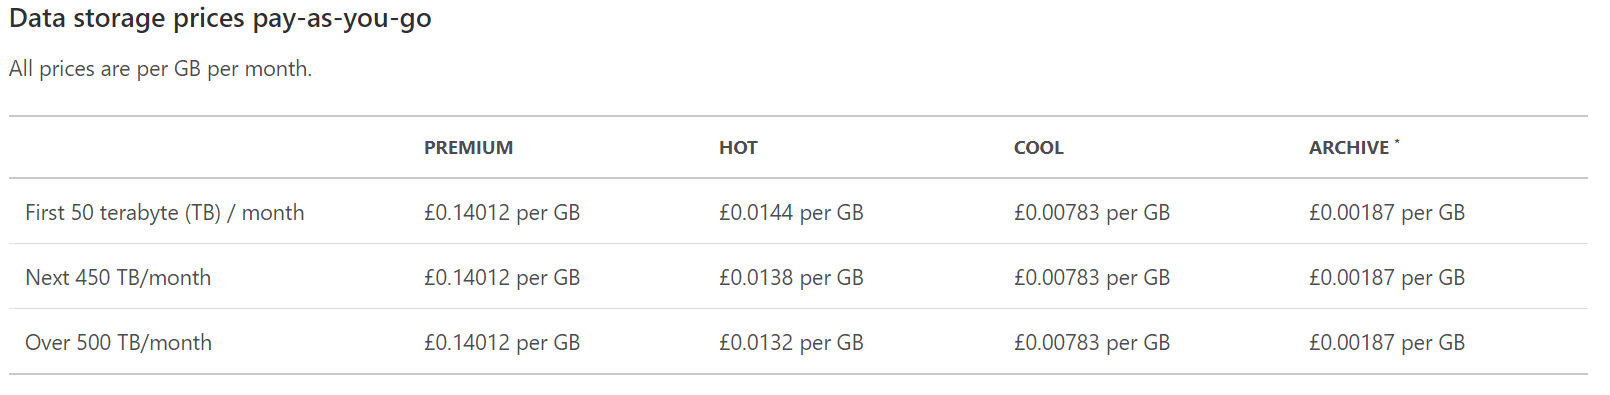
So for a site with 1GB of content, around 1.5 pence per month plus VAT for the storage element using Standard storage in the Hot tier.
What about data transfer?
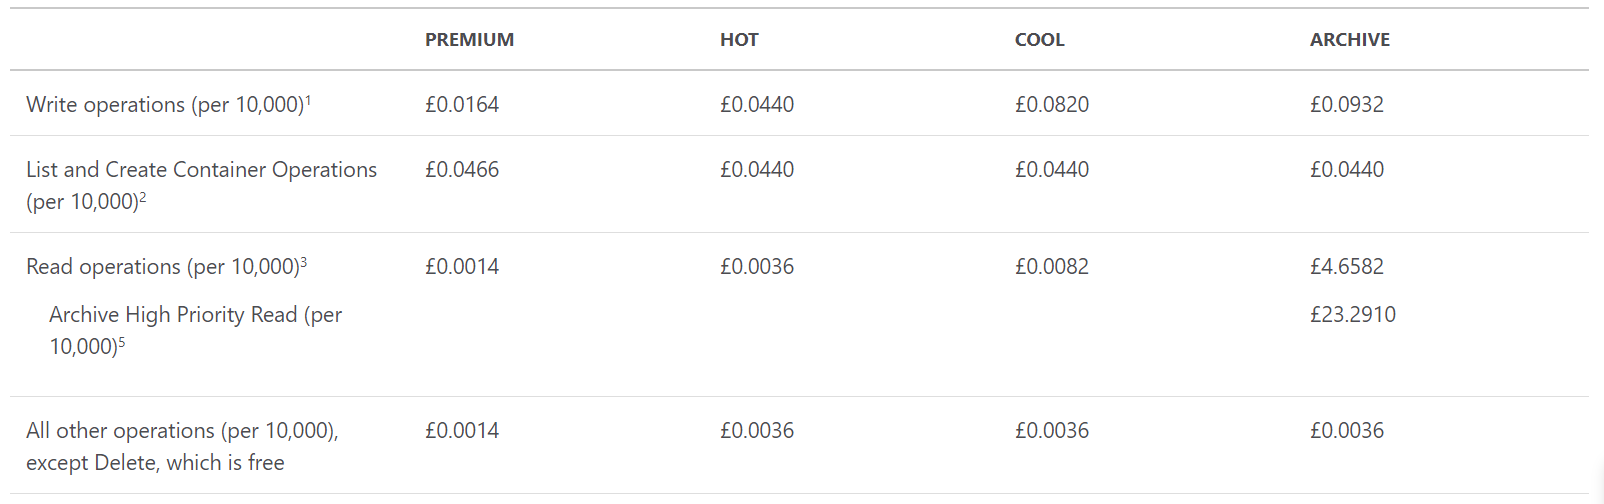
Again, pretty reasonable at less than half a penny per 10,000 operations in the Hot tier.
And finally - bandwidth costs
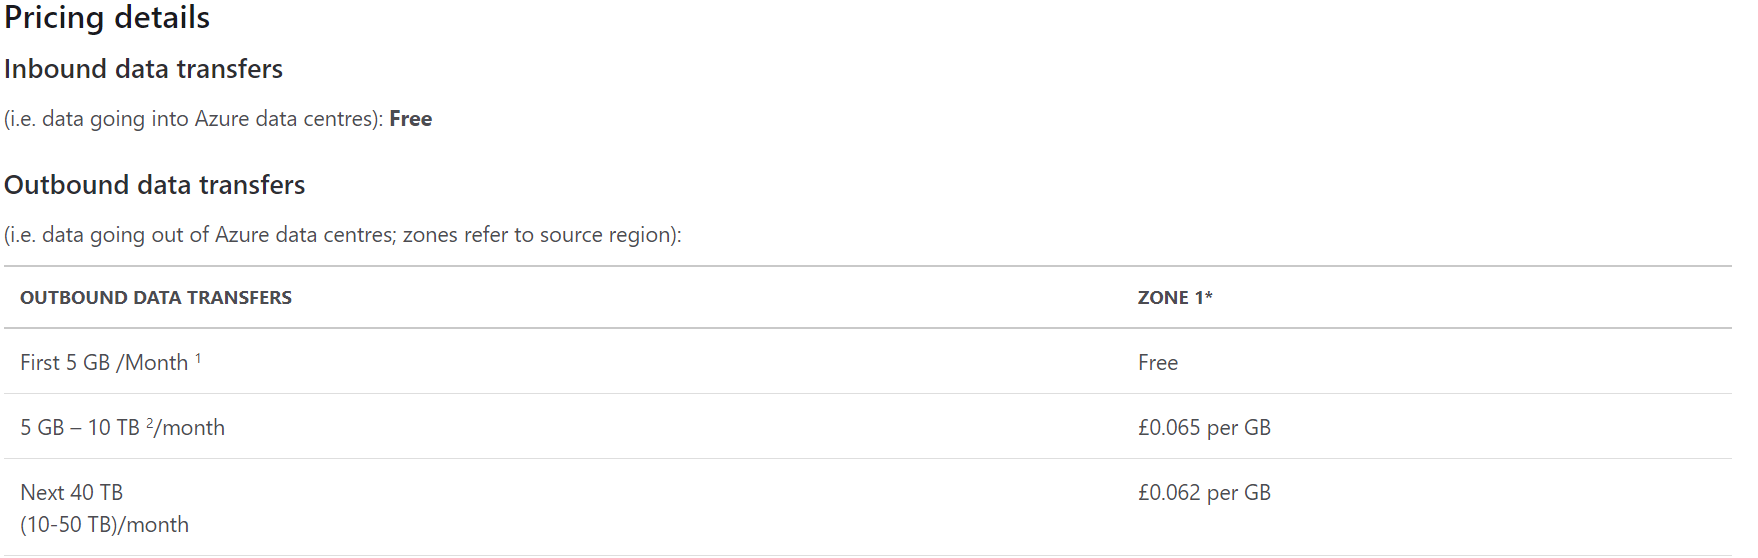
All inbound bandwidth (e.g. putting data onto the storage account) is Free. The first 5GB/month of outbound bandwidth (being consumed by your visitors) is also Free, and from there up to 2TB/Month costs a little over half a penny per GB - pretty reasonable!
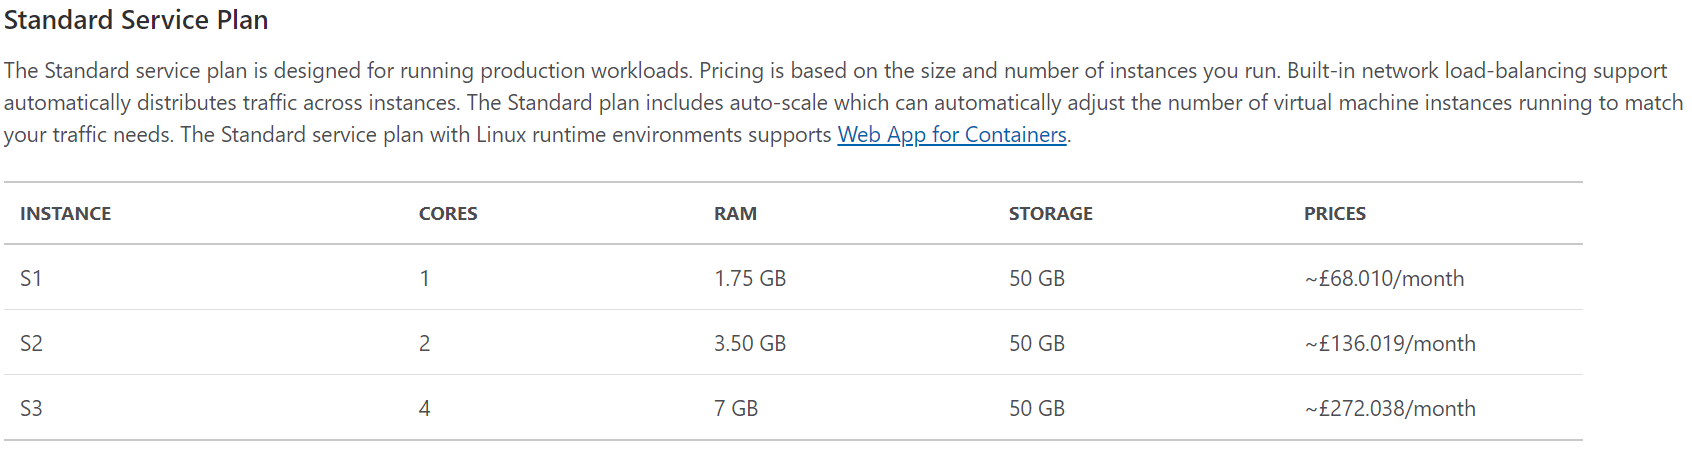
When you consider that a Standard S1 WebApp plan starts at around £68/month - that’s a huge saving!
Wrapping Up
I hope you enjoyed this post, and an introduction to static websites and Azure DevOps. There is more that you can do here to reduce your bandwidth costs (using a CDN), improve performance (CDN), and improve security (using security headers, front-ending with an Azure Functions proxy) - but I felt this post was long enough already!
You can easily author pages in a git client, VS Code - or directly within the Azure Devops portal from within Repos > Files in your browser.
Stay tuned for further updates on how to add those to this solution!
I hope you have a wonderful festive season, whatever holidays you celebrate, and wish you all the best for 2020!
As ever, thanks for reading and feel free to leave comments below.